Advanced Pricing Module Rules
The Advanced Pricing Module (APM) provides a flexible rule engine that enforces pricing logic and compliance across Back Office and Mobile. APM rules can automatically add required or recommended items, prohibit incompatible items, override prices or costs, and inject location-based fees or taxes based on defined conditions.
APM Rule Types
These rules go beyond the Back Office-only approach in FX CPQ (legacy) by introducing compliance actions and dynamic triggers.
|
Advanced Pricing Module (APM) rule types are defined by FieldFX and are not user‑extensible. Administrators cannot create or add new rule types but can add rules within the supported APM rule types to model pricing, compliance, and enforcement behavior. |
Each rule type has steps in a separate topic.
| Rule Type | Description | Use Cases |
|---|---|---|
Automatically add mandatory items to quotes or tickets when conditions are true
|
Automatically add mandatory PPE items when the user selects the safety checkbox on a ticket
|
|
|
|
|
|
|
|
|
|
|
Dynamically adjust pricing or enforce actions based on operational conditions: * Downhole temperature/pressure bands * Corrosive environment flags * Sour gas presence * Hauling distance zones |
|
|
|
|
|
|
|
CPQ Rules
CPQ rules are logic-based conditions helping to control how products, services, and pricing behave when users build quotes, jobs or tickets. They guide users so quotes stay consistent, accurate and compliant with your org’s business processes.
They apply in these areas:
-
Quote Building - making sure the right products or services are selected
-
Job Creation - controlling resource or item selections
-
Pricing - adjusts or restricts how prices appear
-
Approvals - ensures certain conditions trigger approvals before a quote can be finalized
CPQ Rule Categories
FieldFX CPQ rules work identically to other rules with these exceptions:
-
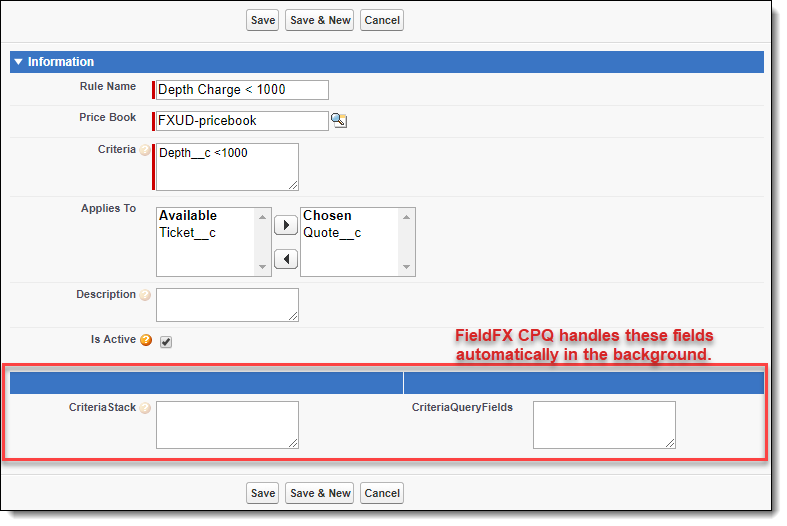
The CriteriaQueryFields and Criteria Stack fields do not generate when cloning or updating an existing rule.
-
The
FX5__CriteriaStack__cfield must be added to the Rules page layout (See Page Layouts) -
CPQ handles these fields automatically in the background.
|
Do not add or change the CriteriaQueryFields and Criteria Stack fields when working with CPQ rules. |
Add CPQ Rules
-
Add a Quote Rule or Add a Ticket Rule.
Do not complete the CriteriaQueryFields and Criteria Stack fields.
FX CPQ (legacy) handles these fields automatically in the background.
-
Click Save.
Edit CPQ Rules
-
Select the Rules tab.
-
Select the rule and select Edit.
-
Update the Criteria field.
Do not update the CriteriaQueryFields and CriteriaStack fields.
CPQ handles these fields automatically in the background.
-
Select Save.