User Share View
|
The following Admin Portal tools are being deprecated as of 7/13/26 and removed from the FieldFX Admin Portal. Please plan to transition to the new tool, if available, before the deprecation date to ensure continued access to the features.
Next Steps
For a list of FieldFX deprecations, please refer to the FieldFX Deprecation List. |
Introduction
The Admin Portal’s User Share View tool displays why object-specific records are shared with the user
The tool displays the reason |
|
User Share View enables system administrators to:
-
View what is shared with a user.
-
Understand why it is shared with that user.
-
Compare what is shared with that user and one or more other users.
Prerequisites
To use the Admin Portal’s User Share View, you need to:
| Have these user licenses | Have these permissions | Complete these tasks and review these topics before continuing |
|---|---|---|
System administrator users need:
|
Step-by-Step Guide
Access the Admin Portal
| Inside of FieldFX Back Office, the Admin Dashboard accesses the FieldFX Admin Portal. |
Click to expand
-
Access the Admin Portal either by:
-
Open a browser tab to admin.fieldfx.com and log into the org with your system credentials.
-
In FieldFX Back Office,
-
Click on
 and type
 admin. -
Select Admin Dashboard.
The Admin Dashboard tab appears along the top of the nav bar as the last item.
-
-
Click Add X Nav Item(s).
-
Move the newly added nav item by clicking on the item and dragging the move icon up or down on the list. If you want to add more items, repeat the steps above.
-
When in position, click Save.
A browser toast message appears that the nav item was added.
-
-
To save the Admin Dashboard tab as a permanent tab,
-
click
 to open the navigation items edit box.
The name in the title differs depending on the FieldFX module you are in. If you switch FieldFX modules, the nav item won’t appear. Repeat these steps to add the Admin Dashboard tab to the FieldFX module you are in. -
Click Add More Items.
-
Click Available Items > All
-
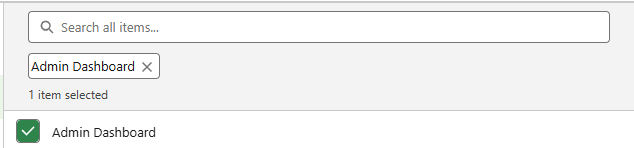
Click Admin Dashboard.
A green check appears next to Admin Dashboard item and a "Admin Dashboard" pill appears below the search field. The number of items selected is also displayed.
-
View Shared User Information
-
Access the Admin Portal and select User Share View.
-
Click User Share.
-
Make the following entries:
Field Action User
Select a user to view.
Enter text to filter the user search.
SObjects
Select an object to display.
Search for Record
(optional)Enter a record to search.
Leave the Search for Record blank to display all records in the object the user has access to.
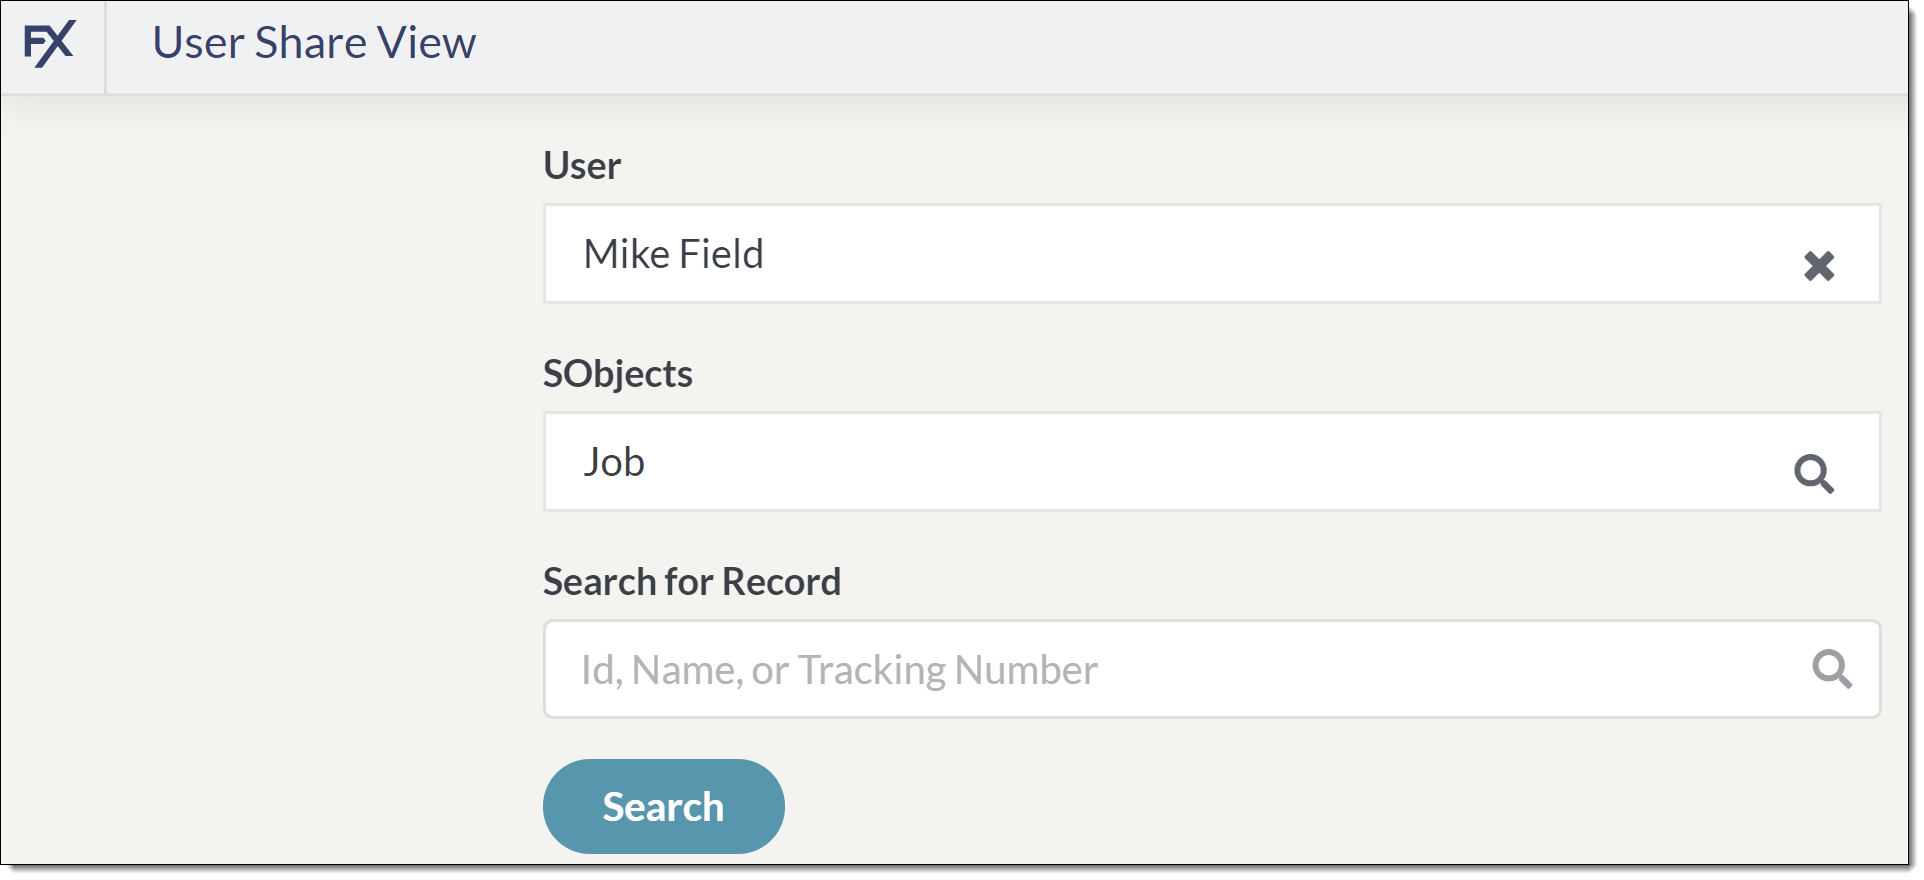 Figure 1. Use the filters to select a particular user, object, and record
 -
Click Search.
Results are limited to 200 records.
-
A table of records displays showing record IDs and the reason the user has access to the record.
If the user has permission to View All for the object, the table shows records the user would see if they did not have the View All permission.
Click a record ID to display the record in Back Office.
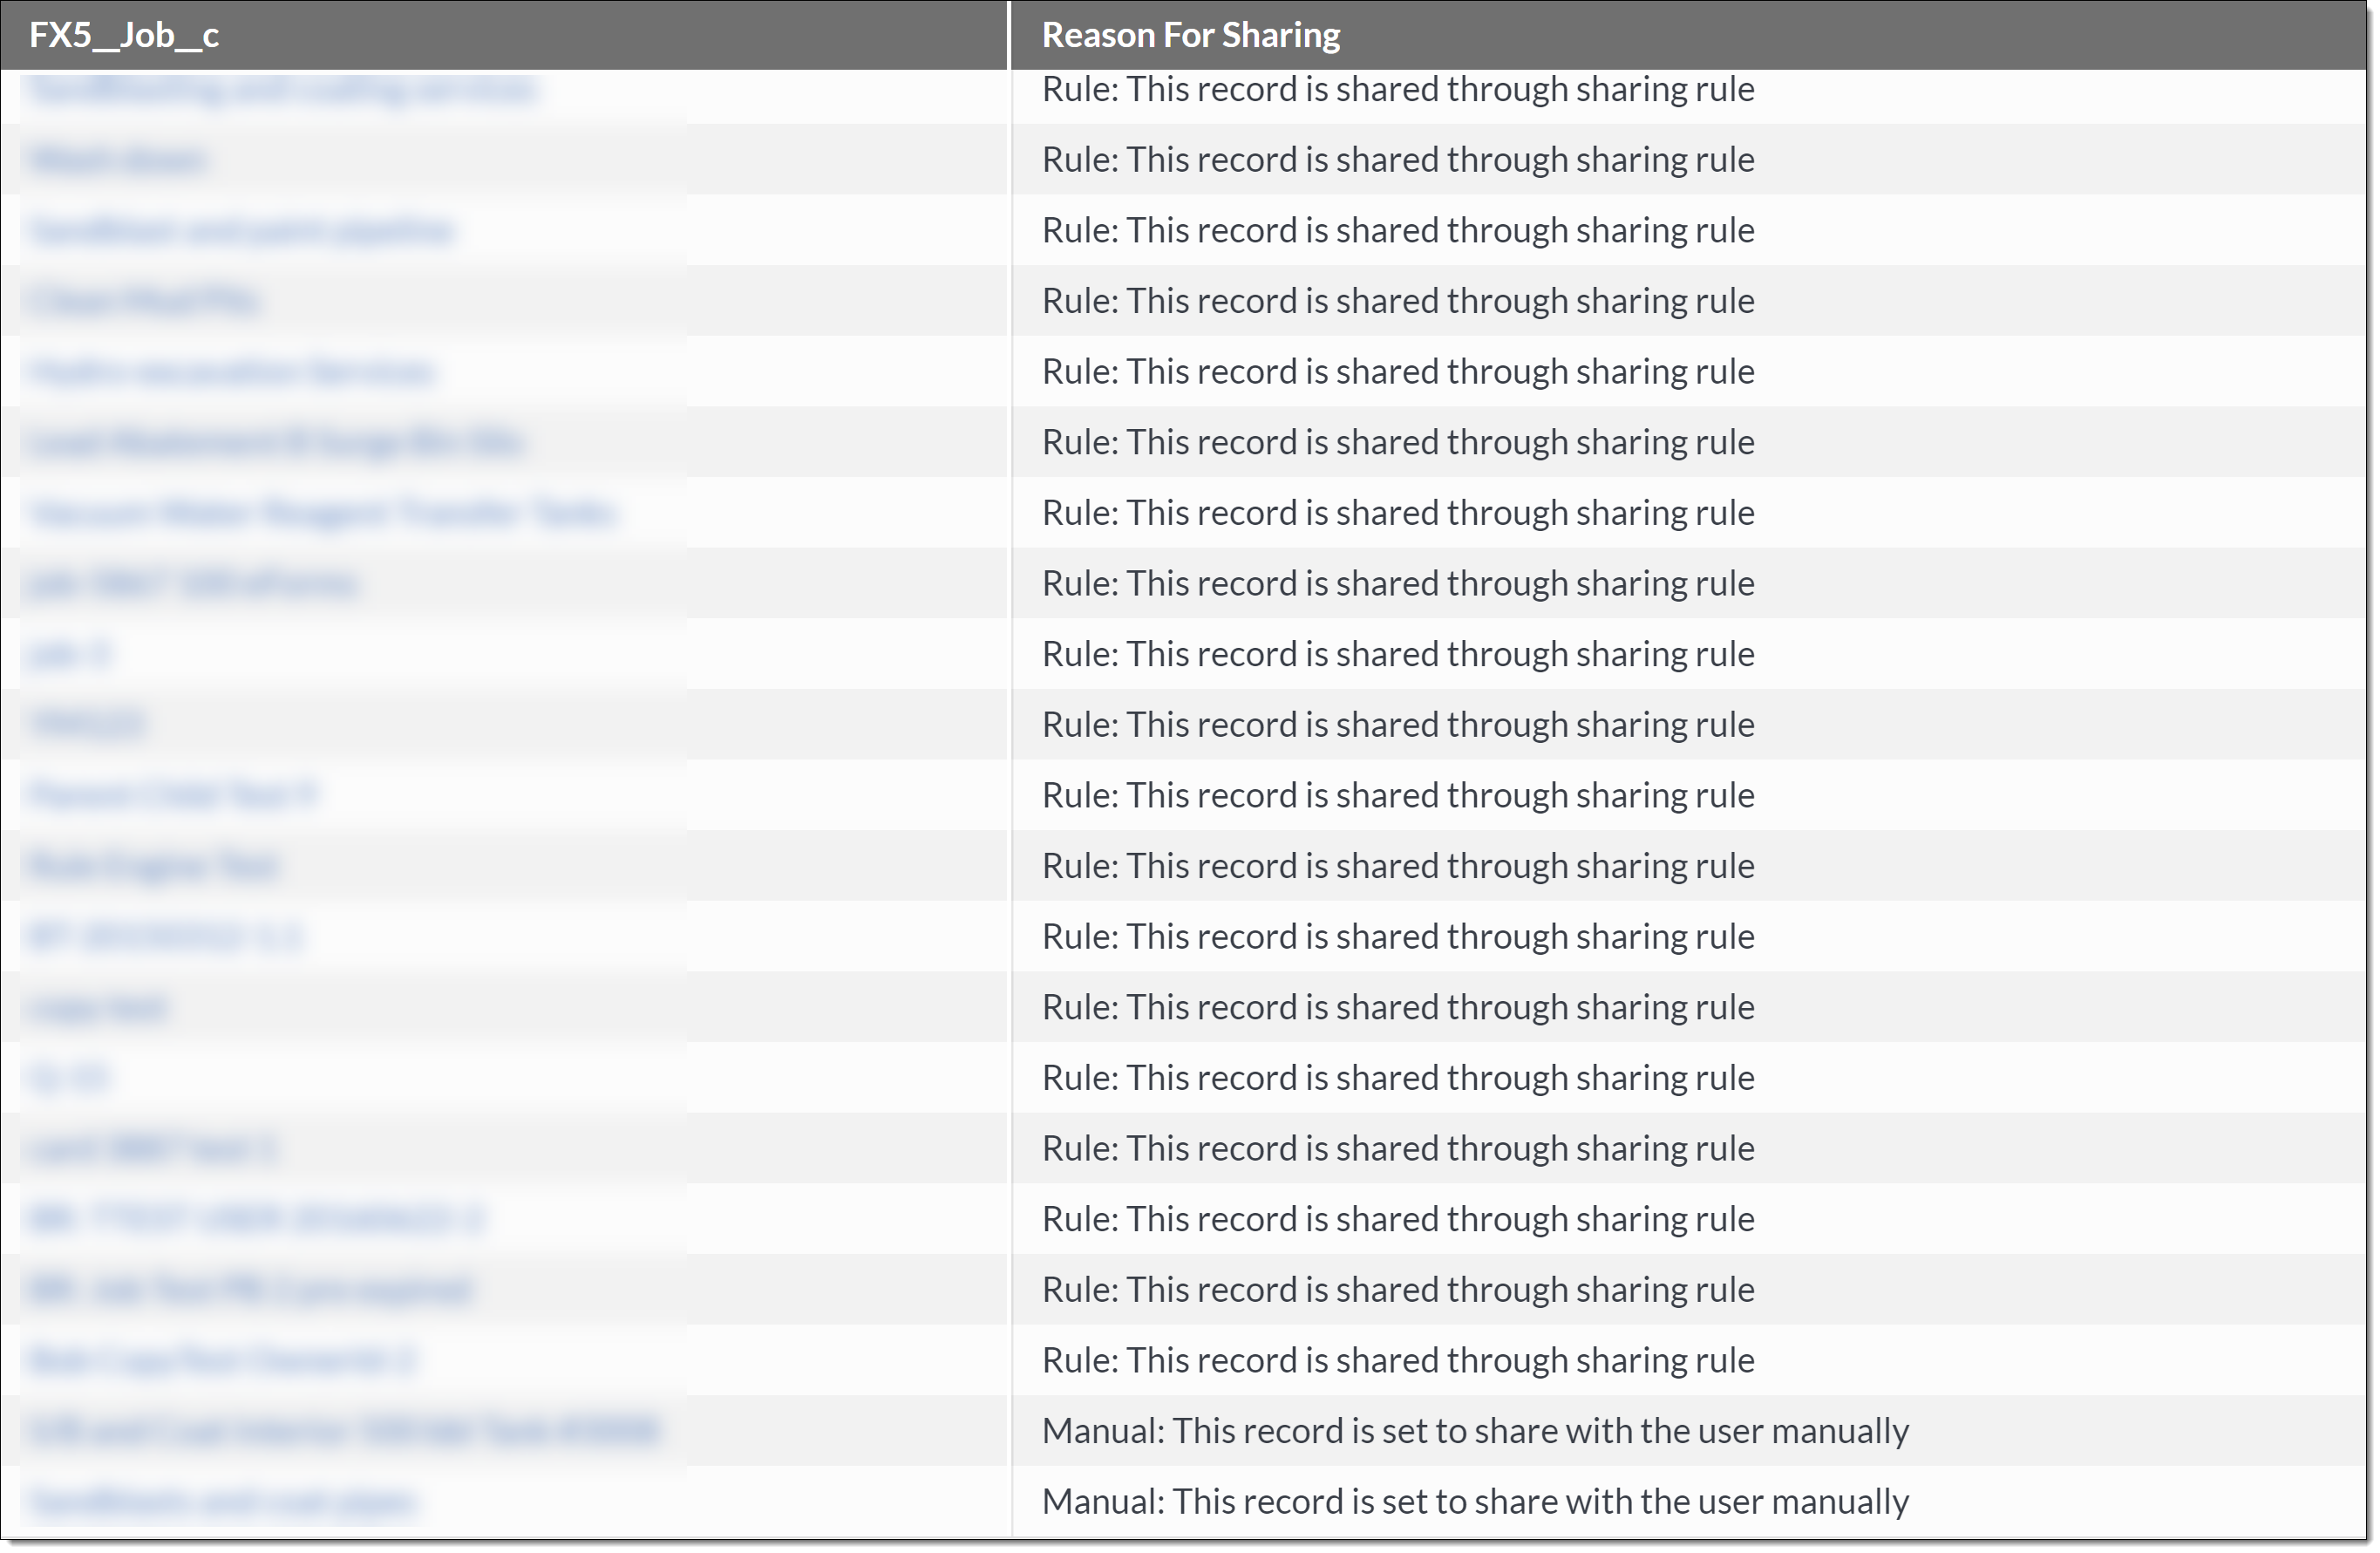 Figure 2. The table lists records shared with a user, assuming they do not have View All permissions