Warehouses
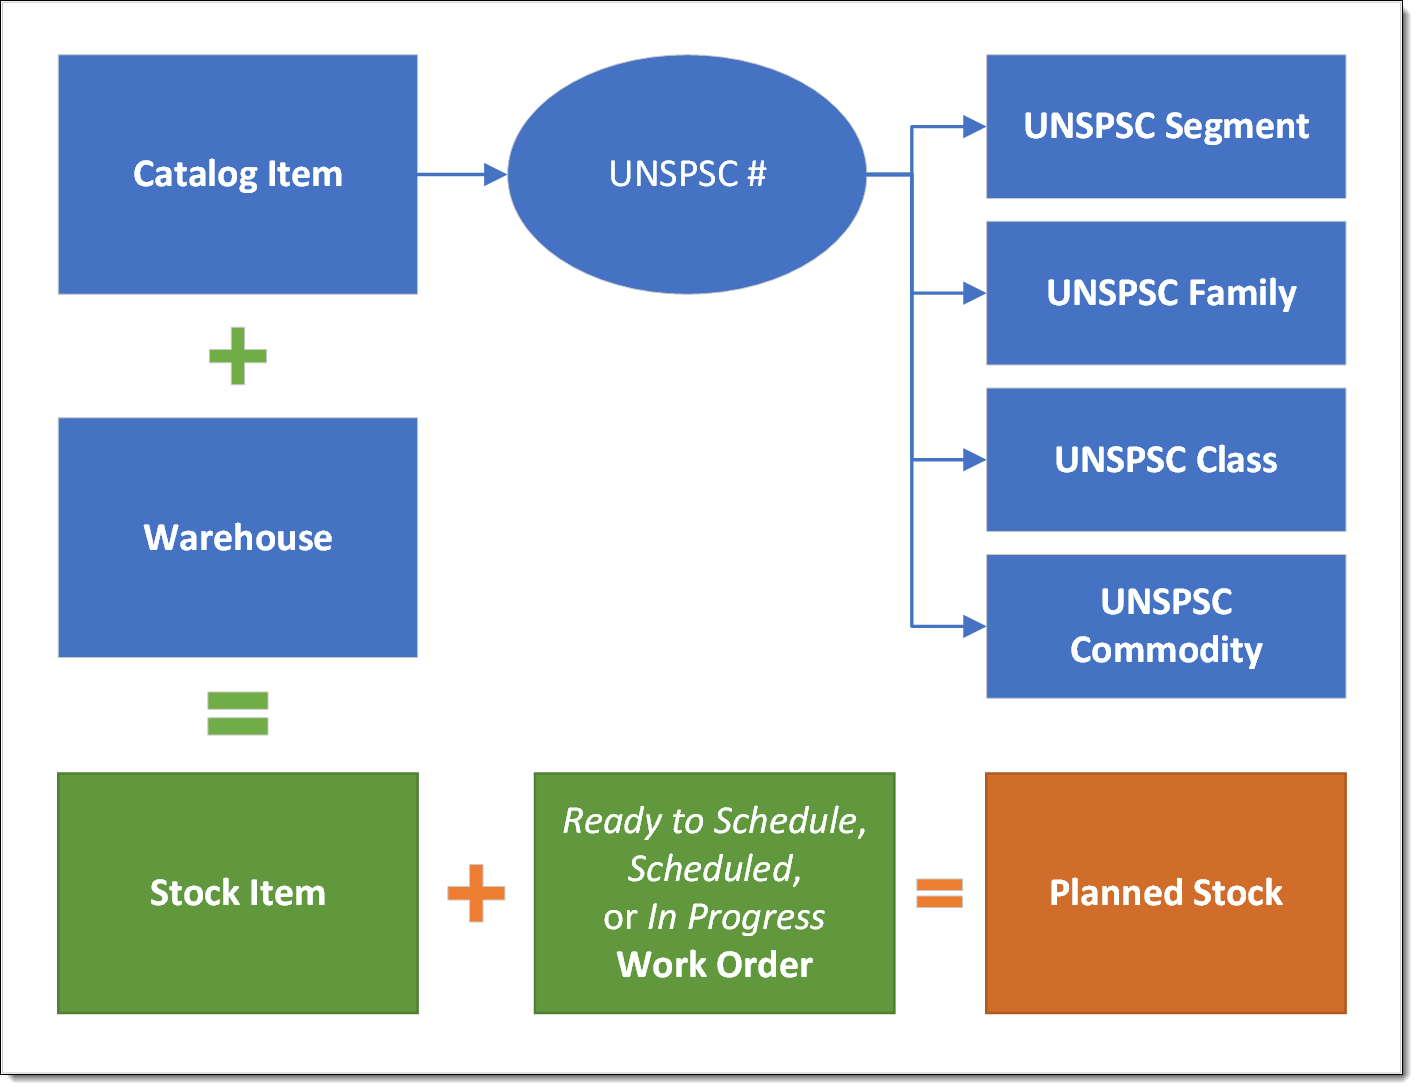
A Warehouse stores Catalog Items used in maintenance and repair of Equipment.
Key Features
-
Warehouses store an inventory of Catalog Items available for Work Orders.
-
A Catalog Item at a specific Warehouse is a Stock Item.
-
Stock Items are located in the Warehouse in _Bins, which are the lowest level of a Row → Section → Level → Bin hierarchy.
-
Stock Items may be located in more than one Bin.
For example, in a main location or easy access and in an overstock location.
-
An inventory manager can see Planned Stock for insight into what Stock Items need replenishment.
-
Replenish a Stock Item by a Purchase Order from a vendor or by Transfer request from another Warehouse.
How EAM Warehouses Work
Office lookup on Warehouse
A new optional Office lookup is available on the Warehouse object.
Field label: |
Office |
Field type: |
Lookup to Account |
Record type restriction: |
Only Office record type Accounts can be selected. |
Validation: |
|
Existing data: |
|
This field allows each Warehouse to be explicitly associated with the correct Office Account for reporting, operations, and downstream integrations.
Step-by-Step Guide
-
Add a New record to the Warehouse object.
Warehouses can also be created while adding Stock Items.
-
Make the following entries in the Details tab:
Field Entry Warehouse Name
(required):A unique name
Default Buyer:
User record responsible for purchase orders for the warehouse
Warehouse Status:
Active
+ Add address and contact information as desired. This is helpful for creating transfer requests and purchase orders, but not required.
-
You can optionally make entries in Accounting Details as needed.
See Accounting Overview for information about the accounts to add in each field.
-
Click Save.
Recommended Reading
For more information, see:
| FieldFX Documentation | PTC ServiceMax Help Center | Salesforce Documentation |
|---|---|---|
|
|