XML Elements
Introduction
XML elements define the layout of PDF reports.
You can use XML elements when creating XML templates to build PDF reports.
This article lists the XML elements.
|
The Document Template Editor should be handling any changes to the XML. Any manual changing in an XML editor outside of the Document Template Editor, if not done correctly, could present issues and cause the report template to not work properly. If editing the XML is required, be sure that the individual editing has the skills to properly format the XML correctly. |
|
Remember the following conversions when building PDF reports:
|
Core Elements
<background> | <body> | <columns> | <footer> | <header> | <info> | <locales> | <stack> | <styles> | <style> | <template>
<template>
Base element for an XML template.
Example 1. Use the following code to add a
<template> element with standard settings. |
<locales> & <locale>
You can set the default language on the report directly in the XML editor. The Document Template Editor always sets the default language as English, but gives the option to the user to add different translations.
|
The Document Template Editor should be handling any changes to the XML. Any manual changing in an XML editor outside of the Document Template Editor, if not done correctly, could present issues and cause the report template to not work properly. If editing the XML is required, be sure that the individual editing has the skills to properly format the XML correctly. |
Some customers have a XML report generated via a 3rd party XML editor which needs to be in Mandarin. The XML can’t be pull it into the editor because the editor won’t be able to interpret the XML they wrote. You will have to edit the XML manually.
Within the <locales> tag you must have a separate <locale> tag for each language if you have multiple languages. Custom XML must be included like the following to change the default font family (like Chinese) to the report template XML code:
 <locales>
    <locale name="Chinese">
      <font name="SansSimplifiedChinese"/>
      <sfLocaleCode value="zh_CN"/>
    </locale>
</locales><info>
-
PDF Templates can specify the resulting PDF’s Title and other metadata
-
Use the
<info>tag to add metadata about the PDF file -
Use Handlebars expressions in the
<info>helper to dynamically update metadata
|
|
The
Each attribute expects a text string that can contain a Handlebars expression. |
|
Example 4. Use "Job Safety Report" as the report title each time the report generates
Add the following line inside the PDF template’s Example 5. Dynamically use the Customer and a Timestamp for the report’s Title
Add the following Handlebars expression to the Generating reports for such a report results in the following: Reports Tab in FieldFX Mobile 
Note List in FieldFX Back Office 
File Properties Details Tab On Windows, right clicking the PDF file and selecting the Properties option, then the Details tab, shows: 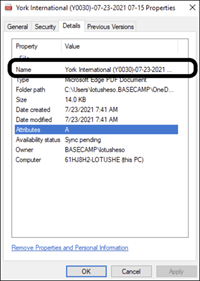
|
<header>
Inserts a repeating header at the top of every report page.

|
|||||||
Use the following placeholders to insert page data into a
Example 6. Use the following code to insert a repeating header into a report page.
|
<footer>
Inserts a repeating footer at the bottom of every report page.

|
|||||||
Use the following placeholders to insert data into a
Example 7. Use the following code to insert a repeating footer into a report page
|
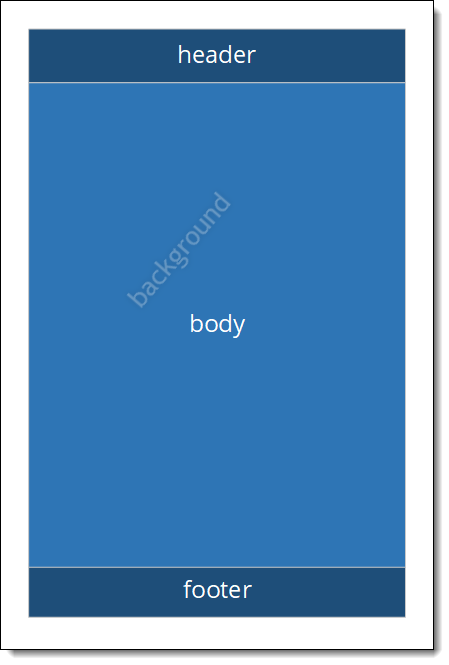
<background>
-
Inserts a repeating background image into the
<template>element. Figure 4. A background sits behind the content of the report and can be used for adding watermarks
 -
The
<background>element is behind the main section of a report. -
Use the
<background>element to create a watermark in the report.
Example 8. Use the following code to insert a
<background> element into a <template> element
|
<body>
-
Inserts a non-repeating section into a
<template>element. -
The
<body>element is the main section of a report where you insert its core content. Figure 5. The <body> section is the main content of the report and sits in front of the <background>
Example 9. Use the following code to insert a
<body> element into a <template> element. |
<columns>
Splits either a report page or a table into columns.
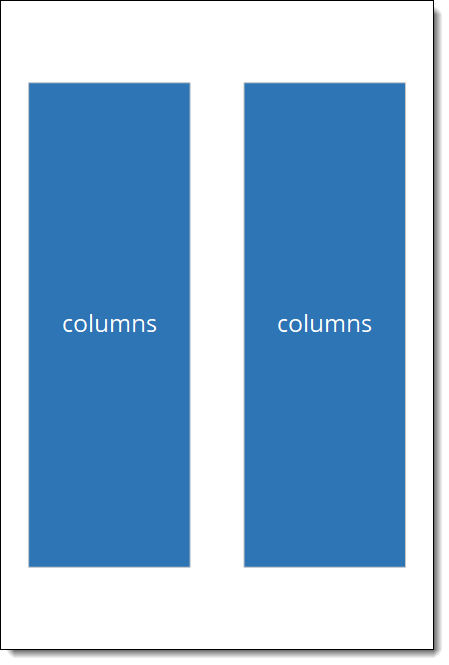
Figure 6. Add <columns> to split a page or table evenly into sections across the page
Example 10. Use the following code to insert two columns of text onto a report page.
Example 11. Use the following code to insert two columns into a table.
|
<stack>
Stacks the contents of an element vertically.
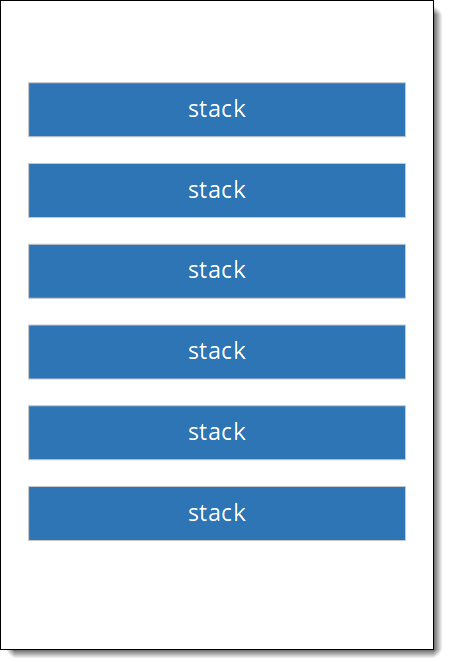
<text> elements vertically in a <columns> element.<columns>
<stack>
<text>text 1</text>
<text>text 2</text>
</stack>
</columns><styles>
Stores the style definitions for XML elements.
The <styles> element contains one or more <style> elements.
|
Example 13. Use the following code to define basic styles.
|
<style>
Stores the attributes for a style used to change the appearance of XML elements.
Guidelines |
|
||
Attributes |
Use XML attributes to control the appearance of Example 14. Use the following code to define a basic text style.
|
Table Elements
<table> | <tableHeader> | <tableBody> | <row> | <cell> | <emptyCell>
<table>
Base element for a table.
Once you add a 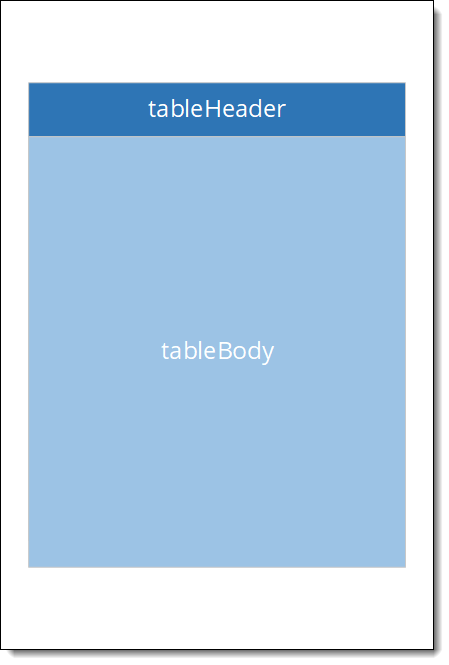
Figure 8. A table with a header and body section
Example 15. Use the following code to insert a basic table
Example 16. Use the following code to insert a basic table and define columns individually
|
<tableHeader>
Inserts a repeating header into a <table> element.
<tableHeader> elements display at the top of a table on every page where the table displays.
|

Guidelines |
Example 17. Use the following code to insert a
<tableHeader> element into a <table> |
<tableBody>
Inserts a non-repeating body section into a <table> element.
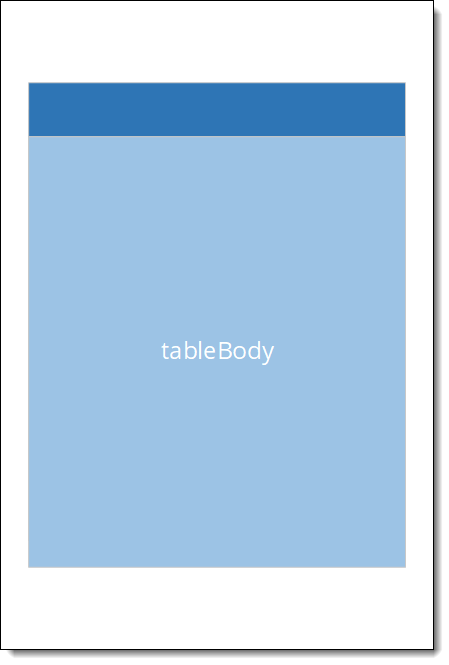
Example 18. Use the following code to insert a
<tableBody> element into a <table> showing ticket items. |
<row>
Inserts a row into a <table>.
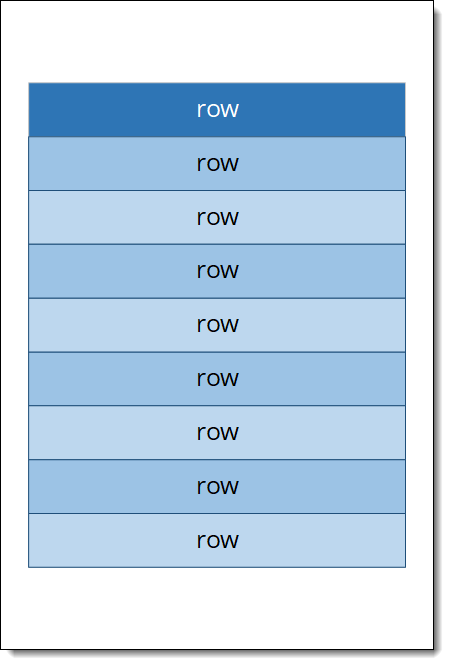
Example 19. Use the following code to insert two rows into a
<table> |
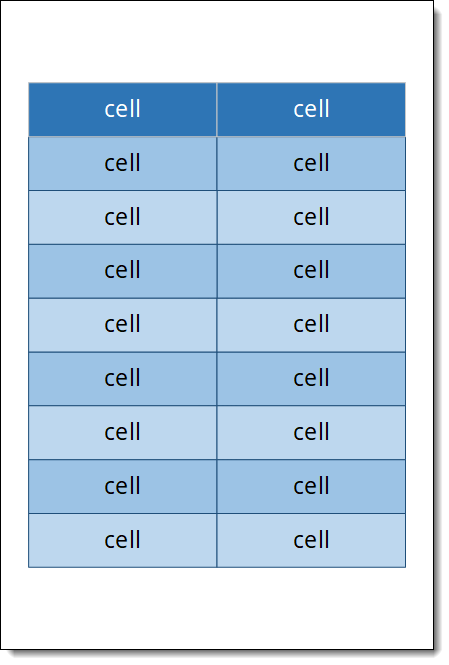
<cell>
Inserts a cell into the <row> of a <table>.
|
|||
You can add the following special attributes to a Example 20. Use the following code to insert
<cell> elements into the <row> of a <table> |
<emptyCell>
Inserts an empty cell into the <row> of a <table> that contains no data
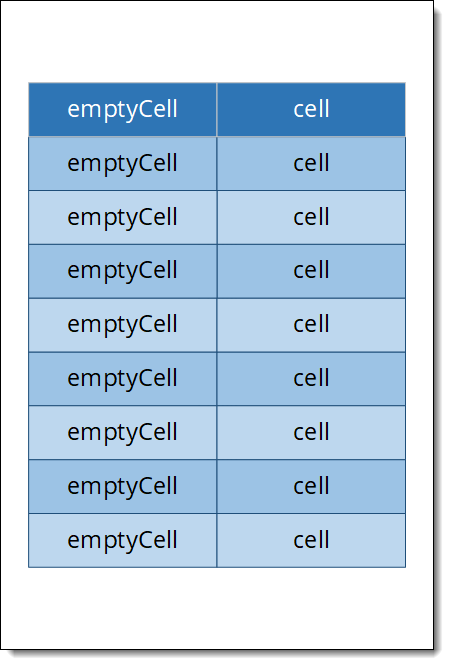
emptyCell to leave a cell of a row blank, with no data
Example 21. Use the following code to insert
<emptyCell> elements into the <row> of a <table>.This example uses the
|
Image Elements
<Images> | <image> | <imageCapture> | <qr>
<images>
Stores the source code for images included on a report.
(Optional) Store the source code required to insert the contents of a long text area field.
Example 22. Use the following code to include an image encoded in a base64 string
Example 23. Use the following code to include an image from an online source
Example 24. Use the following code to insert the contents of a long text area field
|
<image>
Inserts an image or the contents of a long text area field.
|
|||||||||||||||||
Use the Images resize to fit the dimensions specified for the Remember the following when working with images:
Example 25. Use the following code to insert an image encoded in a base64 string
Example 26. Use the following code to insert an image from an online source
Example 27. Use the following code to insert an image encoded in a base64 string
Example 28. Use the following code to insert the contents of a long text area field
|
<imageCapture>
Inserts an interactive image placeholder.

Use this placeholder to attach an image to a report, such as a photo or stamp.
| You can also use the placeholder to attach an image already attached to the parent record. |
Example 29. Use the following code to insert a 216pt x 72pt image placeholder
Example 30. Use the following code to insert an image placeholder that has a watermark of the ticket’s tracking number
|
<qr>
Generates a QR code for the specified content.
<qr fit="100">https://www.servicemax.com</qr>
The fit attribute sets the size of the QR code to 100pt.
|
Replace https://www.servicemax.com with the URL the user should go to with the QR code.
|
Signature Elements
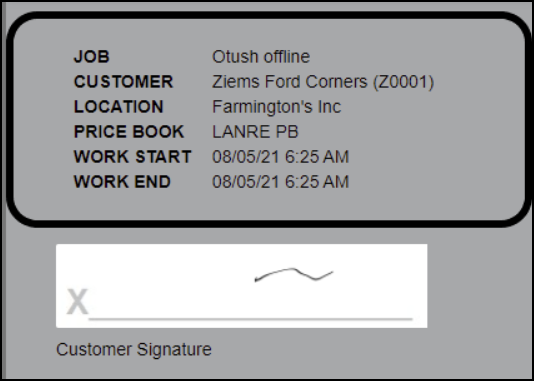
<captureHeaderTemplate> Block
Use the <captureHeaderTemplate> tag to insert lines of text on the signature capture page above the signature block.
This custom text displays in both FieldFX Mobile and FieldFX Back Office.
Use this with the <signatureBlock> element.
|
|
|||||
Valid values are
|
|||||
Examples |
Example 35.
<signatureCaptureTemplate> block without using value attributeExample 36.
<signatureCaptureTemplate> block with content in the value attribute |
<signatureBlock>
Inserts an interactive signature line.

| Use this signature line to capture digital signatures on reports. |
Example 37. Use the following code to insert a basic signature line
Example 38. Use the following multiple signature lines, use a field as the unique identifier for each signature line.
|
<watermark>
Inserts an image into a <signatureBlock> element.
| Use to add a visual indicator so users know where to add signatures. |
|
|||||||
Remember the following when working with images:
Example 39. Image Resize
If you insert a 900px wide image and set the width for the <signatureBlock> element to 144pt, the image resizes to 600px wide |
|||||||
You can add the following special attributes to a Example 40. Insert the standard signature line image.

Figure 16. The blue shading around a signature box is added with the use of a <watermark> element
Example 41. Insert the standard signature line image without a separate <images> section
|
Text Elements
<text>
Inserts text.
Example 42. Use the following code to insert terms and conditions text
|
<textTransform>
Inserts specially formatted text.
<cell rowSpan="2"><textTransform rotate="270" fontSize="7">CLIENT INFO</textTransform></cell>
This example uses the rowSpan attribute to merge two rows and display the rotated text across both rows.The rotate attribute rotates the text 270 degrees.
|
<rtf>
Inserts the contents of a long text area or rich text area field.
The following tags are supported in an
Example 44. Use the following code to insert the contents of a rich text area field named Job Photos
|