FXL Components Overview
Introduction
FieldFX Lightning (FXL) Components are available through the FieldFX Lightning Managed Package, You can use the FXL Components in FieldFX Back Office when using Lightning Experience.
| You must enable Salesforce My Domain prior to setting up, configuring, or using FXL Components. |
Or you can configure custom labels for the Lightning Component.
|
To use the FieldFX Lightning package starting with version 1.287, you must use the FieldFX Managed Package version 1.542 or higher. To find the version numbers you have installed, see Check Version Number for FieldFX Managed Package and FieldFX Lightning Managed Package. |
How to Start
The set up and configuration of FXL Components is done through using the Salesforce Lightning AppBuilder.
For FXL Components to work properly, you must be add them to a FieldFX record page. For correct configuration of FXL Components, you must obtain the API name of objects as part of the set up process.
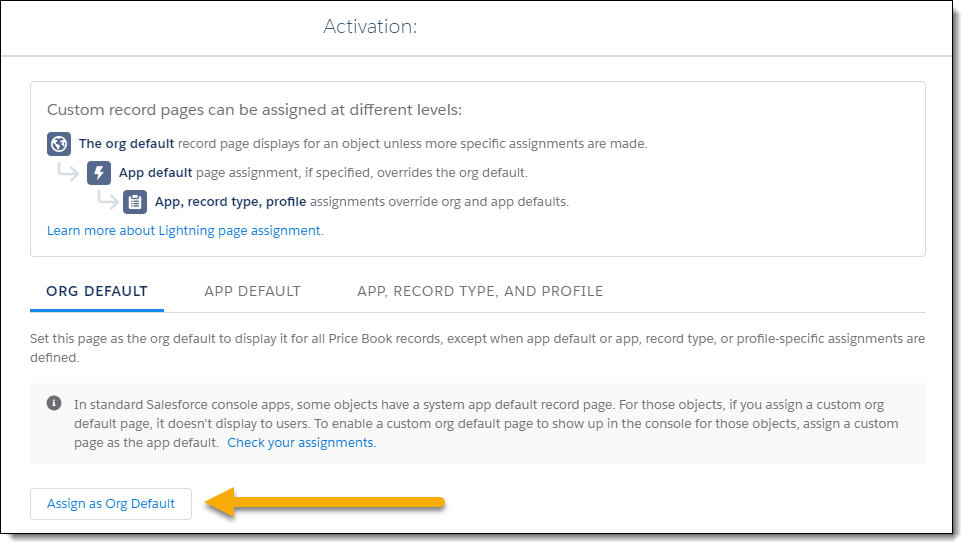
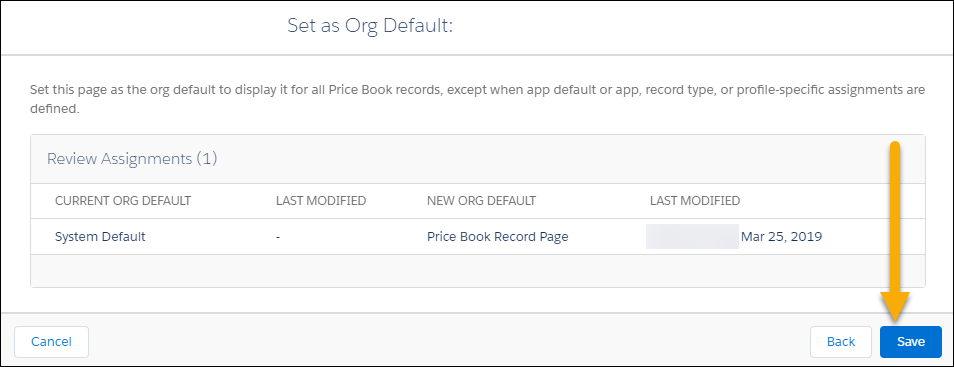
On the first setup of an FXL Component on a page, activate the configuration of the page as Org default.
Check FX5 Managed Package and FX Lightning Managed Package Versions
-
Log into your org.
-
In Salesforce Classic, click Setup.
-
In the Quick Find box, type
installedand select Installed Packages. -
In the table of installed packages,
-
Find FieldFX Lightning in the Package Name column and then note the version number in the Version Number column.
-
Find FieldFX Base Package in the Package Name column and then note the version number in the Version Number column.
-
-
If the versions isn’t 1.458 for FX5 Managed Package and you are trying to install version 1.180 of the FX Lightning Managed Package, contact support.
Add a FXL Component to a FieldFX Page
-
Switch to Lightning Experience.
-
From the page, click
 and select Edit Page to access the Lightning AppBuilder.
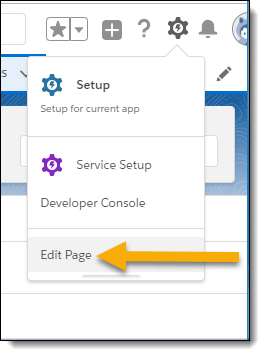
-
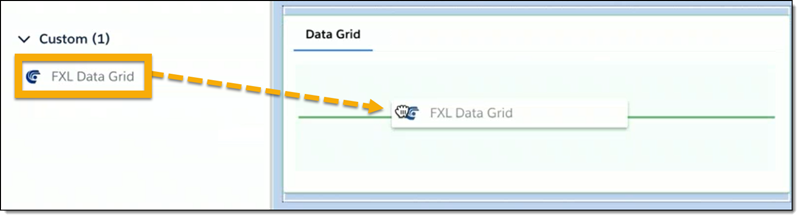
From the list of available Custom or Custom Managed Lightning Components, drag the FXL Component to where you want it on the record page.
-
Click Save.
Get an API Name From the Object Manager
-
Access Setup in a new browser tab or window.
-
You can find the API Name from a Salesforce object or from an object field:
-
Obtain the API name of a Salesforce object.
-
In the Quick Find box, enter
object managerand select it. -
In the Object Manager, select the object that you need the API Name for.
-
Access the Details tab of the object.
-
Copy the API name from the API Name field.

-
-
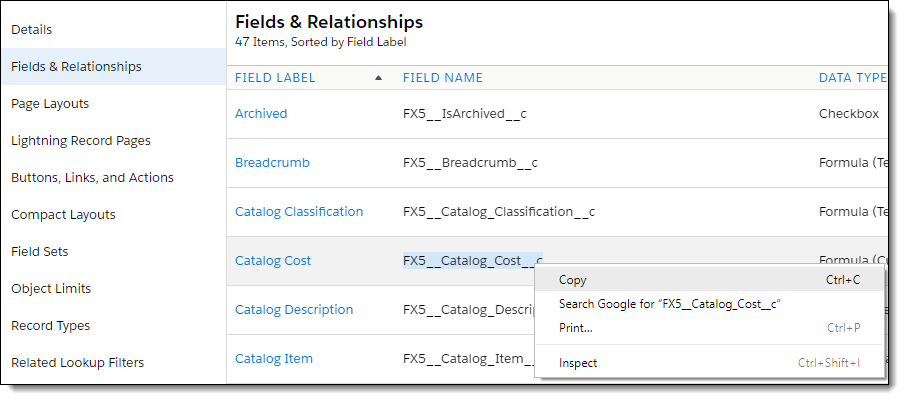
Or you can get the API name of an object field.
-
Access the Fields & Relationships tab.
-
Find the desired object.
-
Copy the API name of the field from the FIELD NAME column.
-
-
-
Switch back to the original tab or window.
-
Paste the API name into the applicable field.

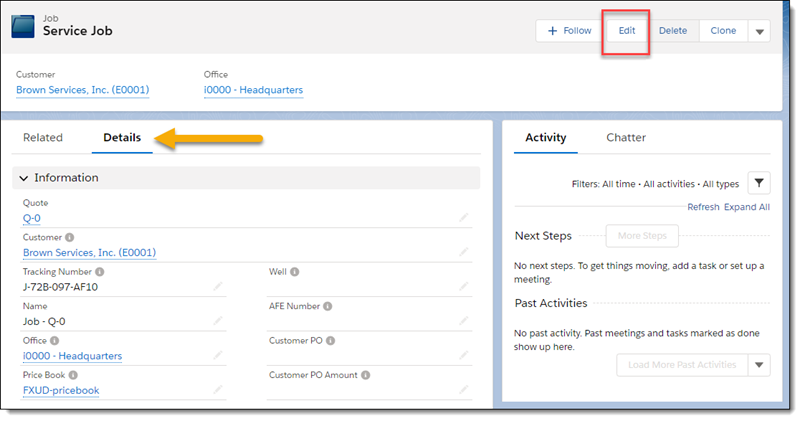
Work with Records in Lightning
Each record in the FieldFX Lightning Managed Package currently has a Details and Related tab.
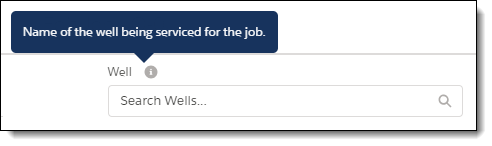
Each editable field in a record has field-level help defined, which you can access by hovering your mouse over the i icon.
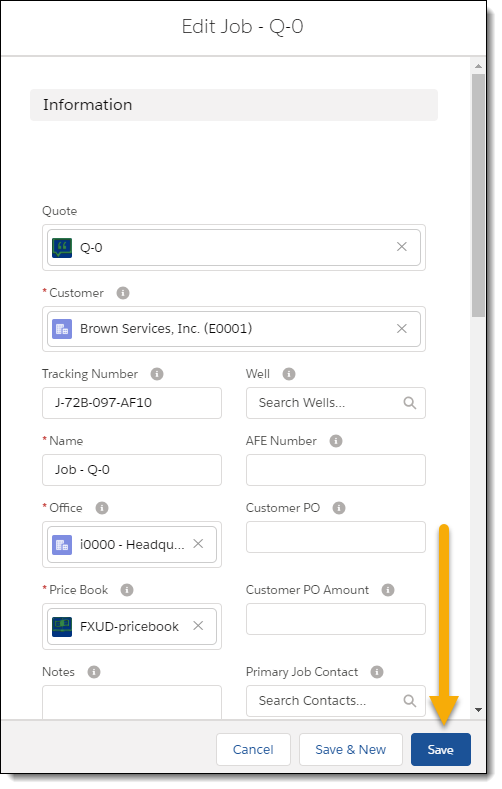
For records in the FieldFX Lightning Managed Package, you can edit record details and add related items.