Ticket Item Builder (Deprecated)
| This feature has been deprecated and is no longer supported. You should switch to the Lightning Experience and use the tools FieldFX has there instead. |
Introduction
The Ticket Item Builder is a ticket management tool in FieldFX Back Office.
Use the Ticket Item Builder to:
Prerequisites
To setup and use Ticket Item Builder, you need to:
| Have these user licenses | Have these permissions | Complete these tasks and review these topics before continuing |
|---|---|---|
Ticket Details
The Ticket Details section displays basic ticket information.

Search Filters
Use the Search Filters to filter the ticket items shown in the Item grid.

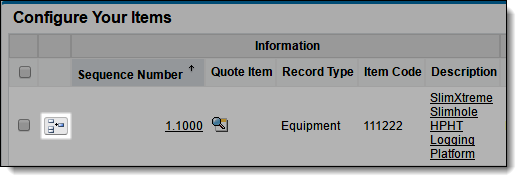
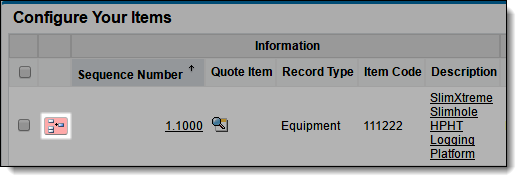
Item Grid
The Item grid displays the ticket items on a ticket.
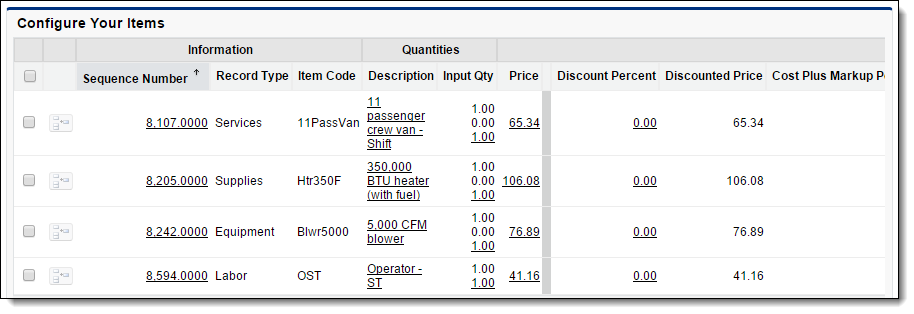
Use the Item grid to add, edit, or delete ticket items.
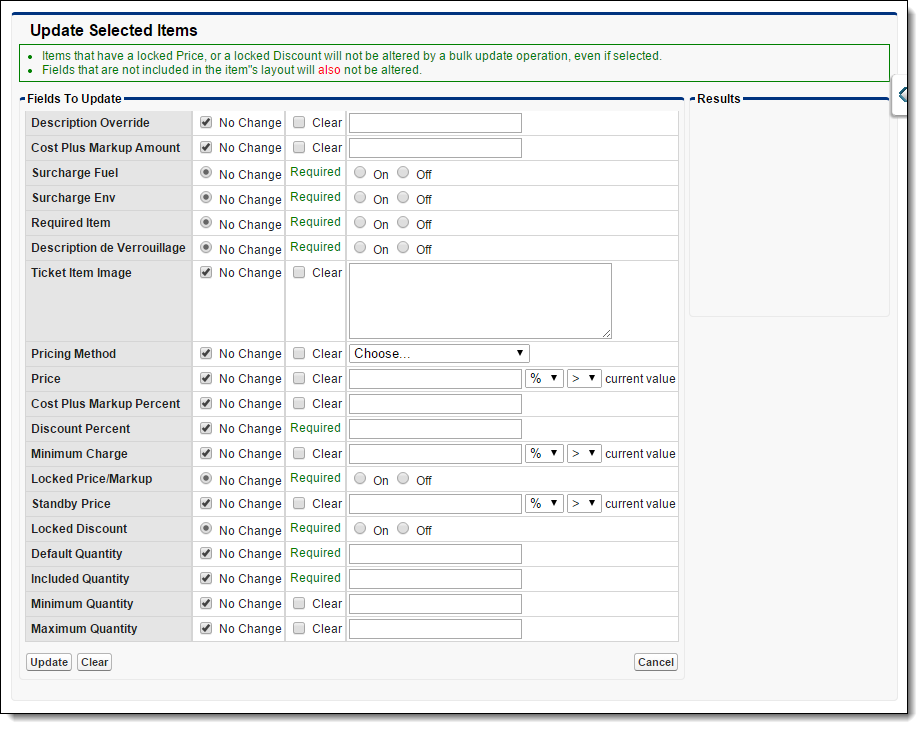
Bulk Update
Use the Bulk Update feature to edit multiple ticket items at once.
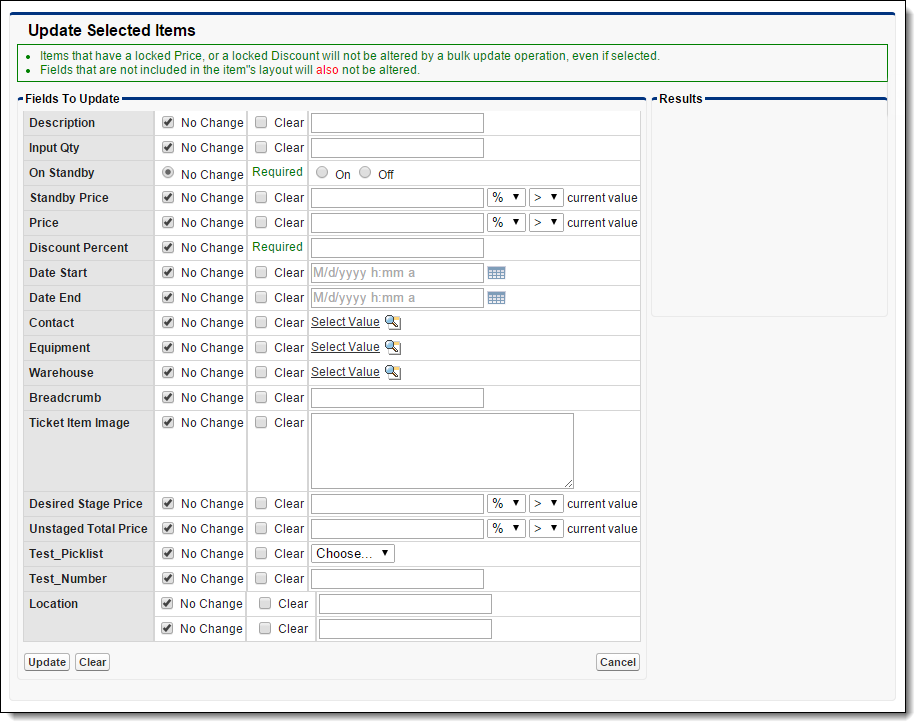
To use this feature, select ticket items and click Bulk Update underneath the Item grid.
Barcode Scanning
Use the Barcode Scanning feature to scan barcodes on items to add them to tickets.
To use this feature, click in the Barcode field and scan the barcode on the item.

Stage Pricing
Use the Stage Pricing feature to apply a fixed price to a collection of ticket items.
To use this feature, select ticket items and click Stage Pricing underneath the Item grid.
Item Picker
Use the Item picker to add items to a ticket.
To open the Item picker, click Expand on the right side of the page.

| The Expand button only appears when using the Price Book Builder, Ticket Items Builder (here) or the Quotes Item Builder. |
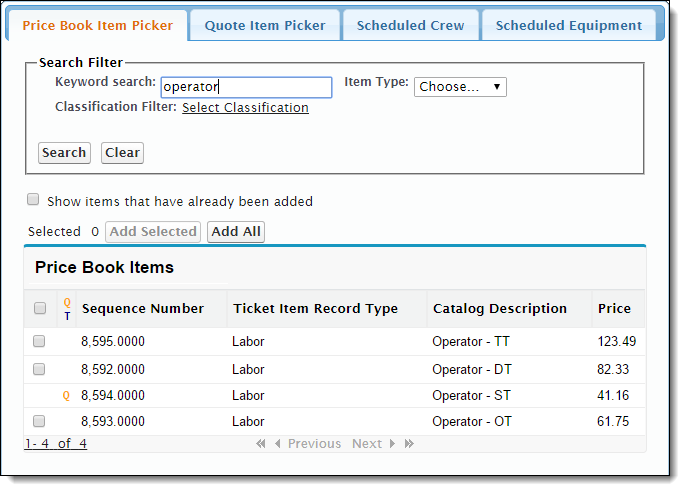
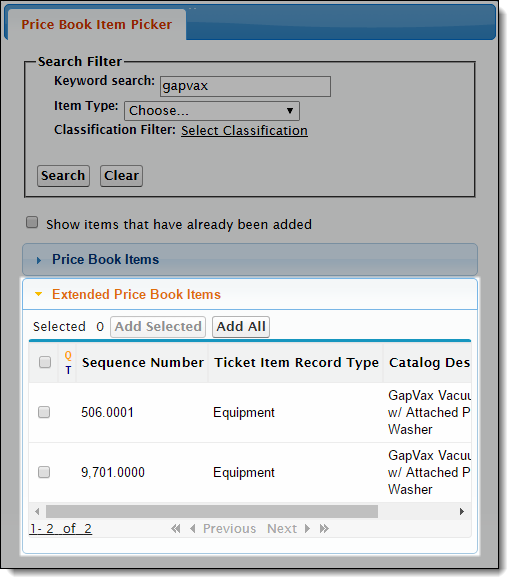
Price Book Item Picker Tab
-
Use the Price Book Item Picker tab to add price book items.
-
Qdisplays next to price book items on the quote used to create the job. You can only add these items from the Quote Item Picker tab. -
Tdisplays next to price book items already on the ticket.
-
-
Enter a quantity in the # field next to a price book item to add it in the specified quantity.
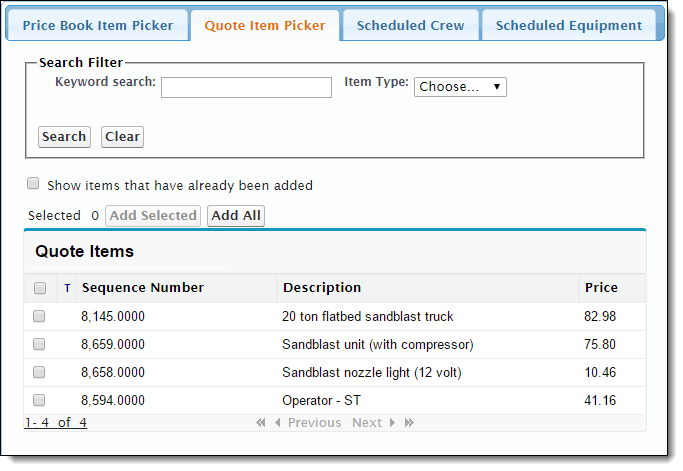
Quote Item Picker Tab
-
Use the Quote Item Picker tab to add quote items.
-
Tdisplays next to quote items already on the ticket.
-
Scheduled Crew Tab
Use the Scheduled Crew tab to add scheduled crew.
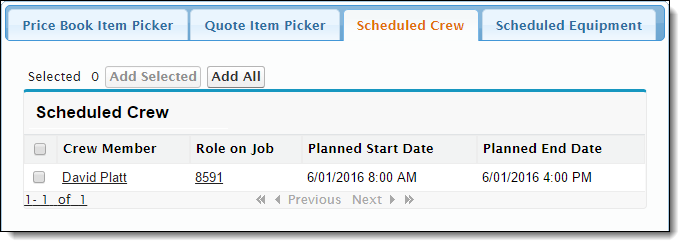
| This tab only displays if you dispatch crew to the job. |
Scheduled Equipment Tab
Use the Scheduled Equipment tab to add scheduled equipment.
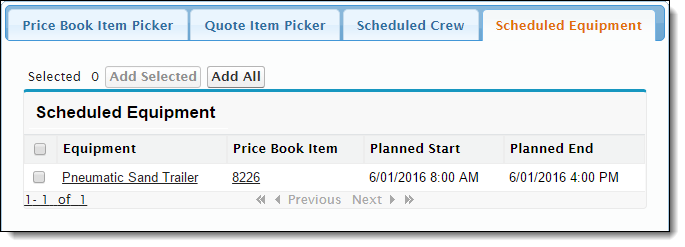
| This tab only displays if you dispatch equipment to the job. |
Step-by-Step Guides
With the Ticket Item Builder, you can:
Opening the Ticket Item Builder
-
You must switch to Salesforce Classic to use the Ticket Item Builder. The Ticket Item Builder can’t be used in the Lightning Experience. -
Open the Tickets tab.
-
Open a ticket.
-
Click Ticket Item Builder.
Adding Ticket Items
-
Open the Ticket Item Builder.
-
The Ticket Item Builder adds price book items to the ticket automatically if they have Required Item selected.
-
The Rule Engine adds price book items to the ticket automatically if required by a rule.
-
-
Click Expand on the right side of the page.
The Expand button only appears when using the Price Book Builder, Ticket Items Builder (here) or the Quotes Item Builder. -
Select price book items.
-
Click Add Selected.
Child items get added automatically when you add their parent item. -
Click Close on the left side of the Item picker.

Adding Ticket Items from a Hierarchical Price Book
Prerequisite
-
Opening_the_Ticket_Item_Builder.
-
The Ticket Item Builder adds price book items to the ticket automatically if they have Required Item selected.
-
The Rule Engine adds price book items to the ticket automatically if required by a rule.
-
-
Click Expand on the right side of the page.
The Expand button only appears when using the Price Book Builder, Ticket Items Builder (here) or the Quotes Item Builder. -
Click Extended Price Book Items.
-
Select price book items.
-
Click Add Selected.
Child items get added automatically when you add their parent item. -
Click Close on the left side of the Item picker.
Adding Quote Items to a Ticket
-
Open the Ticket Item Builder.
-
Click Expand on the right side of the page.
The Expand button only appears when using the Price Book Builder, Ticket Items Builder (here) or the Quotes Item Builder. -
Click the Quote Item Picker tab.
-
Select quote items.
-
Click Add Selected.
Child items get added automatically when you add their parent item. -
Click Close on the left side of the Item picker.
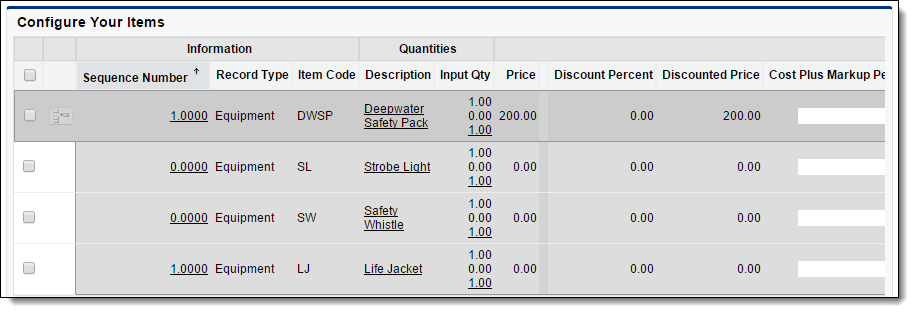
Adding Child Ticket Items
Prerequisite
-
Open the Ticket Item Builder.
-
The Ticket Item Builder adds price book items to the ticket automatically if they have Required Item selected.
-
The Rule Engine adds price book items to the ticket automatically if required by a rule.
-
-
Click Add Child Items next to a dynamic parent item.
The Item picker opens.
-
Select child items.
-
Click Add Selected.
Child items get added automatically when you add their parent item. -
Click Close on the left side of the Item picker.
-
Click Add Child Items.
Copying Ticket Items
-
Open the Ticket Item Builder.
-
Move down to the Item grid.
-
Select items.
-
Click Copy Selected and then click OK.
Editing a Ticket Item
-
Open the Ticket Item Builder.
-
Move down to the Item grid.
-
Click the arrow next to the item.

-
Click Edit.
-
Make edits.
-
You can’t edit the discount for items that have Locked Discount selected.
-
You can’t edit the price for items that have Locked Price/Markup selected.
-
-
Click Save.
Editing Multiple Ticket Items
-
Open the Ticket Item Builder.
-
Move down to the Item grid.
-
Select items.
-
Click Bulk Update.
-
Make edits on the Updated Selected Items panel.
-
You can’t edit the discount for items that have Locked Discount selected.
-
You can’t edit the price for items that have Locked Price/Markup selected.
-
-
Click Update.
Applying Stage Pricing to Ticket Items
Prerequisite
-
Open the Ticket Item Builder.
-
Move down to the Item grid.
-
Select items.
You can’t apply stage pricing to items that have Locked Discount selected. -
Click Apply Stage Pricing.
-
In Total Staging Price, enter the price to charge for the items.
-
Click Apply.
-
The total price for the items is now the specified stage price.
-
The discount percentage of each item also updates.
-
To remove stage pricing, delete the items and then re-add them.
-
Charging the Standby Price for a Ticket Item
-
Open the Ticket Item Builder.
-
Move down to the Item grid.
-
Click the arrow next to the item.
-
Click Edit.
-
Select On Standby.
-
(Optional) In Standby Price, set the standby price to charge.
You can’t edit the price for items that have Locked Price/Markup selected. -
Click Save.
Deleting Ticket Items
-
Open the Ticket Item Builder.
-
Move down to the Item grid.
-
Select items.
You can’t delete an item if:
-
The linked price book item is required by a rule.
-
The linked price book item has Required Item selected.
Child items get deleted automatically when you delete their parent item.
-
-
Click Delete Selected.
-
Click OK.
Recommended Reading
-
Ticket Item Builder Setup - Learn how to set up he Ticket Item Builder
-
FX E-Ticketing Minimum Permissions - Learn the minimum permissions required to use the Ticket Item Builder