PM Group Schedules
Basics
-
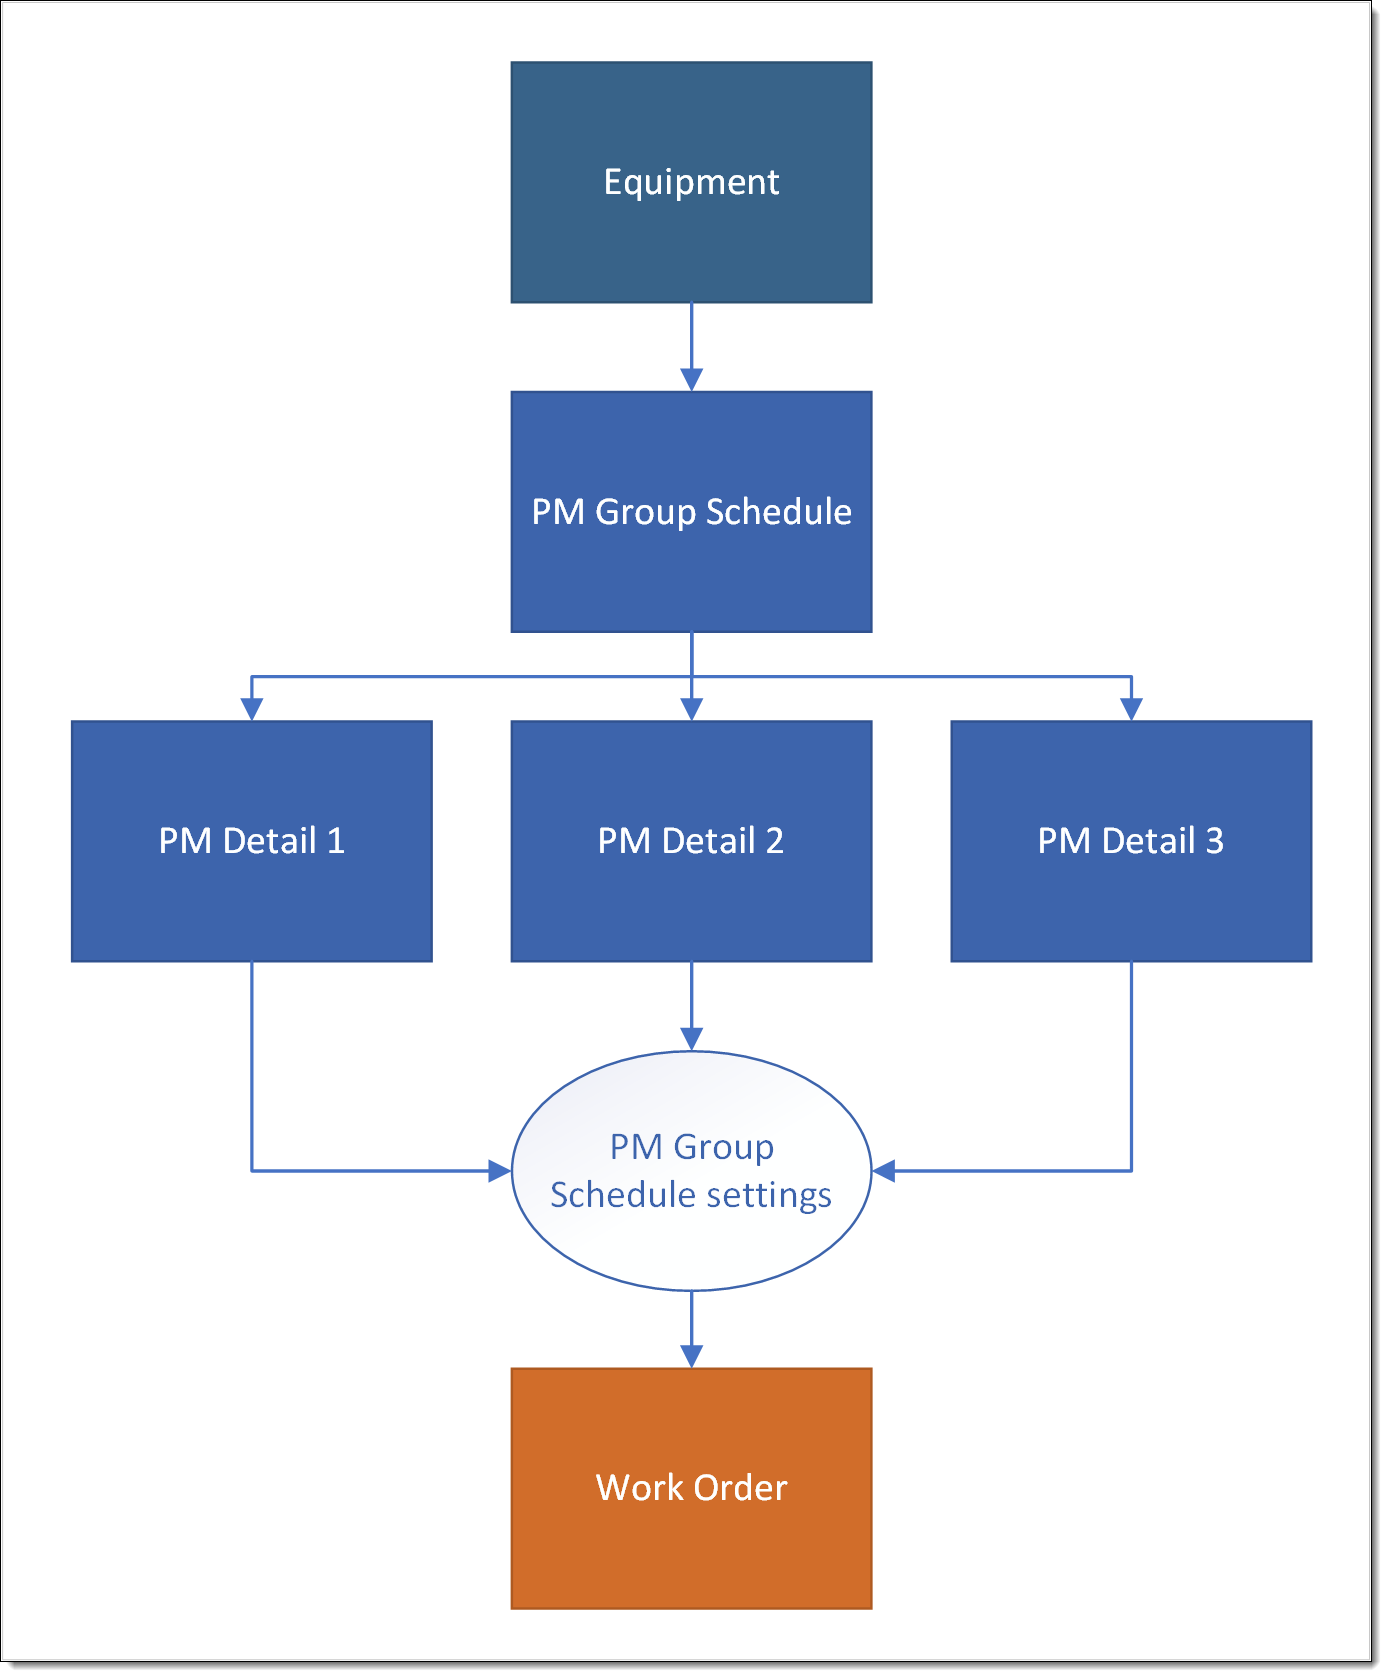
A Group Schedule is a set of possible work orders for a single piece of Equipment.
-
In any given month, only one of the Work Orders is required.
-
PM Details specify the work required in a given month.
-
PM Details are arranged in a hierarchy so that higher-ordered PM Detail work takes priority in a month over lower-ordered PM Details.
Example
A truck is inspected monthly, has a oil change with inspection quarterly, has tires rotated with the oil change and inspection every 6 months, and requires an emission inspection with other work annually.
-
Create a PM Group Schedule for Truck Maintenance.
-
Within the PM Group Schedule, create four separate PM Detail schedules:
-
The monthly inspection, set at 1 for every month
-
The quarterly inspection and oil change, set at 3 for every third month
-
The semi-annual inspection, oil change, and tire rotation, set at 6 for every sixth month
-
The annual inspection, oil change, tire rotation, and emission inspection, set at 12 for every twelfth month
-
-
Once activated, this PM Group Schedule results in the following Work Orders each month:
-
At months 1 and 2, a single Work Order for just the inspection (but none of the other Work Orders).
-
At month 3, a single Work Order for both the monthly inspection and the quarterly oil change (but not the Work Order for just the inspection).
-
At months 4 and 5, a Work Order for just the inspection again.
-
At month 6, a single Work Order that includes the inspection, oil change, and tire rotation.
-
At month 12, a single Work Order that includes all of the other work plus the emission inspection.
-
At month 13, a single Work Order for just the inspection.
-
Key Features
-
Works with a calendar schedule based on monthly periods. Work does not have to be done in every month.
-
Uses Model type Work Orders as the template for generated Work Orders.
-
Relies on two Scheduled Apex Classes:
-
SchedulePMGroupDetailBatch -
ScheduleCalcPMGroupScheduleDatesBatch
-
Step by Step
Create a PM Group Schedule
-
From the PM Group Schedules tab, click New
-
Make the following entries in Information:
-
Asset ID: Select the ID for the Equipment the Work Orders are for, or create a new Equipment record
-
Status: Set the Group Schedule status
-
Draft: Group Schedule design in progress and not yet in use
-
Active: Group Schedule currently in use to create Work Orders
-
Hold: Group Schedule temporarily paused
-
Inactive: Group Schedule no longer in use
-
-
Starting Month: Month number for the next required Work Order
-
End Date: Date after which FX EAM sets the PM Group Schedule to Inactive status
-
-
Make the following entries in PM Work Order Due On:
-
Day/Weekday of Month: Select to set the due date as either a particular day of the month (the fifteenth) or a particular weekday (first Friday of the month)
-
Day of the Month: Numerical day of the month work is due, or Last for Day of Month schedules
-
On: Select the week of the month for the work to be due for Weekday of Month schedules
-
Weekday: Select the weekday for work to be due for Weekday of Month schedules
-
-
Click Save or Save & New
Create PM Detail
-
From the PM Group Schedule record’s Related tab or Quick Links, select PM Group Details and click New
-
Make the following entries in Information:
-
PM Group Schedule: Defaults, but can be changed
-
Model Work Order: Select the Model type work order to use for the Work Order, or create a new one
-
-
Make the following entries in Schedule Interval:
-
Monthly Interval: How many months to wait between Work Orders of this detail
-
Release Window: Number of days in advance of the due date to release the Work Order
-
-
Make the following entries in Work Order Assignment:
-
Default Work Order Owner: select the user to define as the record owner
-
Default Account Assignment: 3rd party vendor expected to complete the work
-
New Work Order Status: select the Status to use for the generated work order
-
-
Make the following entries in Planned Workload & Costs:
-
Occurrences Per Year Override (Optional): Enter a number of work order occurrences to use for calculating costs to use instead of the system calculated number
-
-
Click Save or Save & New