FXL Components Overview
Basics
-
FieldFX Lightning (FXL) Components are available through the FieldFX Lightning Managed Package.
-
You can use the FXL Components in FieldFX Back Office when using Lightning Experience.
You must enable Salesforce My Domain prior to setting up, configuring, or using FXL Components. -
Optionally, configure custom labels for the Lightning Component.
Getting Started
-
Set up and configuration of FXL Components is accomplished with the functionality of the Salesforce Lightning AppBuilder.
-
All FXL Components must be dropped on a FieldFX record page.
-
Configurable FXL Components require you to obtain the API name of objects as part of the set up process.
-
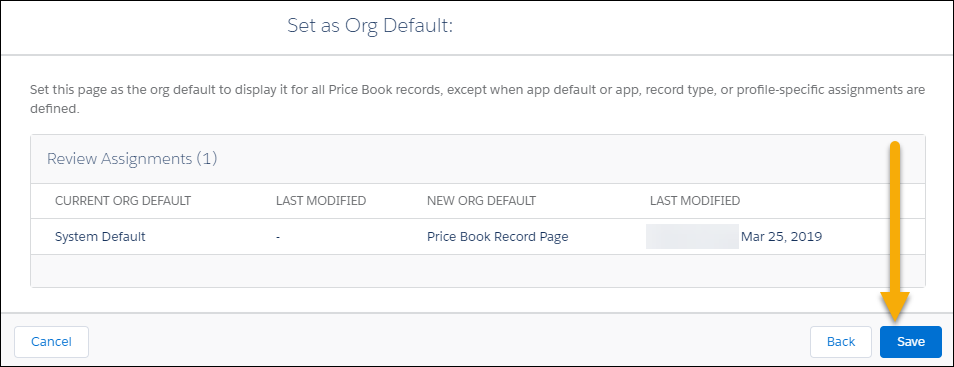
As part of the first setup of an FXL Component on a page, you must activate the configuration of the page as Org default.
Dropping an FXL Component on a FieldFX Page
-
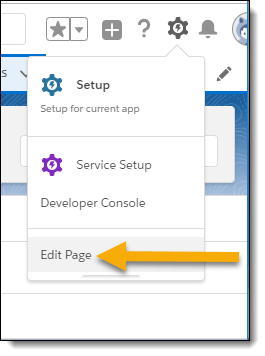
Switch to Lightning Experience
-
From the page, click the gear icon and select Edit Page to access the Lightning AppBuilder
-
From the list of available Custom or Custom Managed Lightning Components, drag the FXL Component to where you want it on the record page
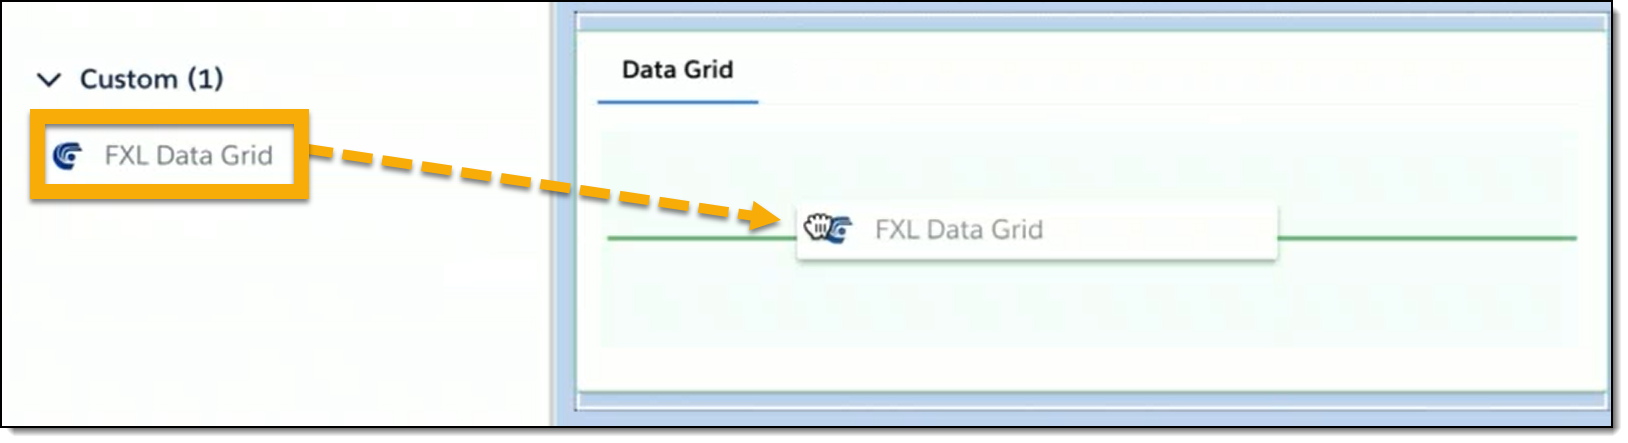
-
Click Save
Obtaining an API Name From the Object Manager
-
Access Setup in a new browser tab or window
-
Complete one of the following:
-
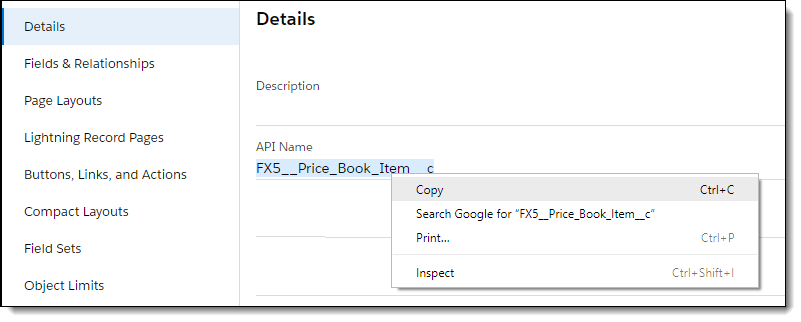
Obtain the API name of a Salesforce object
-
Access the Details tab of the object in the Object Manager
-
Copy the API name from the API Name field
-
-
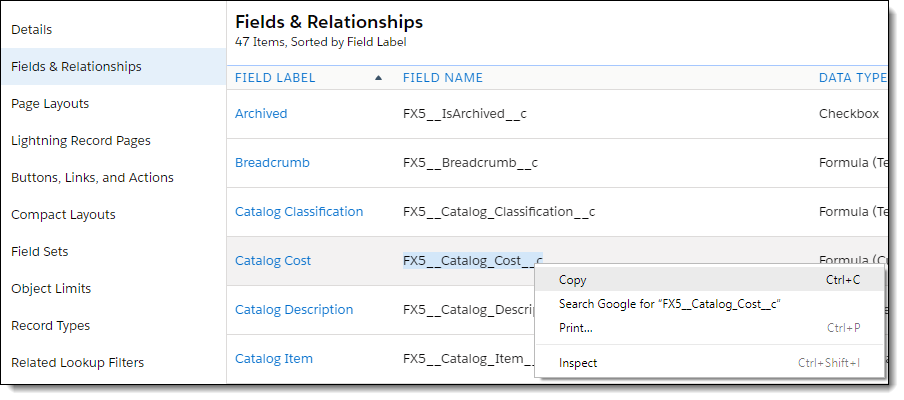
Obtain the API name of an object field
-
Access the Fields & Relationships tab of the object in the Object Manager
-
Copy the API name of the field from the FIELD NAME column.
-
-
-
Paste the API name into the applicable field in the original browser tab or window


Working with Records in Lightning
-
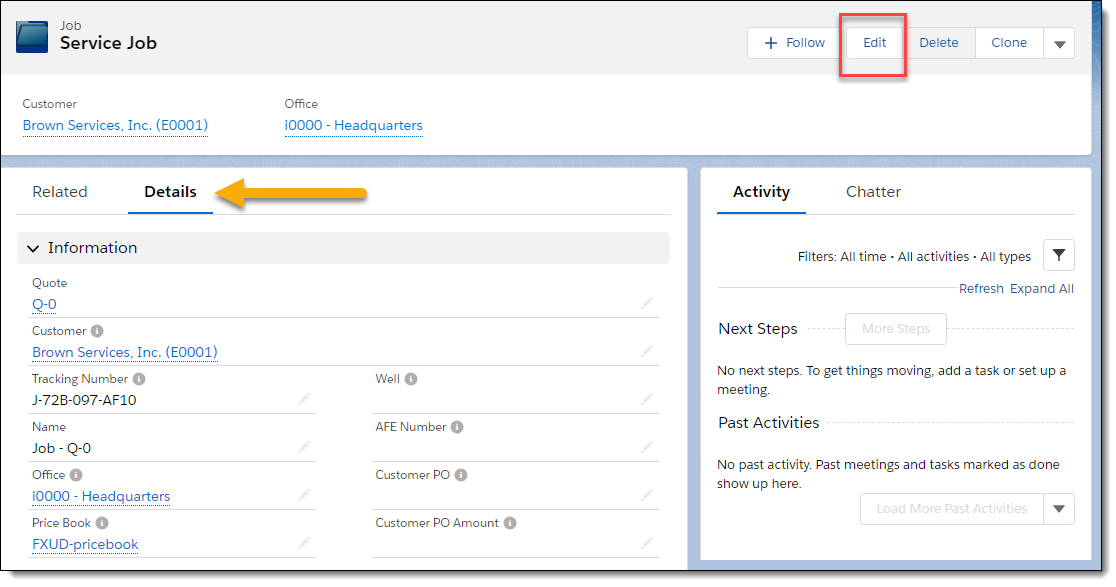
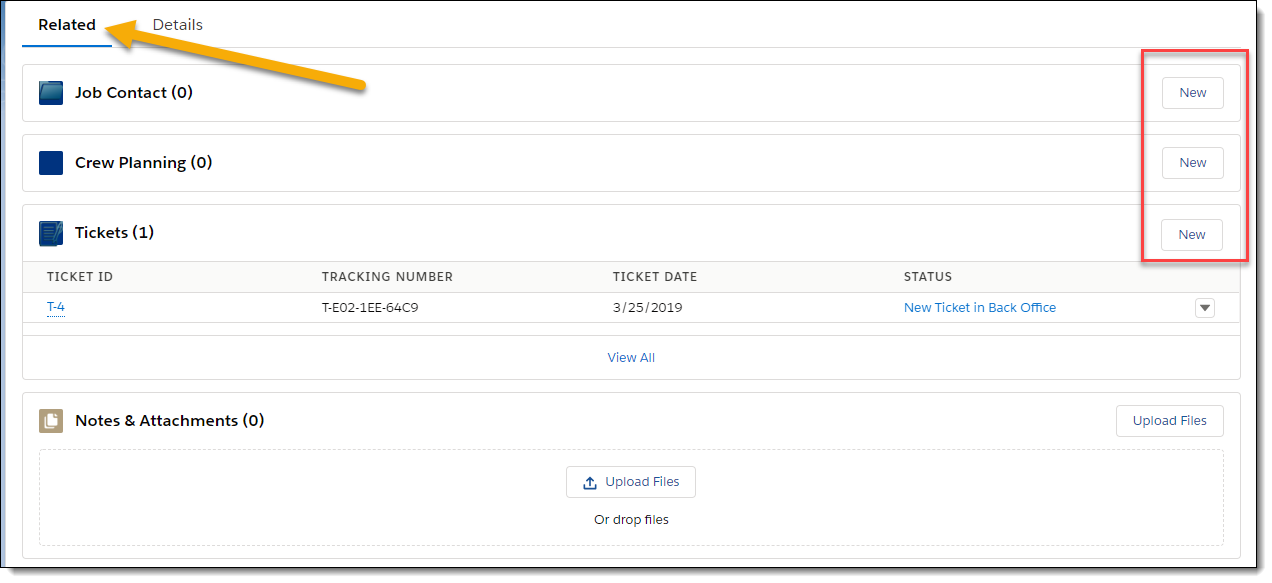
Each record in the FieldFX Lightning Managed Package currently has a Details and Related tab.
-
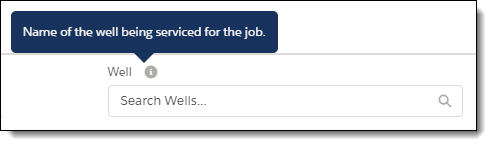
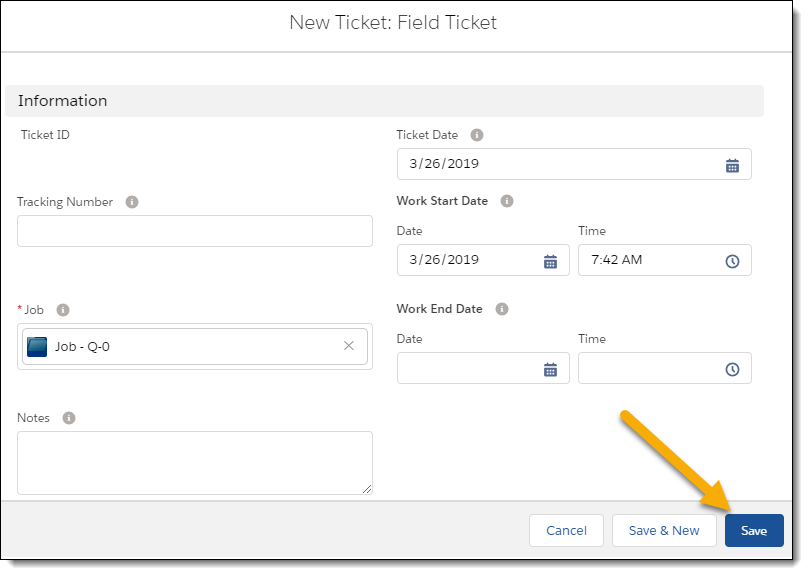
Each editable field in a record has field-level help defined, which you can access by hovering your mouse over the i icon.
-
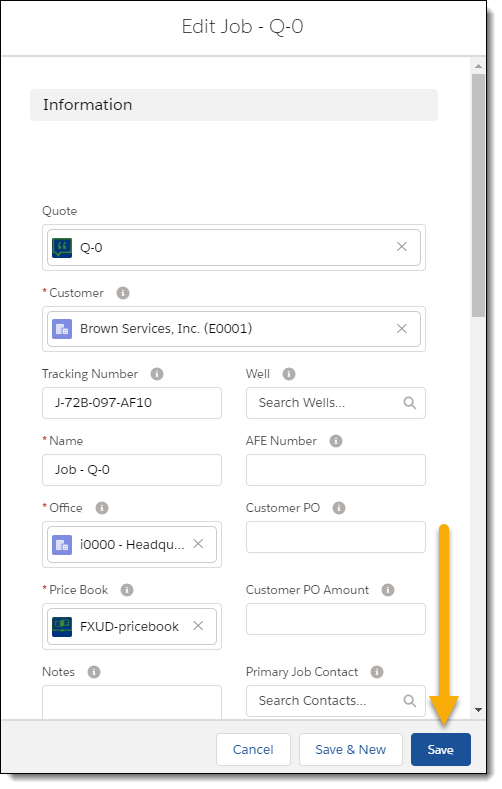
For records in the FieldFX Lightning Managed Package, you can:
-
Edit record details
-
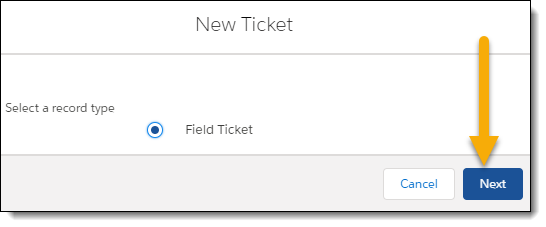
Add related items
-
Recommended Reading
-
Learn how to setup an FXL Data Grid.
-
Learn how to setup FXL Bulk Edit for use with the FXL Data Grid.
-
Learn how to setup FXL Stage Pricing for use with the FXL Data Grid.
-
Learn how to setup the FXL Report Viewer.
-
Learn how to setup an FXL Workflow.
-
Learn how to setup an FXL Quote to Job.