DataGuide in FieldFX Mobile
| This topic is for the DataGuide Package used in FieldFX. FX DataGuide was previously used in FieldFX. It has since been deprecated and now FieldFX uses the same DataGuide package that ServiceMax has developed and uses in their software. For more information, see ServiceMax DataGuide Overview and _ServiceMax Help: Introduction to ServiceMax DataGuide. |
Introduction
You can use ServiceMax DataGuide to create forms, surveys and questionnaires in FieldFX Back Office.
Forms can be connected to a particular job or ticket. The forms can also be independent and not connected to a particular record.
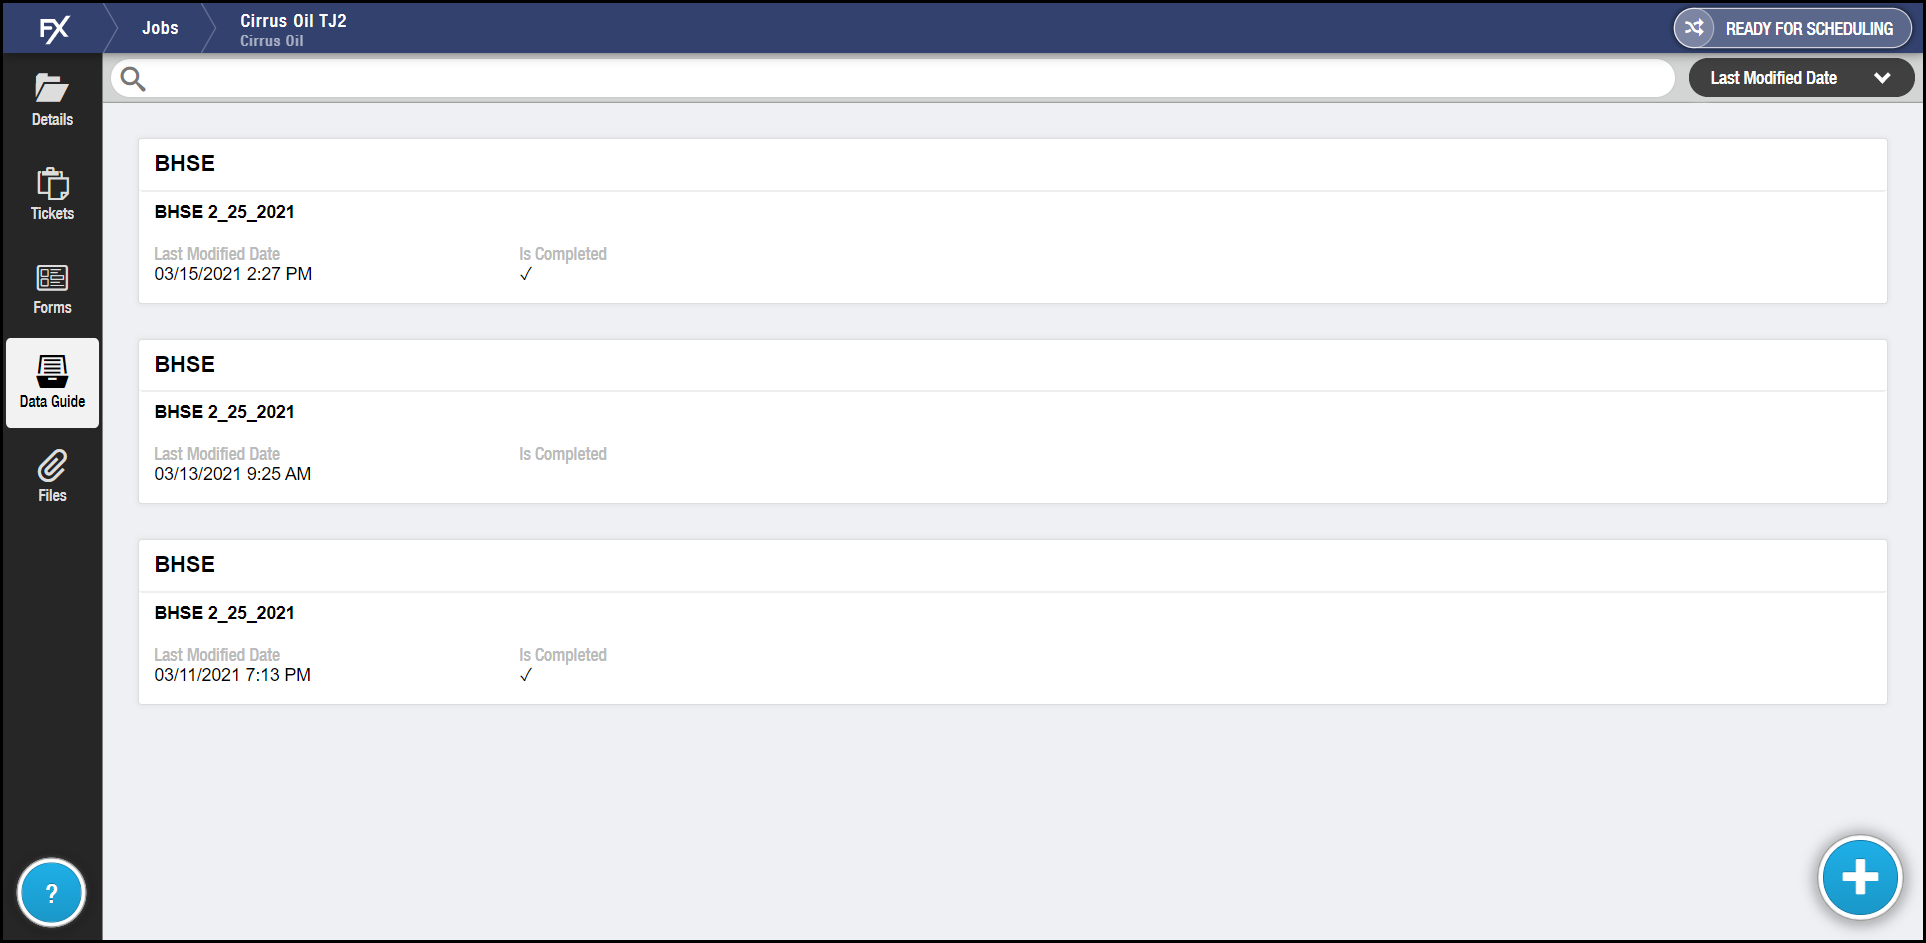
Use the DataGuide page to add and update DataGuide forms in FieldFX Mobile.
Form data for In Progress and Completed forms sync to FieldFX Back Office automatically as entries are made to the form as long as a data connection is available.
If a data connection is not available, form data is stored on the device and syncs to FieldFX Back Office automatically when a data connection is available or during the device’s next sync.
Prerequisites
To setup and use DataGuide for FieldFX, you need to:
| Have these permissions | Complete these tasks and review these topics before continuing |
|---|---|
ServiceMax DataGuide permissions to use ServiceMax DataGuide to add and complete forms. |
The org must have an ServiceMax DataGuide license and have the package correctly configured. |
Access DataGuide in FX Mobile
|
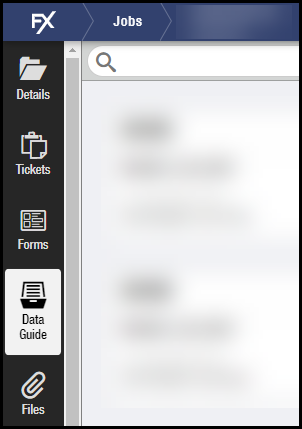
Depending on how you get to DataGuide impacts the forms you see. |
-
Select the DataGuide tab on the left menu.
From the Home page: From the Job Listing page: From a Ticket: 
-
The forms that display or are available to add vary based on where the user accesses the DataGuide tab:
Access Location Forms From the Home Page sync screen
Independent type forms not linked to a Job or Ticket display
From the Job Listing screen
Independent type forms not linked to a Job or Ticket display
From the Job Detail screen
Job type forms linked to the current Job display
From the Ticket Listing screen
Independent type forms not linked to a Job or Ticket display
From the Ticket Detail screen
Ticket type forms linked to the current Ticket display
Breadcrumbs
The DataGuide breadcrumbs display at the top of the page.
| When displaying Independent forms from the Home Screen or a Job or Ticket listing screen: |
When displaying DataGuide Job forms from a Job detail screen: |
|---|---|
|
|
|
|

Step-by-Step Guides
From the DataGuide screen, you can do these tasks:
Add a Form to a Job or Ticket
-
Access the Job or Ticket that needs the form.
-
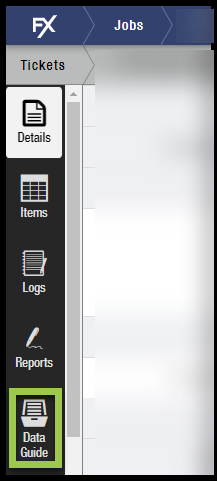
From the Job or Ticket’s detail screen, tap the DataGuide tab on the left menu.
-
Tap
 to add a form.
If the button doesn’t display, you can’t add a form to the record.
Contact your System Administrator for assistance.
-
Tap the form to add.
If there are many forms, use the search bar to filter the list.
You can only apply forms to the selected Job or Ticket display that you have access to.
-
Fill out the form.
Required fields are marked with an asterisk (*).
Forms can vary widely:
-
Can contain only a few fields or more comprehensive
-
Multiple pages
-
Allows for user inserted images
Forms may change as you complete fields based on the entries you make.
Entries record as you make them; there is no save button.
-
-
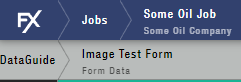
Tap one of the breadcrumb options to save your entries and exit the form.
Breadcrumbs from a form for a job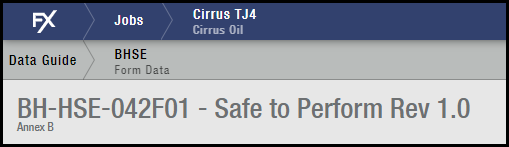
-
When the form is finished and ready to submit, scroll to the bottom of the form and tap the Complete button.
Completed forms cannot be modified.

Add a Form not Tied to a Job or Ticket
-
From the Sync screen, tap the DataGuide tab on the left menu.
-
Tap
to add a form.If the button doesn’t display, you can’t add a form to the record.
Contact your System Administrator for assistance.
-
Tap the form to add.
If there are many forms, use the search bar to filter the list.
You can only apply forms to the selected Job or Ticket display that you have access to.
-
Fill out the form
Required fields are marked with an asterisk (*).
Forms can vary widely:
-
Some have few fields, others may be more comprehensive
-
Some forms may have multiple pages
-
Some may provide for places for you to insert images
Forms may change as you complete fields based on the entries you make.
Entries record as you make them; there is no save button.
-
-
Tap one of the breadcrumb options to save your entries and exit the form.
Breadcrumbs from a form for a job. -
When the form is finished and ready to submit, scroll to the bottom of the form and tap the Complete button
Completed forms cannot be modified.
Modify an In-Progress Form
-
Navigate to the Job or Ticket the form is for, then tap the DataGuide tab.
-
Or for a form that is not tied to a Job or Ticket:
-
Tap on the FX logo to return to the Home Page sync screen.
-
Tap the DataGuide tab.
-
-
To return to a form, select it from the list.
Forms you can modify don’t have a checkmark in the Is Completed field.
Don’t see the form?
-
Verify that you accessed the correct record for the form.
-
If the form is not for a record, make sure you entered DataGuide from the Home Page Sync screen.
-
-
Make changes.
Your entries save automatically as you make them. -
You can either:
Tap a breadcrumb to exit the form without completing the form.
or
Tap the Complete button at the bottom of the form to finish the form.
You can’t modify completed forms.
View Entries for a Completed Form
-
You can either:
Navigate to the Job or Ticket the form is for, then tap the DataGuide tab on the left menu.
or
For a form that is not tied to a Job or Ticket, tap on the FX logo to return to the Home Page sync screen, then tap the DataGuide tab on the left menu.
-
To return to a form, select it from the list.
Forms you can modify don’t have a checkmark in the Is Completed field.
Don’t see the form?
-
Verify that you accessed the correct record for the form.
-
If the form is not for a record, make sure you entered DataGuide from the Home Page Sync screen.
-
-
View the form.
-
Tap a breadcrumb at the top of the screen to exit the form.
Save and Print a Form
When in FieldFX Mobile, users can access DataGuide Forms to save and print the form as a PDF to the device.
| Only forms in either In Progress or Completed status existing on the device can be saved as a PDF. |
-
While viewing the form, select
 in the lower right of the screen.
FX DataGuide generates a PDF version of the form and the print window appears with a preview of the PDF form.
The download behavior for completed DataGuide forms is different depending on the platform:
iOS Android Windows You are presented with a prompt confirming you want to download as a PDF.
There is no prompt and the file is opened immediately.
There is no prompt and the Save As option is opened so you can select the destination location and rename the PDF if desired.
-
At the PDF preview window,
-
Select Save as PDF under Destination.
-
Tap Save.
-
Navigate to the device’s location that you want the PDF to save in.
-
-
The PDF downloads to the device. The user can access the device’s normal print prompts to print the form to a connected printer.
The resulting file can also be shared using other methods available on the device, such as an AirDrop on an Apple device.
|