Job Page
Use the Job page to add and update jobs in FieldFX Mobile.
Populate Job Fields from a Quote
You can also create a job from a quote and these fields carry forward to the fields in FX Mobile:
|
|
Job Page Layout

The FX Mobile Job Page is laid out as follows:
| Callout | Item | Description | ||||||||||||
|---|---|---|---|---|---|---|---|---|---|---|---|---|---|---|
1 |
The Job breadcrumbs display at the top of the page. 
|
|||||||||||||
2 |
|
|||||||||||||
3 |
Select the sidebar buttons to do the following:
|

Walkthrough
Basics
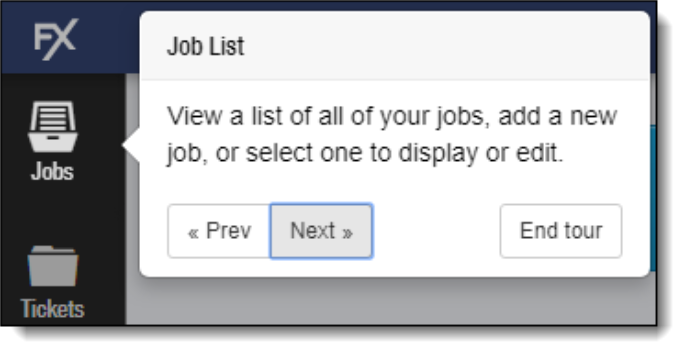
Use the walkthrough to view explanations of buttons and controls available on the current screen.
Using the Walkthrough
To display the walkthrough, select the help question mark button on the sidebar.

To move through the explanations of each feature, select Prev or Next.
To close the walkthrough, select End tour.
Customizing Walkthrough Text
Administrators can customize the text that displays in the walkthrough messages to conform to your processes and language.
In addition to text, the walkthrough can display images, PDFs, and videos available from a static URL.
Each stop can display multiple slides.
For details on customizing the help text, see FX Mobile Tour Builder.
Step-by-Step Guides
Add a New Job
-
In FX Mobile,
-
You can select Start a New Job on the Home page.

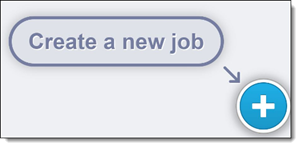
-
Or you can select Create a new job on the Job Search page.
-
-
Select a job type from the sidebar.
Job Types shown can vary depending on the types set up in your back office. -
Enter the job details.
Fields with a red bar are required. -
Click on the Customer field and then use the Search bar to find the customer’s name.
-
Enter a Name for the job.
-
To select an Office, click in the field.
-
At the Office screen:
-
Use the Search bar, enter a name and press Enter to search.
See Job Search Page.
-
Select from the matching list.
The office name appears in the Office field.
-
-
-
Select a Price Book by clicking in the field and using the Search bar in the Price Book screen.
The office name appears in the Price Book field. -
In the Segment field, click the field and use the drop down list to select a segment.
The segment’s name appears in the field.
-
Finish enter the job details if necessary.
-
Click the Finish button to complete.
The finished job appears.
-
-
You can use the sidebar icons to navigate through the job.
Back to Step-by-Step Guides
Copy a Job
-
In FX Mobile, select Jobs to open the Job Search Page.
-
Select a job to open.
-
Click the
 for the job.
A copy of the job opens up.
The Tracking Number is different.
-
Change the job details.
-
Click
 to finish.
You can now attach reports, tickets, or FX Forms to the new job.
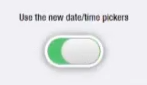
Date and Time Picker
You can use a new date and time picker to set the date and time. They won’t appear unless you toggle the Use the new date/time pickers toggle at the Home page.
|
|
The old date/time pickers will be unavailable after 4/18/2023 and you’ll only be using the new date/time pickers.
You can switch between the date/time pickers by using the toggle slider 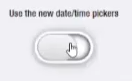 on the FX Mobile main page.
-
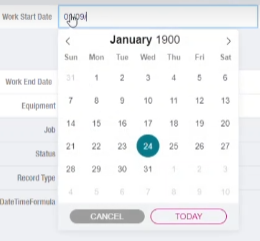
Click on the date and either:
-
Use the pop-up calendar to select the date. For the current date, click TODAY.
-
Type in the desired date and enter the date in the MM/DD/YYYY format.
-
-
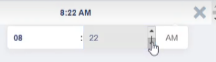
To set a time, click on a Time field.
You can use a new time picker to set the time. The new time picker won’t appear unless you toggle the Use the new date/time pickers toggle at the Home page.
Click on the time and use the scroll bars to set the Hour and Minute.