FX Trucking Mobile App
|
FieldFX has deprecated the FX Trucking module as of December 2023. If you have further questions, contact your FieldFX Account Representative. For more information, see December 2023 FieldFX Deprecated Features - FX Trucking |
Prerequisites
To use FX Trucking, you need to:
| Have these user licenses | Have these permissions | Complete these tasks and review these topics before continuing |
|---|---|---|
|
Introduction
-
Dispatchers assign routes in the FX Trucking tab in FieldFX Back Office.
-
Drivers use the FX Trucking Mobile App to work their assigned routes.
-
The app walks the driver through each of each
-
Pickup location’s arrival, loading, extra charges, and completion.
A route can only have one pickup location. -
Dropoff location’s arrival dropoff, unloading items, extra charges, and completion.
A route may have multiple dropoff locations.
-
Getting There
-
FX Trucking Mobile App is available from your device’s app store.
Search for FX Trucking. -
If necessary, download the app, then open the app from your device’s home screen or all apps drawer.
How it Works
-
The app walks the driver step-by-step through the process of completing their current route.
-
Drivers can review their assigned routes, but they cannot change the order in which they complete them.
-
Drivers can notify the dispatcher of a delay in completing their route.
-
Add additional charges and input quantities loaded at pickup locations or unloaded at dropoff locations.
-
Create, sign, and print reports at loading and unloading
-
Access the mobile device’s map program to create navigation maps
Step by Step
|
Screenshots are from an iOS device. Other types of devices may appear differently based on their operating system. |
Log in to the FX Trucking App
-
If necessary, install the FX Trucking Mobile App from your device’s app store
-
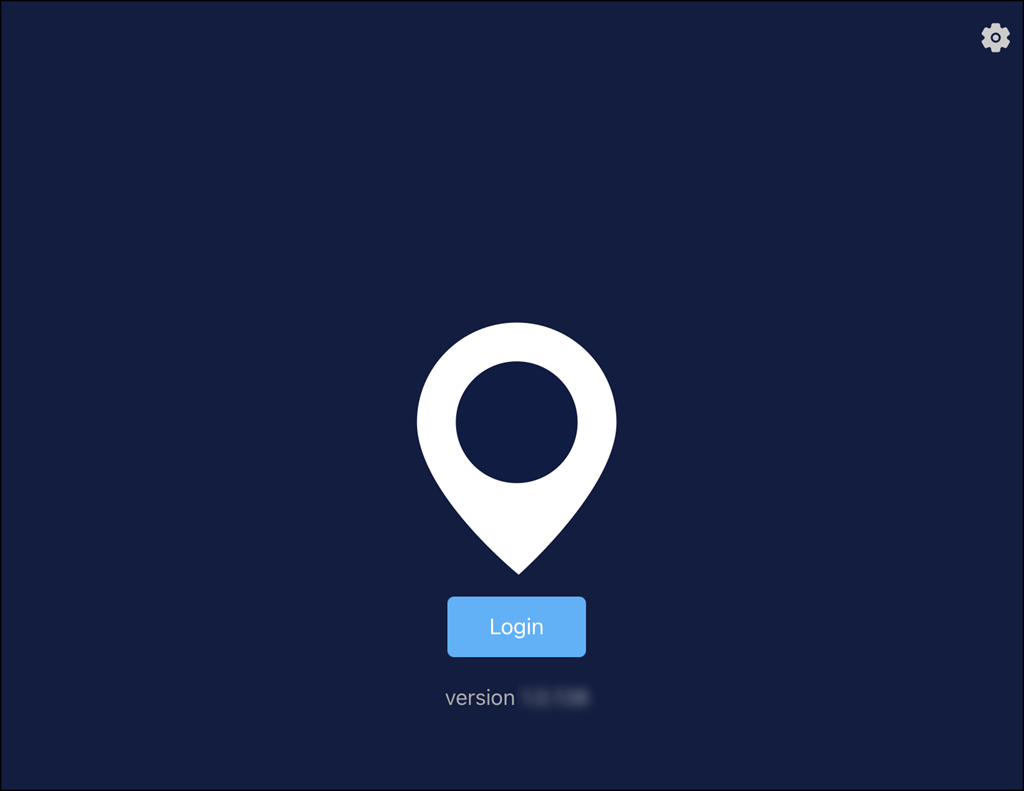
Tap the FX Trucking app icon on your device to launch the application

-
Tap the Login button
-
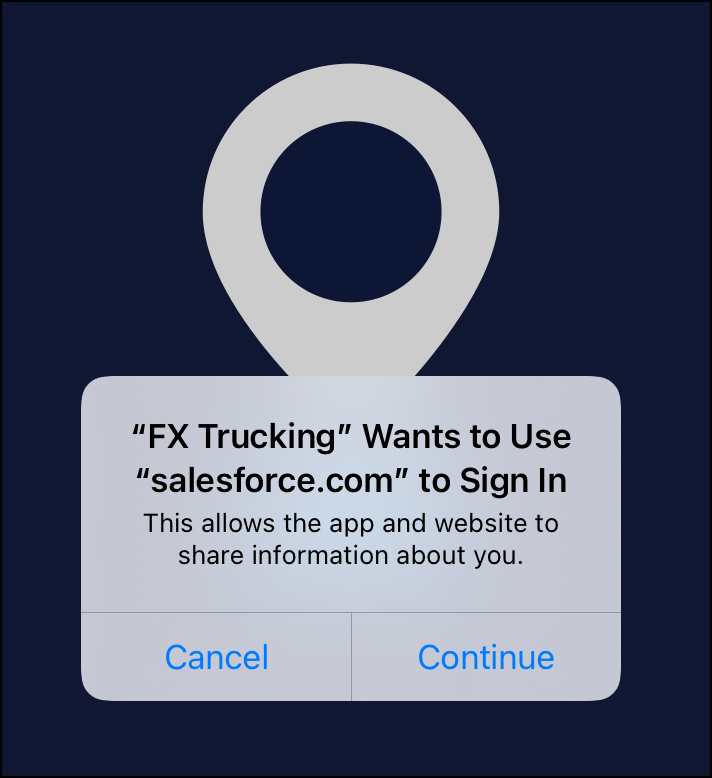
On first use, confirm permissions for the app to use Salesforce for login
Tap Continue to grant permission and access the Salesforce credential screen
-
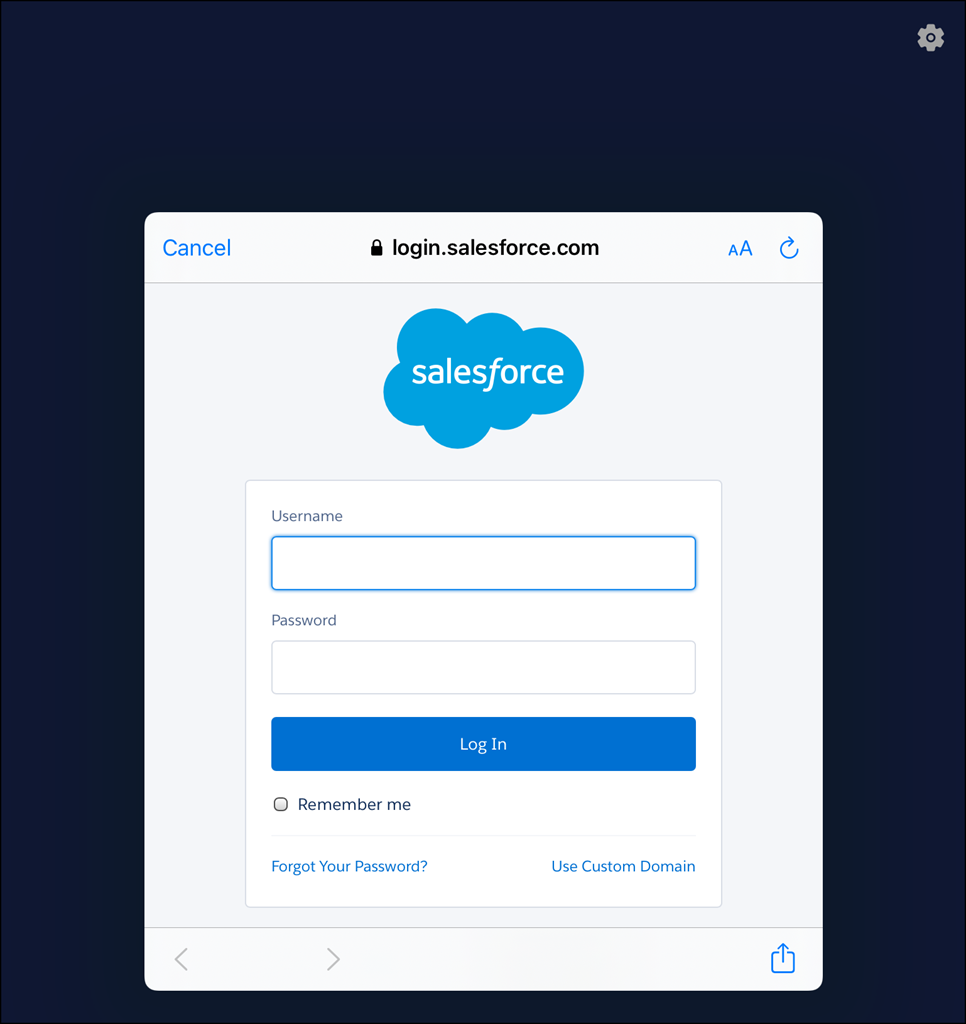
Enter your FieldFX credentials and tap Log In
-
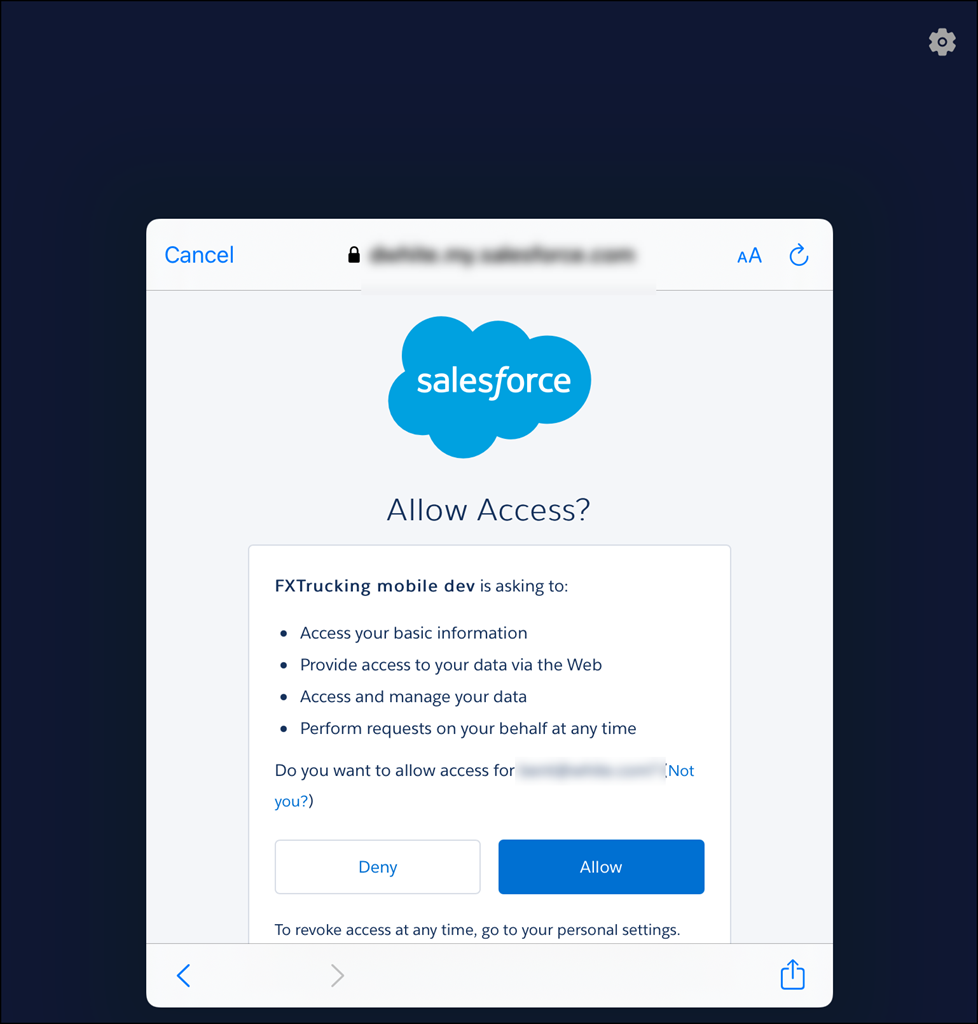
On first use, the app presents messages asking for permissions required to function:
-
If required, enter the Verification code from Salesforce
-
Tap Allow to grant FX Trucking access to Salesforce
-
-
Grant additional permissions for the app to function:
-
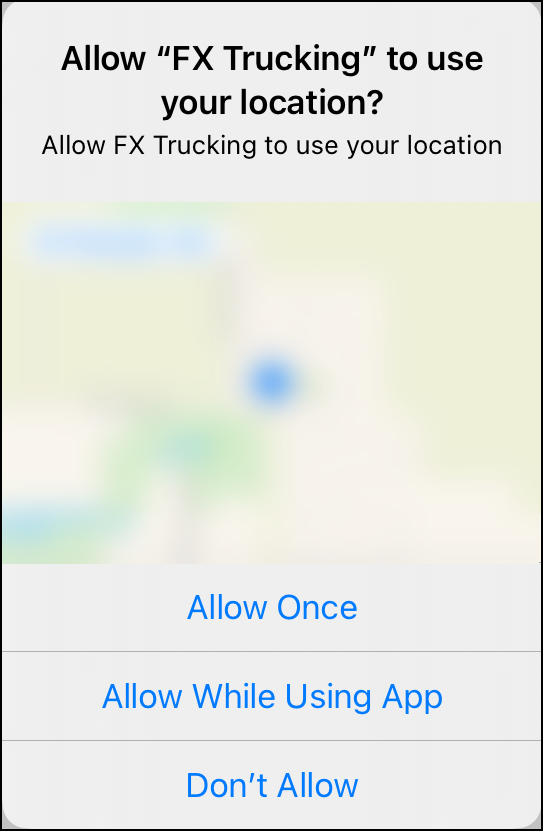
Grant the app permission to use your device’s location by tapping Allow While Using App
Prompts on Android devices may vary from the screenshot examples included here.
-
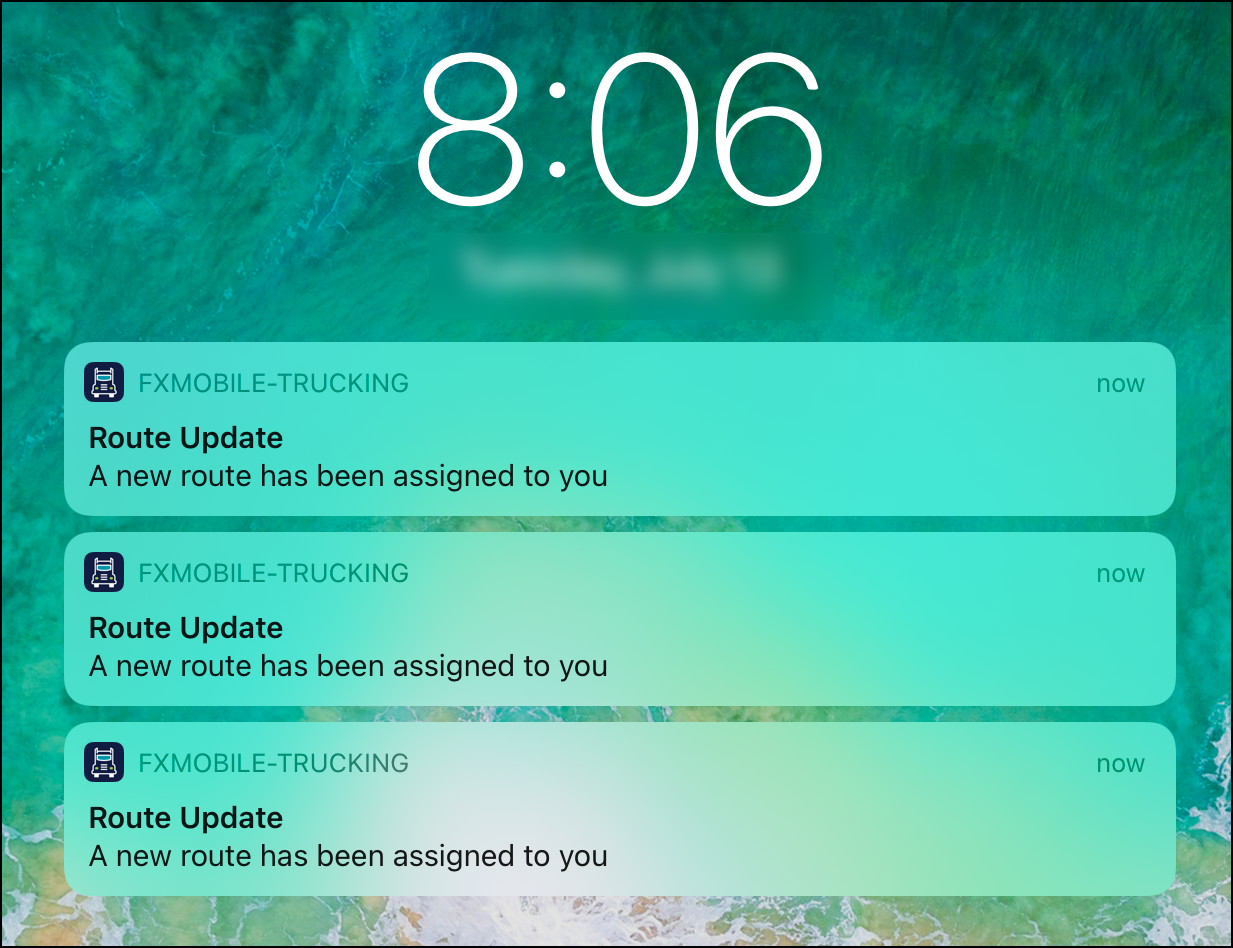
Grant the app permission to send notifications to your device by tapping Allow
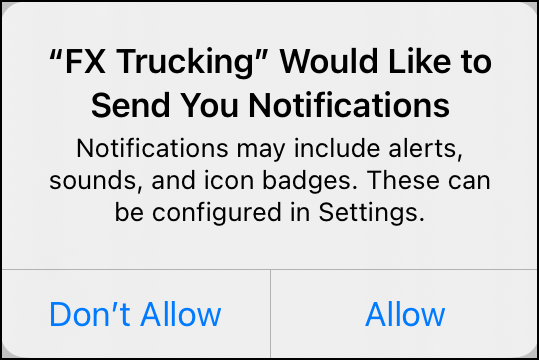
When enabled, the driver is alerted when the dispatcher assigns them a new route in Field FX Back Office’s Route Dispatch screen.

-
-
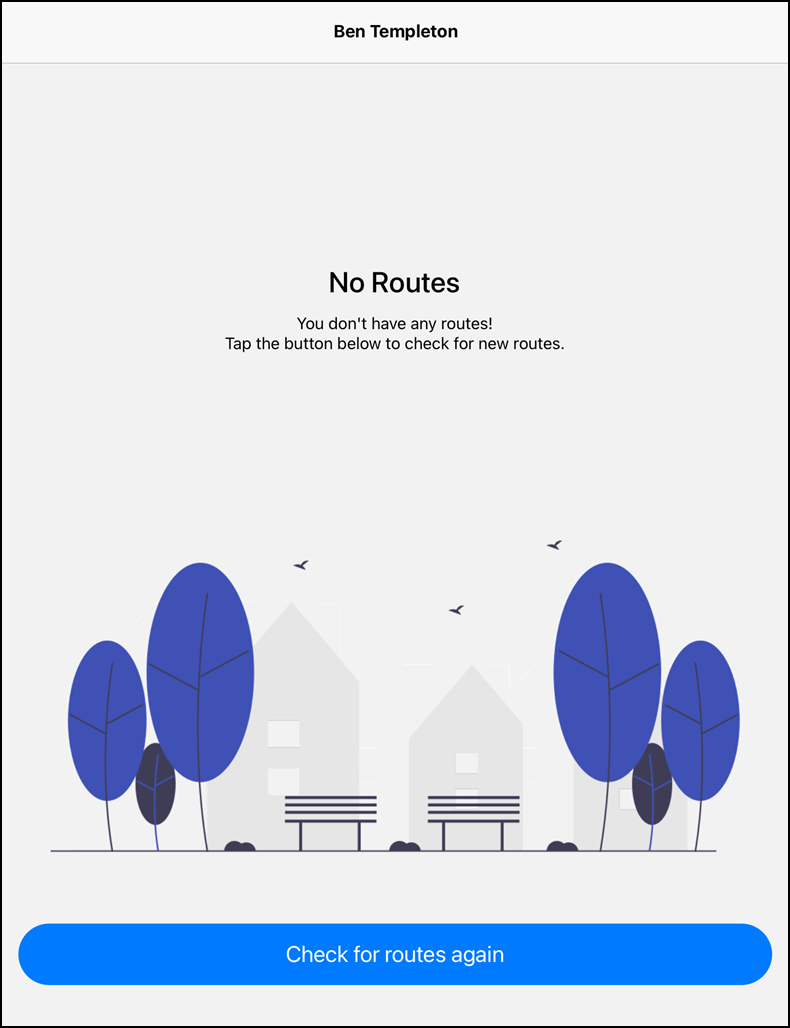
After completing app permissions, FX Trucking displays the current route or the No Routes screen
FX Trucking displays the current active dispatched route.
If no routes are assigned, a No Routes screen displays instead.
Switch Between Production and Sandbox Orgs
-
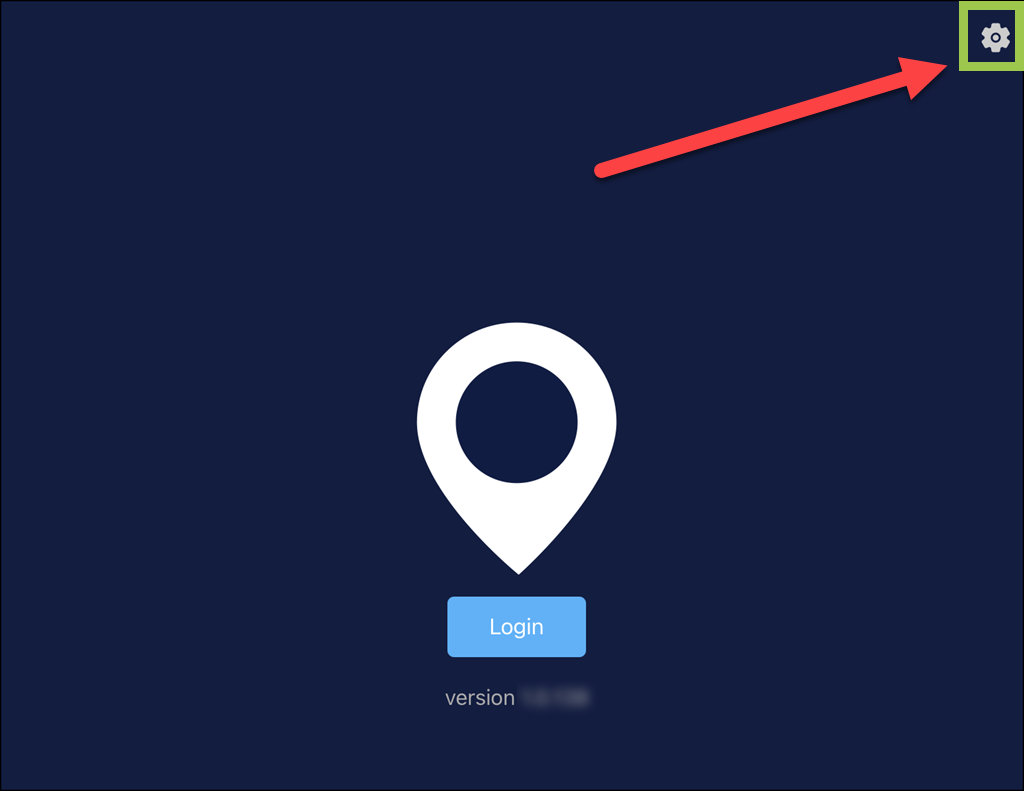
Tap the FX Trucking app icon to open it
-
From the Login screen, tap the gear icon in the top right
-
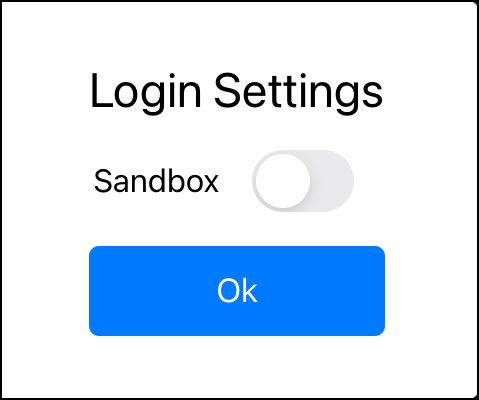
Tap the toggle to switch to or from a Sandbox login prompt
Sandbox toggle disabled to login to a Production org:
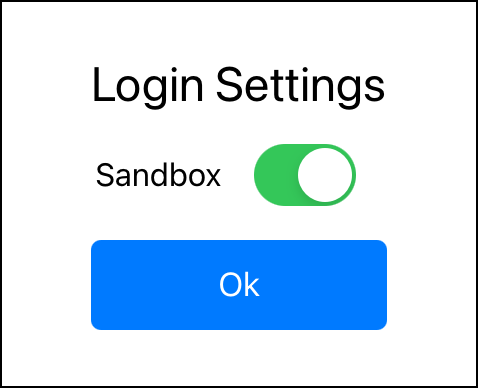
Sandbox toggle enabled to login to a Sandbox org:
-
Tap Ok
-
Tap Login to access the Salesforce login screen
Login with a Custom Domain
-
From the FX Trucking App, tap Login
-
Tap Continue at the prompt to proceed to the Salesforce login screen
-
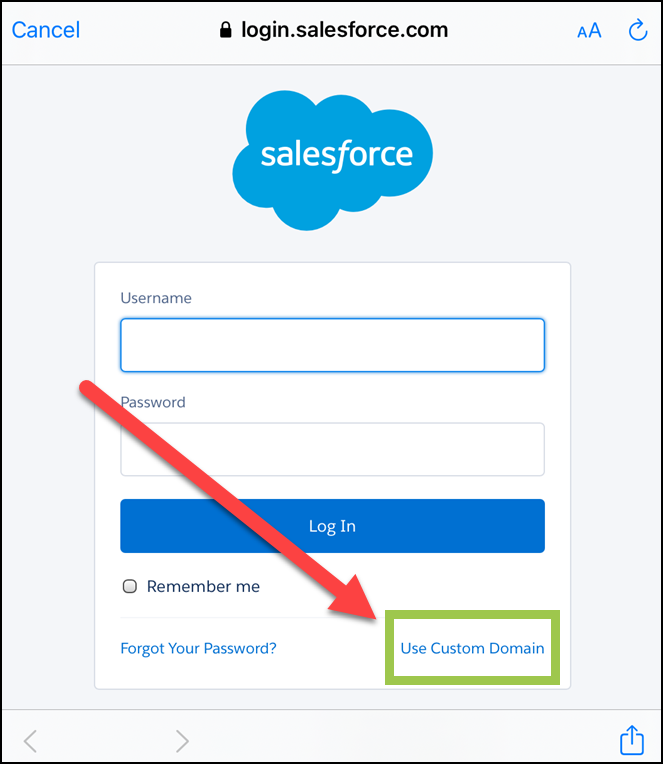
Tap Use Custom Domain in the bottom right of the login screen
-
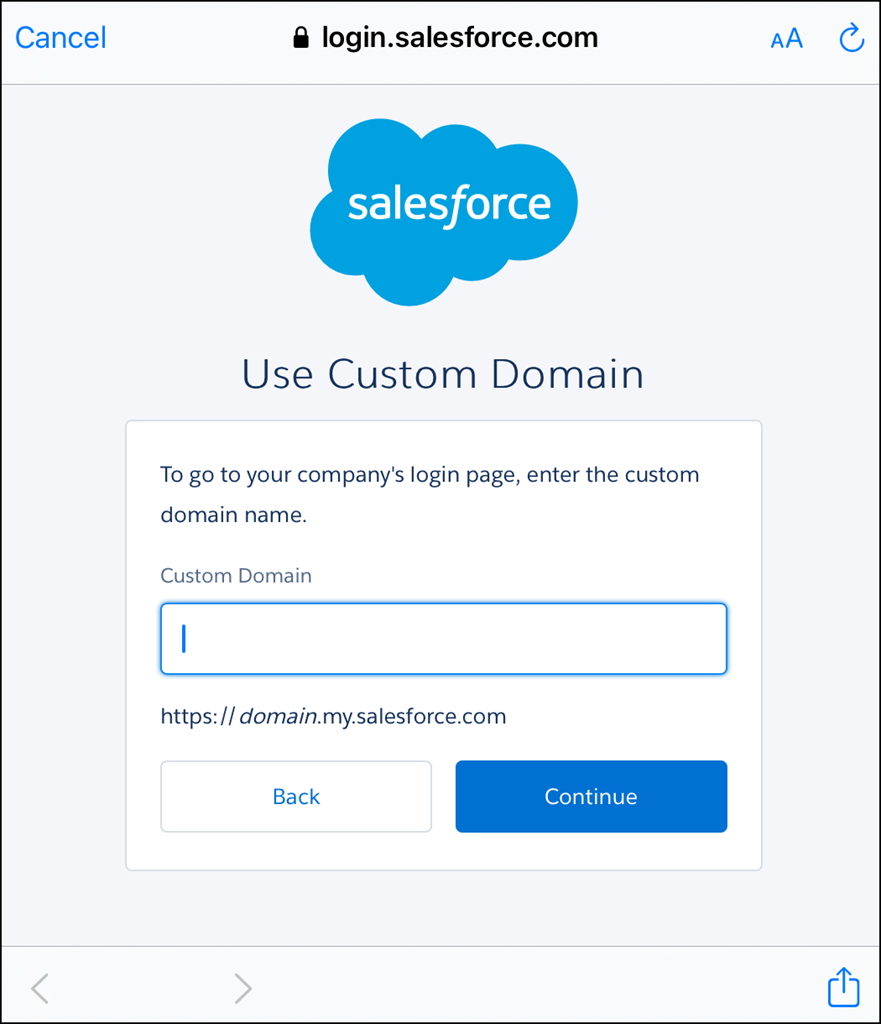
Enter the Custom Domain to use, then tap Continue
-
Follow the prompts to login
Work a Route
-
Each route consists of one pickup location and one or more dropoff locations.
-
If available, additional charges can be added at any pickup or dropoff location.
Pickup Location
-
Launch the FX Trucking App and, if necessary, login
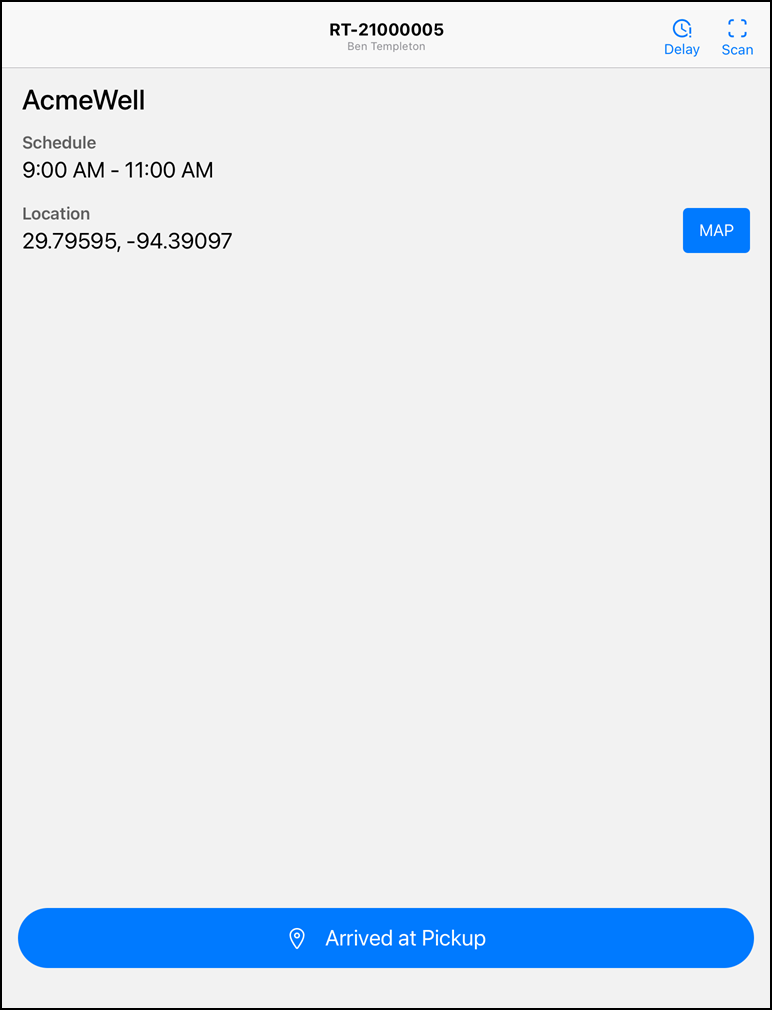
The current active route displays.
-
(Optional) Tap Delay to notify the dispatcher of a reason for late arrival time
For more information, see Enter a Route Delay below.
-
Once at the assigned location for loading the truck, tap Arrived at Pickup
-
Confirm the item to load and enter or verify the quantity loaded, then tap Next
The Unit of Measure used is specified in the related Catalog Item record.
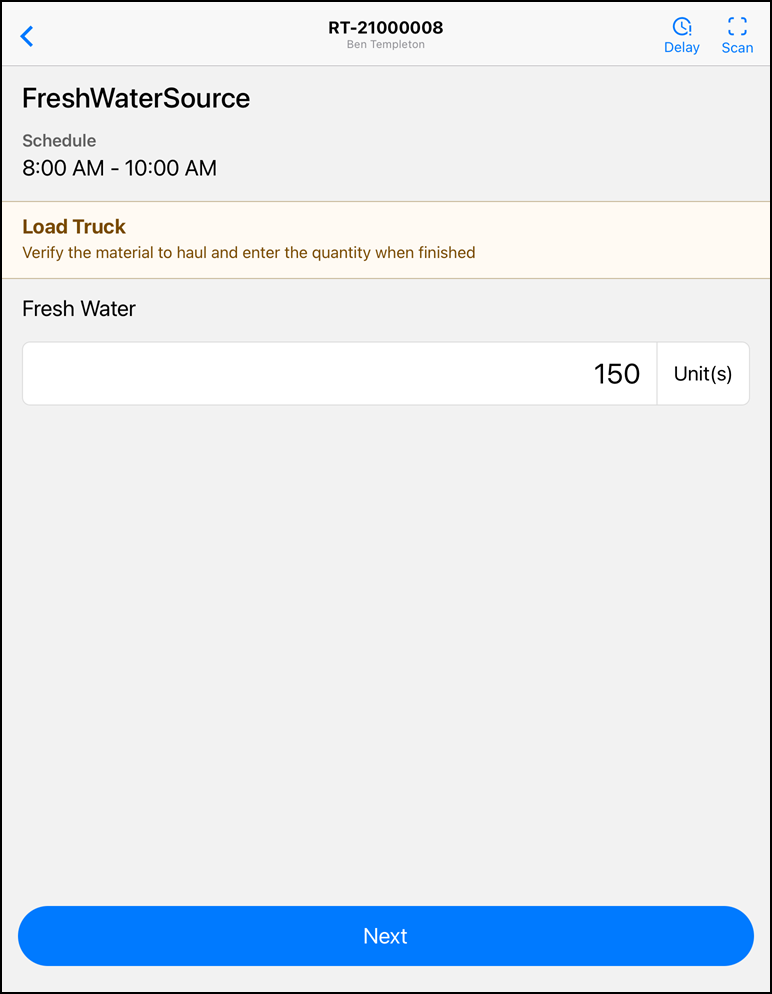
You may have additional fields to view or complete depending on hos FX Trucking is configured. -
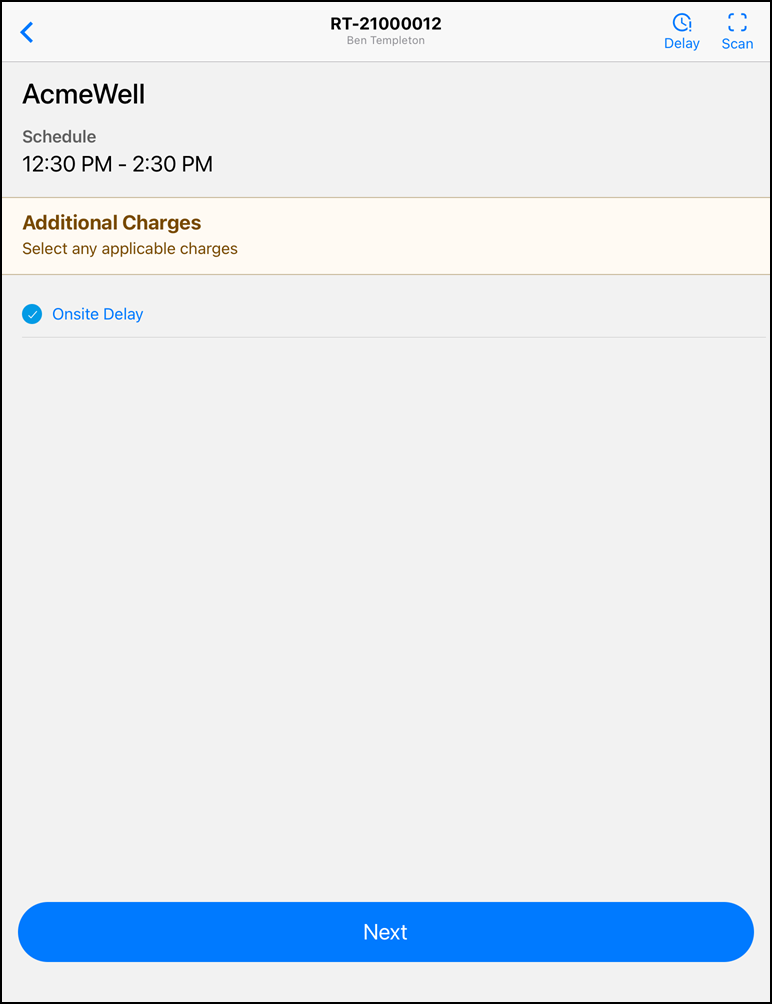
(Optional) Select any Additional Charge(s), then tap Next
Items in the job’s price book related to a Catalog Item with a Hauling Charge Type of Extra Load Charge display.
If there are no items Extra Load Charge items in the price book, this screen is skipped.
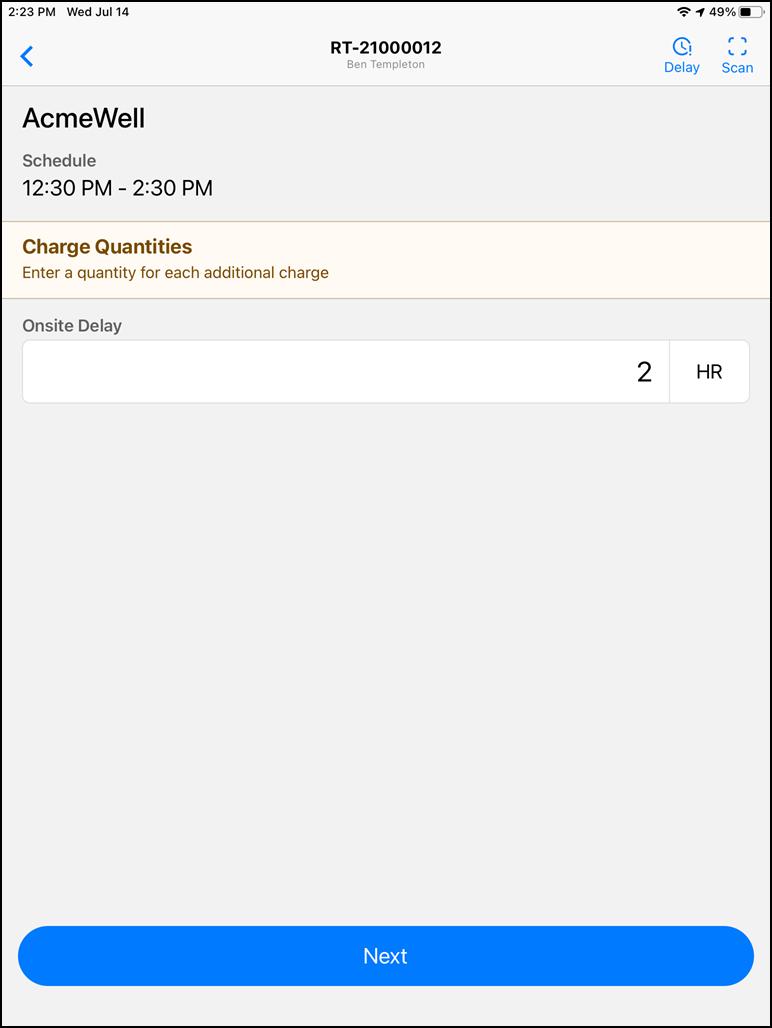
-
(Optional) If any Additional Charges were selected on the previous screen, enter the quantity or quantities, then tap Next
The Unit of Measure used is defined in the price book item’s related Catalog Item.
-
If a report is required, create and sign the report using the prompts.
(Optional) You can also print the report. -
Review details on the pickup summary screen, then tap Pickup Completed
If you need to make any changes, tap the back arrow in the top left of the screen to return to a previous screen and make changes.
The first dropoff location displays.
Dropoff Location
-
The process of completing a dropoff is similar to the process for completing a pickup.
-
If desired, access the Map for the dropoff location after completing the route’s pickup
-
(Optional) Tap Delay to notify the dispatcher of the reason for a late arrival time
For more information, see Enter a Route Delay below.
-
Tap Arrived at Dropoff
-
Confirm the item to drop off and verify or enter the quantity to unload, then tap Next
Additional fields may display or require entry, depending on the FX Trucking setup. -
(Optional) Select any Additional Charge(s), then tap Next
Items in the job’s price book related to a Catalog Item with a Hauling Charge Type of Extra Disposal Charge display.
If there are no Extra Disposal Charge items in the price book, this screen is skipped.
-
(Optional) If any Additional Charges were selected on the previous screen, enter the quantity, then tap Next
The Unit of Measure used is defined in the price book item’s related Catalog Item.
-
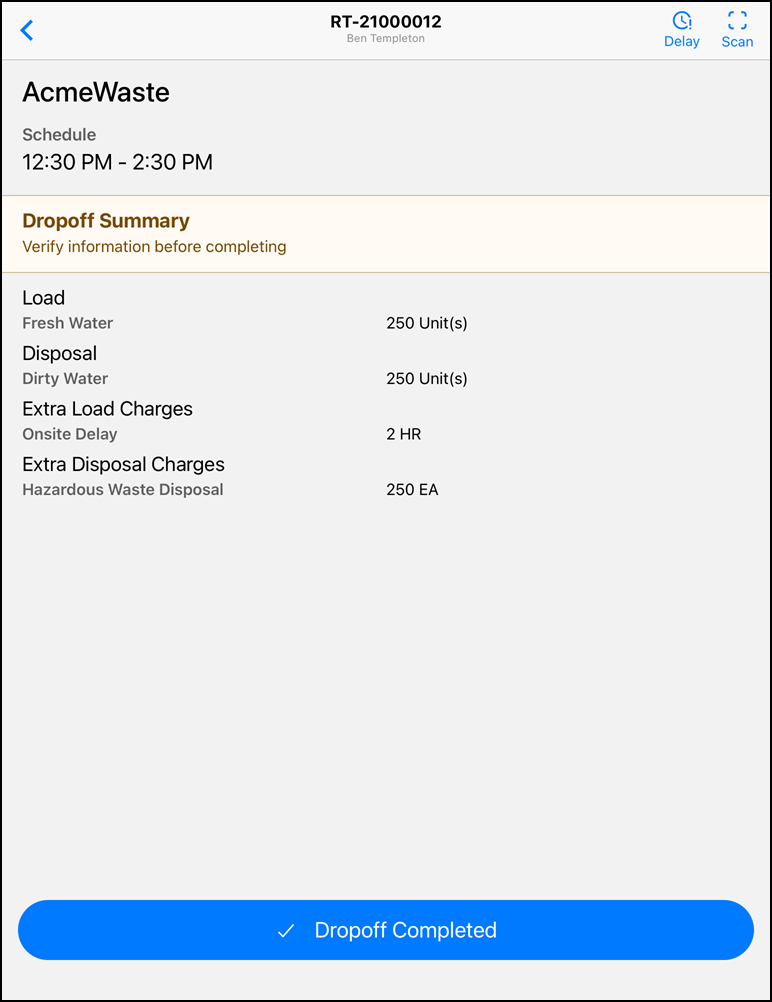
Review details on the Route Summary screen, tapping the back arrow to return to a previous screen to make any changes
-
If a report is required, create and sign the report
You can also print the report. -
Tap Dropoff Completed to finish the route
The next dropoff displays. Or, if the route is complete, the next assigned route displays. If there are no more assigned routes, the No Routes screen displays.
-
Enter a Route Delay
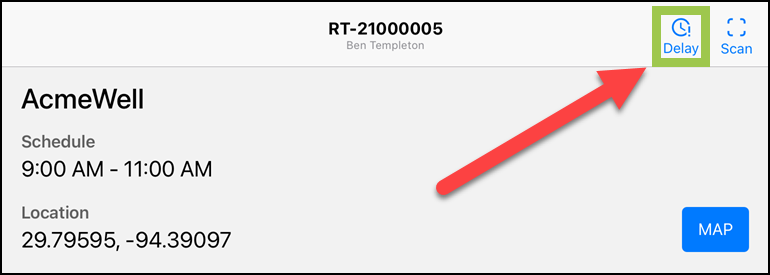
-
From the current active route, tap Delay
-
Select the type of delay to enter:
-
Route
-
Customer
-
Vehicle
-
-
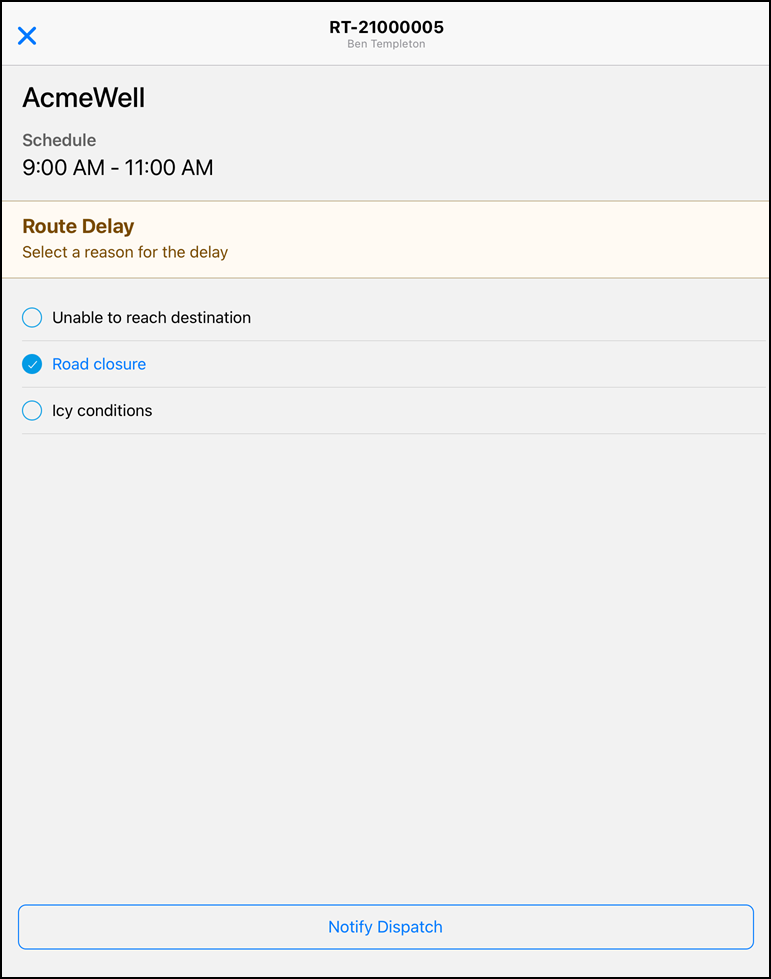
Select the reason for the delay
The available reasons vary based on the type of delay selected.
-
Route: Unable to reach destination, Road closure, or Icy conditions
-
Customer: Long Line or Unable to reach destination
-
Vehicle: Break down, Flat tire, or Wreck
-
-
Tap Notify Dispatch
Review Assigned Routes
From an Assigned Route
-
From the current active route, tap the Route ID at the top of the screen
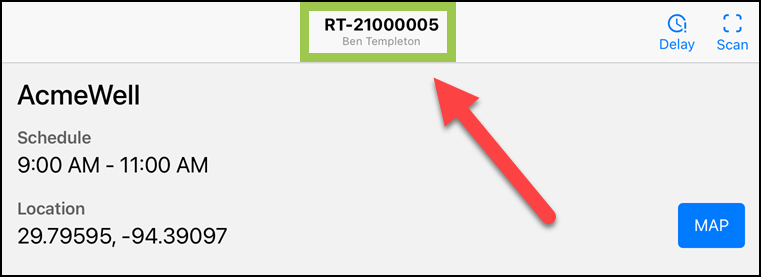
-
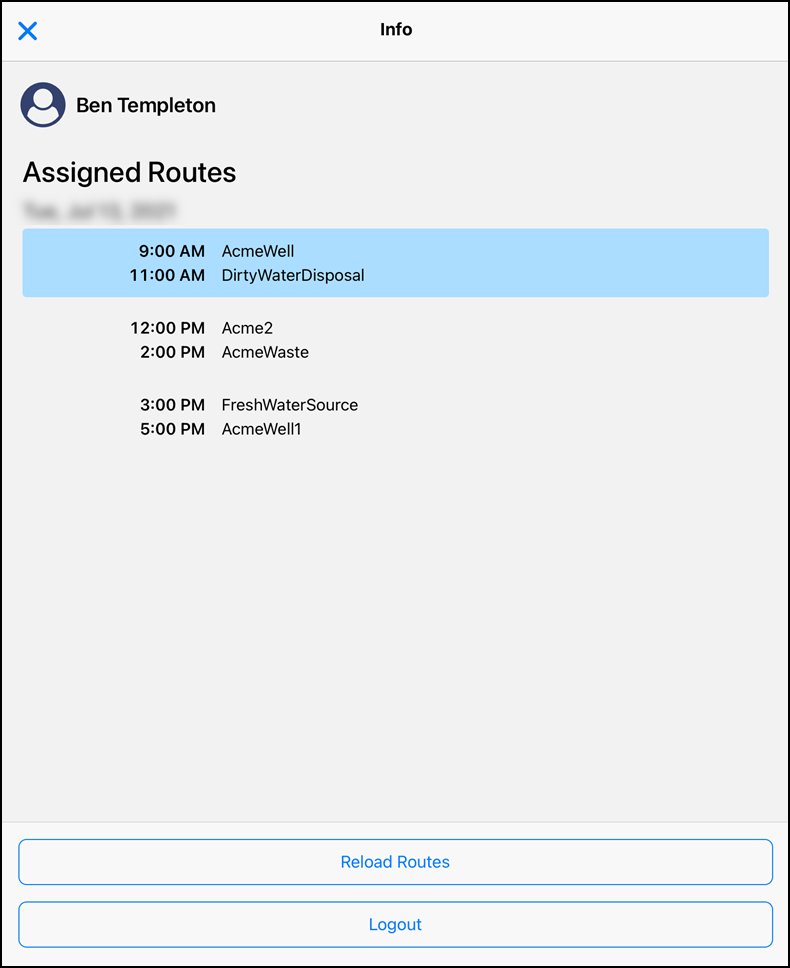
The Assigned Routes screen displays the list of upcoming routes
The current active route is highlighted in blue.
-
Tap Reload Routes to update the list of routes with any changes from the dispatcher
-
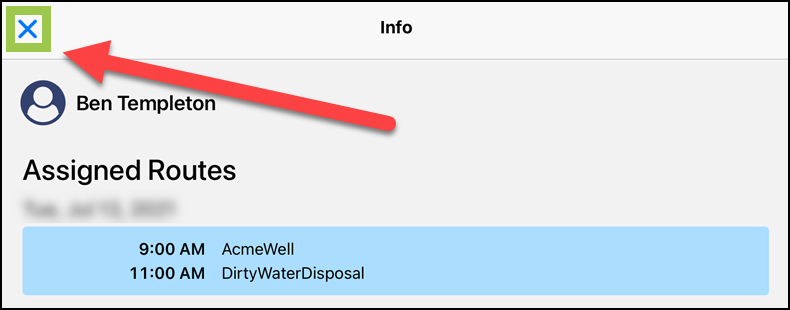
Tap the X in the top left corner to close the screen and return to the current active route

Recommended Reading
-
Read more about the FX Trucking module.
-
Learn how to assign truck routes to drivers.
-
Learn how to set up the FX Trucking module.
-
FX Trucking Minimum Permissions
Learn the minimum permissions needed to use the FX Trucking module.
-
Read about updates to the FieldFX Trucking module