How to Use FieldFX Schedule and Dispatch
Introduction
Schedule & Dispatch is a module in FieldFX that is a resource management app. It runs within FieldFX Back Office.
With Schedule & Dispatch you can schedule jobs, dispatch a crew or multiple crews to one or more jobs, and also dispatch equipment to one or more jobs.
To open Schedule & Dispatch, see Access Schedule & Dispatch.
Prerequisites
To use Schedule & Dispatch,
| Have these user licenses | Have these permissions | Before continuing complete these tasks |
|---|---|---|
|
Navigation Bar
Use the Navigation bar to move around the app.
| If there are no layouts, you won’t be able to access the Schedule or Dispatch tabs. |
Here are the options on the Navigation bar:
| Option | Description |
|---|---|
Schedule |
Opens the Schedule Jobs layout |
Dispatch |
Opens the Dispatch layout |
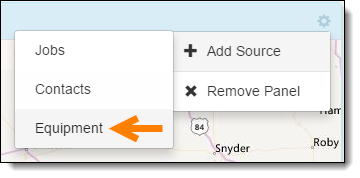
+ |
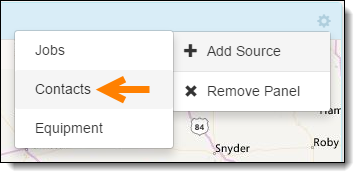
Opens a menu with these options:
|
FX |
Opens a menu with options to
|
Layouts
A layout is a collection of panels you can use to schedule and dispatch items.
There are two default layouts:
| Layout | Description |
|---|---|
Schedule |
Use to schedule jobs |
Dispatch |
Use to dispatch crew and equipment to jobs |
You can add layouts featuring your own combinations of panels as necessary.
| When you add custom layouts, they are unique to your user record. |
Panels
A panel is a component of a layout you can use to schedule and dispatch items. You can add or remove panels on layouts as necessary.
| When you customize the panels on layouts, the configurations are unique to your user record. |
Available Panels
With the Schedule & Dispatch module of FieldFX, you can utilize these panels:
| Job | Contact | Equipment | Map |
|---|---|---|---|
Job |
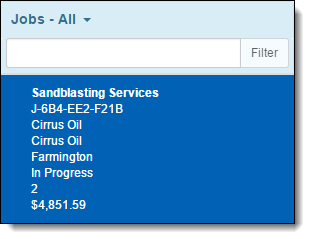
Use the Job - list panel to select jobs available for scheduling. 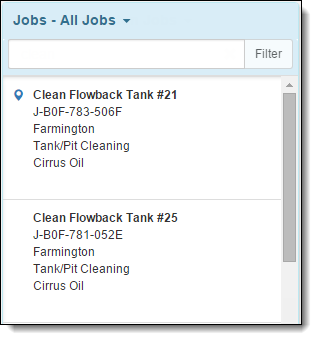
|
||||||
Use the Job - table panel to select jobs available for scheduling 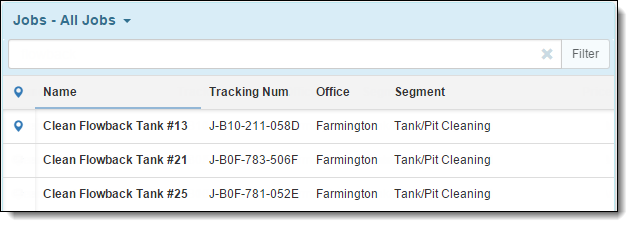
|
|||||||
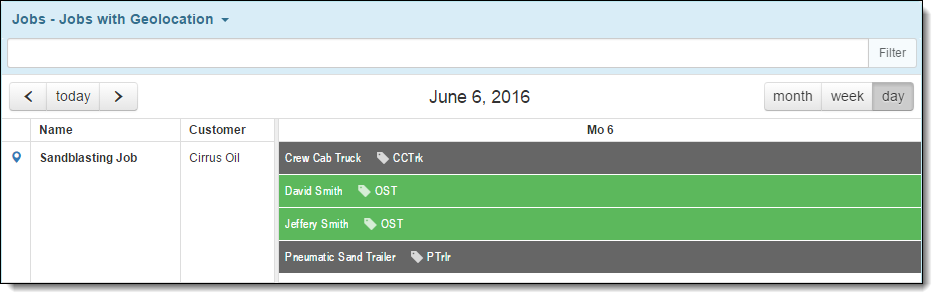
Use the Job - calendar panel to schedule jobs or dispatch resources to jobs. 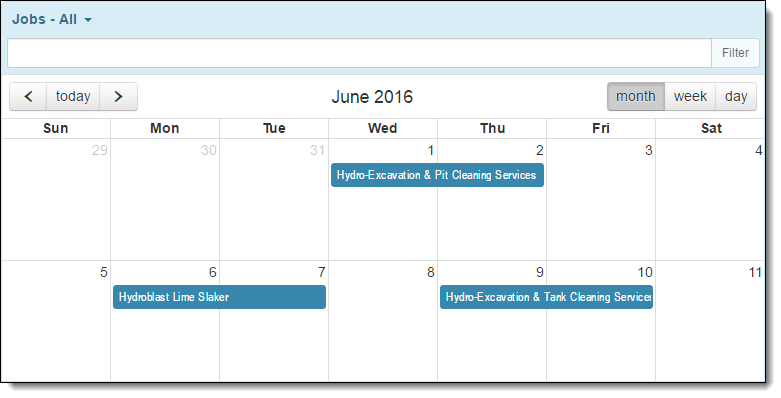
Use the date controls to change the dates/times shown. 
|
|||||||
Contact |
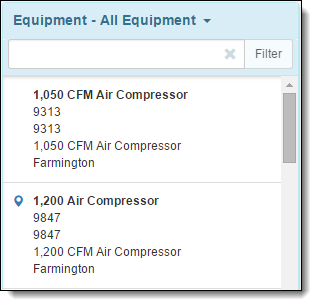
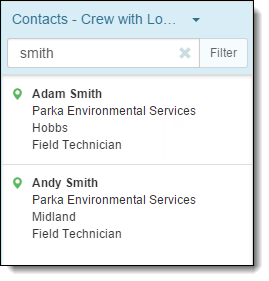
Use the Contact - list panel to select crew available for dispatch. 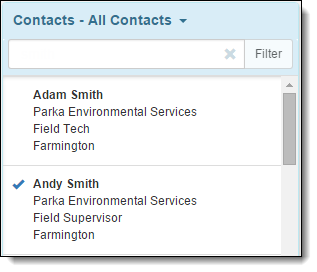
|
||||||
Use the Contact - table panel to select crew available for dispatch. 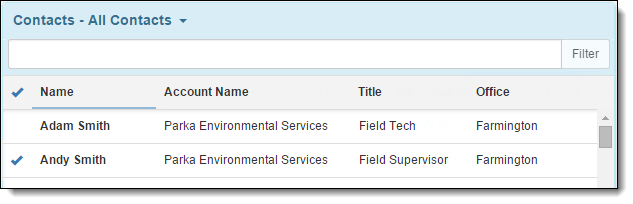
|
|||||||
Use the Contact - timeline panel to dispatch crew to jobs. 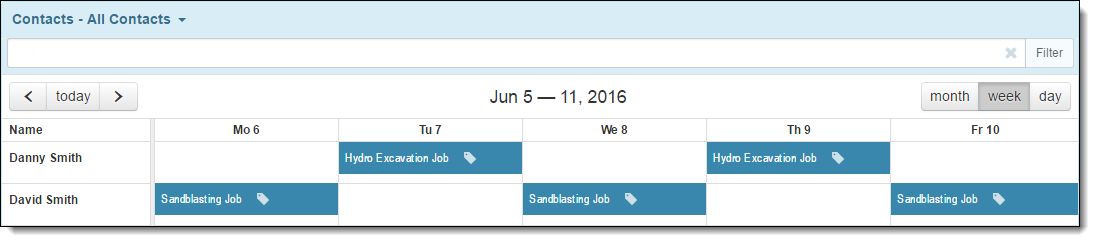
Use the date controls to change the dates/times shown. 
|
|||||||
Equipment |
|||||||
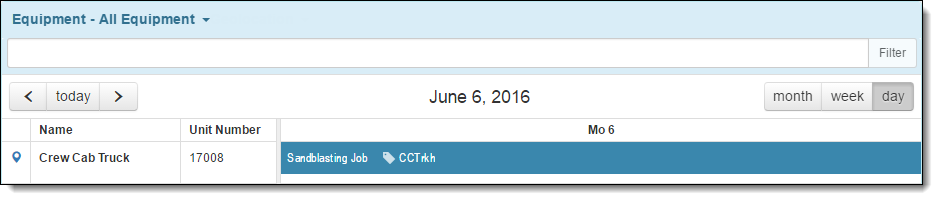
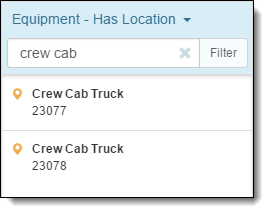
Use the Equipment - table panel to select equipment available for dispatch. 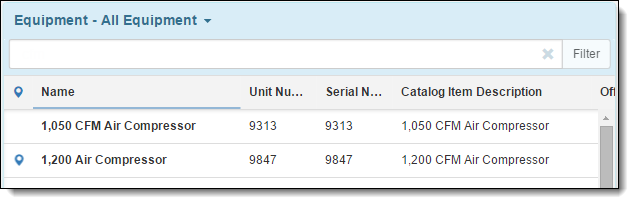
|
|||||||
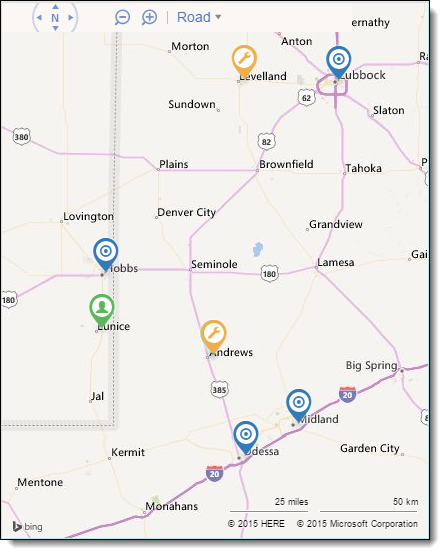
Map |
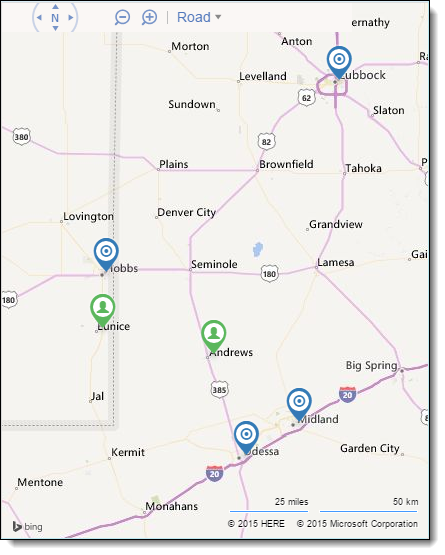
Use the Map panel to display jobs by geolocation.
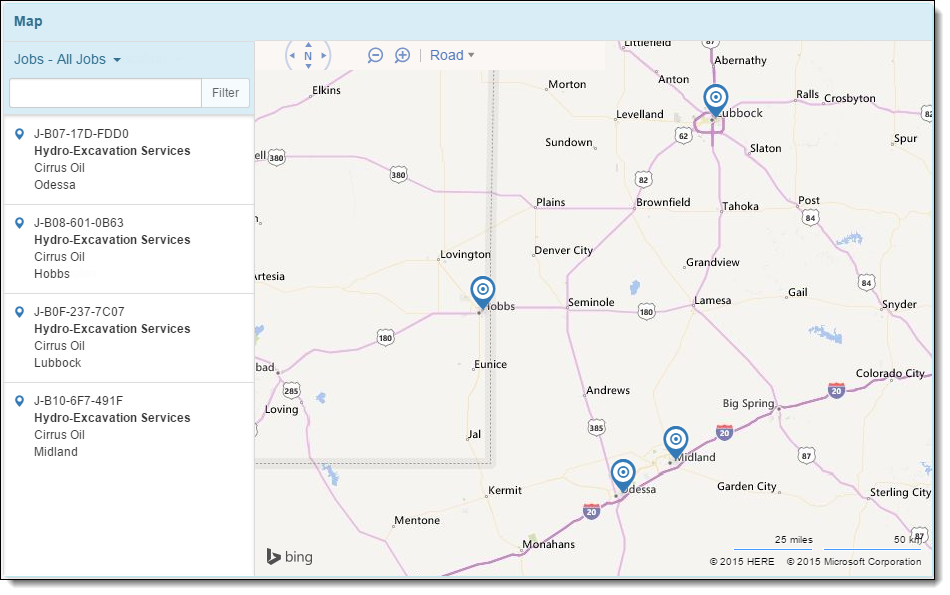
Select a job to focus in on that job. Use the navigation controls to move around the map, adjust the zoom, and change the type of map shown. 
|
||||||
|
|||||||
|


Key Features
Schedule & Dispatch has these features:
Drag and Drop
To move a panel around a layout, drag and drop a panel. The panel sticks to its new position and other panels adjust accordingly.
Panel Refresh
To show the latest real-time data on panels, select FX → Refresh Data. Panels can automatically refresh by setting up real-time panel updates.
List Views
You can select a list view to change the collection of items shown.
The list views available are the list views from the corresponding tab in FieldFX Back Office.
The list views for the Job - list panel are the list views form the Jobs tab.
Keyword Searches
You can do keyword searches on a panel to locate specific items.
Filters
You can filter by value, available resources, or qualified resources.
|
When using filters in Schedule & Dispatch, you can use the OR operator and the AND operator in the filter logic. If there is no filter logic defined, all criteria is treated as if the AND logical operator is used. |
By Filter Value |
You can filter items based on a field value in a job, crew planning record, or equipment planning record. When you apply a filter, the panel updates to show records matching the filter. Example 2. Filtering a timeline to display jobs for Cirrus Oil.
|
Display Available Resources |
|
Display Qualified Resources |
You can filter resources based on the qualification requirements for a job.
Example 4. Filtering for crew members that meet the job’s requirement for H2S Survival and Oilfield Safety qualifications.
If a qualification requirement is optional, select X on the requirement to remove it. |
Filter Logic Errors
The filter won’t be saved if these errors in the logic occur:
| Error | Displayed Error Message |
|---|---|
The user has added more criteria in the filter logic than present in the filter Example 5. If only 2 criteria are defined
|
Your filter logic contains more criteria than defined. |
The user has added less criteria in the filter logic than present in the filter |
Your filter logic contains less criteria than defined. |
The user has added invalid text Example 6. Invalid text
|
You have added invalid text in your filter logic. |
The user has not properly closed or opened parentheses Example 7. Open parentheses
|
You have not entered the filter logic criteria correctly. |
Background Colors
You can set background colors for each record that displays on a panel.
With a background color set, you can quickly identify items that need attention.
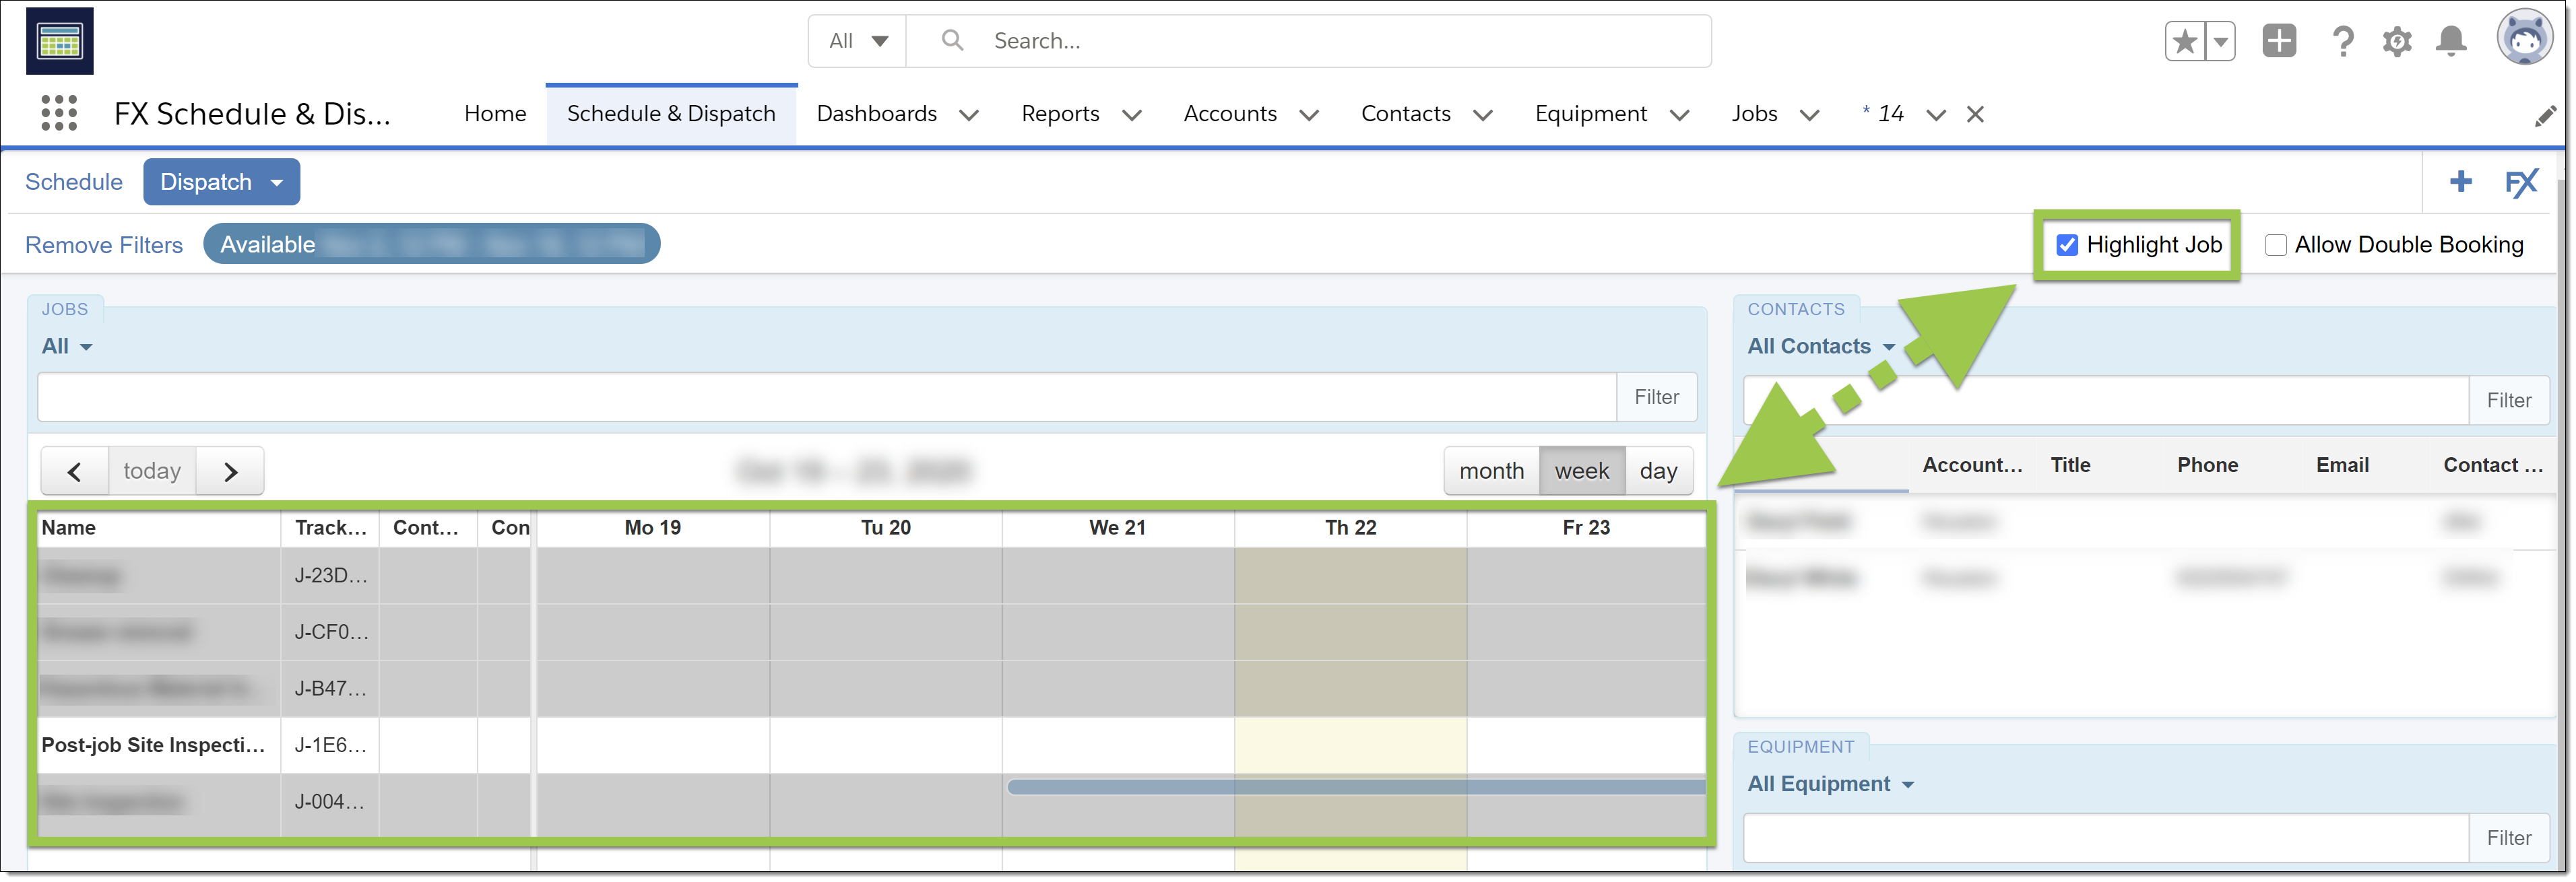
Use the Highlight Job on the timeline view to gray out all other jobs other than the selected job.
Double-Booked Indicators
A Double-Booked indicator displays to alert you when crew and equipment are double-booked.
Step-by-Step Guides
Access Schedule & Dispatch
-
To access Schedule & Dispatch, open the Schedule & Dispatch tab.
-
If you don’t see the tab,
-
Select
 .
.-
Select FX Schedule & Dispatch or in the search field, start typing
sched. -
Select the FX Schedule & Dispatch result.
-
-
-
FX Schedule & Dispatch opens.
-
Complete the steps for following tasks:
Manage Dashboards
You can save the current configuration as the default for a profile.
-
Click FX and select Manage Dashboards.
-
Use the Save your current dashboard as the default for a profile dropdown and select from a listed profile.
-
Click Save.
Filter Records
Click Filter to open up the modal to set the filter conditions.
Schedule Tab Filters
|
|||||||
|
|||||||
|
|||||||
|
Job Filter on the Dispatch Tab
|
|
|
|
|
|
|
Add Crew Time Off
You can add time off for a contact by creating a time off record.
-
In FieldFX Back Office, access FX Schedule & Dispatch.
-
Under Contacts, select the contact that you want to add the time off record.
-
At the user’s contact record, click the Related tab.
-
At the Times Offs heading, click New.
-
At a blank New Time Off modal, complete the following:
Field Description / Action Start Time
Hover over the Date and Time fields to set both the date and time.
When you hover over them, a pop-up calendar appears where you can click on the desired date. Optionally, hovering over the time allows you to set a specific time. The default time is 12:00 PM. End Time
Hover over the Date and Time fields to set both the date and time.
When you hove over them, a pop-up calendar appears where you can click on the desired date. Optionally, hovering over the time allows you to set a specific time. The default time is 12:00 PM. Type
Use the dropdown to set the type for the record. Default choices are
-
— None--
-
PTO
-
FMLA
-
Holiday
-
Absence
-
Vacation
These options can be modified since it is a picklist. See Add a Picklist. -
-
Click Save (to save the record) or Save & New (to save the record and create a new one).
A message appears that the ID was successfully created and the new Time Off ID appears under Time Offs.
-
-
Click on the Time Off tab and the new Time Off ID record appears in the table.
Schedule a Job
-
Open Schedule & Dispatch.
-
Open a layout that has the Job - list and Job - calendar / Job - timeline panels.
-
Drag the job from the Job - list panel into a slot on the calendar/timeline.
-
Drag the edge of the job to change the end date/time.
-
Drag the job onto a new date if you scheduled for the wrong date.
-
Unschedule a Job
-
Open Schedule & Dispatch.
-
Open a layout that has the Job - calendar / Job - timeline panel.
-
Drag the job outside of the panel.

Dispatch Crew to a Job
-
Open Schedule & Dispatch.
-
Open a layout that has the Contact - list and Job - timeline panels.
-
Drag the crew member from the Contact - list panel onto the timeline next to the job.
-
Select Add Price Book Item.

-
Select a labor price book item.
-
The crew member is now dispatched the job.
-
Drag the edge of the crew member to change the end date/time.
-
Drag the crew member onto a new date if you scheduled for the wrong date.
-
Dispatch Placeholder Crew to a Job
-
Open Schedule & Dispatch.
-
Open a layout that has the Job - timeline panel.
-
Select the desired start date and select Schedule Crew Member.

-
Select a labor price book item to use as the placeholder.
-
Select Create Placeholders.
-
The placeholder is now dispatched the job.

-
Select the price book item on the placeholder to swap it for a different item.
-
Add a Crew Member to a Placeholder
-
Open Schedule & Dispatch.
-
Open a layout that has the Contact - list and Job - timeline panels.
-
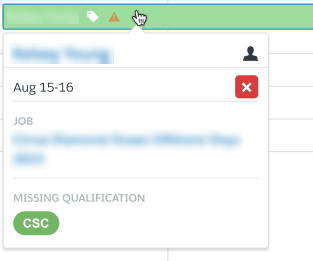
Drag the crew member from the Contact - list panel onto the placeholder.
Change the crew member by dragging a new crew member onto the green box.
-
If the user has missing qualifications, they appear when you hover over their name on the job timeline.
Remove Crew from a Job
-
Open Schedule & Dispatch.
-
Open a layout that has the Contact - timeline / Job - timeline panel.
-
Select the crew member and select Unschedule.
Dispatch Equipment to a Job
-
Open Schedule & Dispatch.
-
Open a layout that has the Equipment - list and Job - timeline panels.
-
Drag the equipment from the Equipment - list panel onto the timeline next to the job.
-
Select Add Price Book Item.

-
Select an equipment.price book item.
-
The equipment is now dispatched to the job.
-
Drag the edge of the equipment to change the end date/time.
-
Drag the equipment onto a new date if you scheduled for the wrong date.
-
Dispatch Placeholder Equipment to a Job
-
Open Schedule & Dispatch.
-
Open a layout that has the Job - timeline panel.
-
Select the desired start date and select Schedule Equipment.
-
Select an equipment. price book item to use as the placeholder.
-
Select Create Placeholders.
-
The placeholder is now dispatched to the job.

-
Select the price book item on the placeholder to swap it for a different item.
-

Remove Equipment from a Job
-
Open Schedule & Dispatch.
-
Open a layout that has the Equipment - timeline / Job - timeline panel.
-
Select the equipment and select Unschedule.
Example 12. Removing Equipment from Job
Recommended Reading
-
Schedule & Dispatch Setup - Learn how to set up FX Schedule & Dispatch.
-
FX Schedule & Dispatch Minimum Permissions - Learn the minimum permissions required to use FX Schedule & Dispatch.