FX Trucking (Deprecated) Back Office - Route Dispatch
|
FieldFX has deprecated the FX Trucking module as of December 2023. If you have further questions, contact your FieldFX Account Representative. For more information, see December 2023 FieldFX Deprecated Features - FX Trucking |
Prerequisites
To use the FX Trucking module, you need to:
| Have these user licenses | Have these permissions | Complete these tasks and review these topics before continuing |
|---|---|---|
|
|
Introduction
The Route Dispatch tab in FX Trucking allows dispatchers to perform all the functions required to create, schedule, and manage the drivers and trucks used to deliver items on a ticket.
They can also:
-
See an overview of the day by office, truck, or driver.
-
Access the currently planned routes for the day, including any overdue routes.
-
Create new routes, adding jobs and tickets as necessary.
-
Filter by customer, office, or other criteria.
-
Dispatch jobs to drivers, then review the routes as the drivers complete stages of the route.
How it Works
Basics
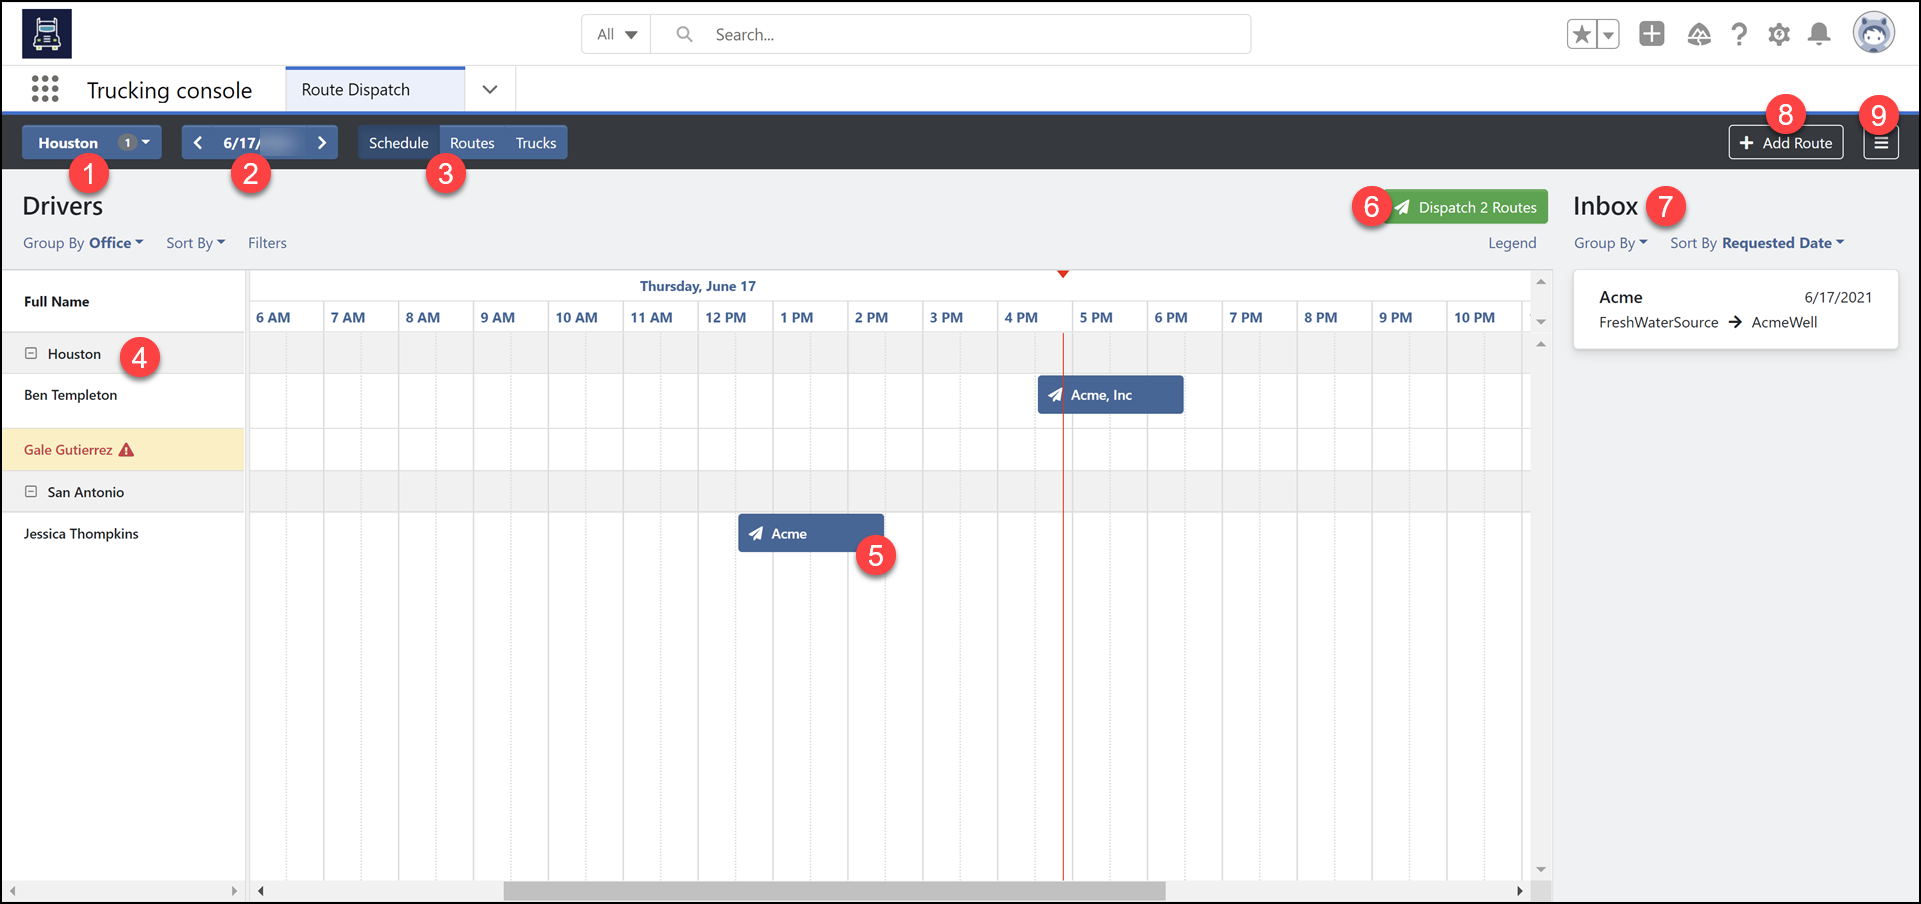
-
Select the office to work with
If the office has children, the dispatch schedule can group by the children offices.
-
Select the date to work with on the schedule
Only one day displays at a time.
-
Select the view to display for the Route Dispatch screen:
-
Schedule: shows the Timeline the dispatcher can use to arrange and assign routes
-
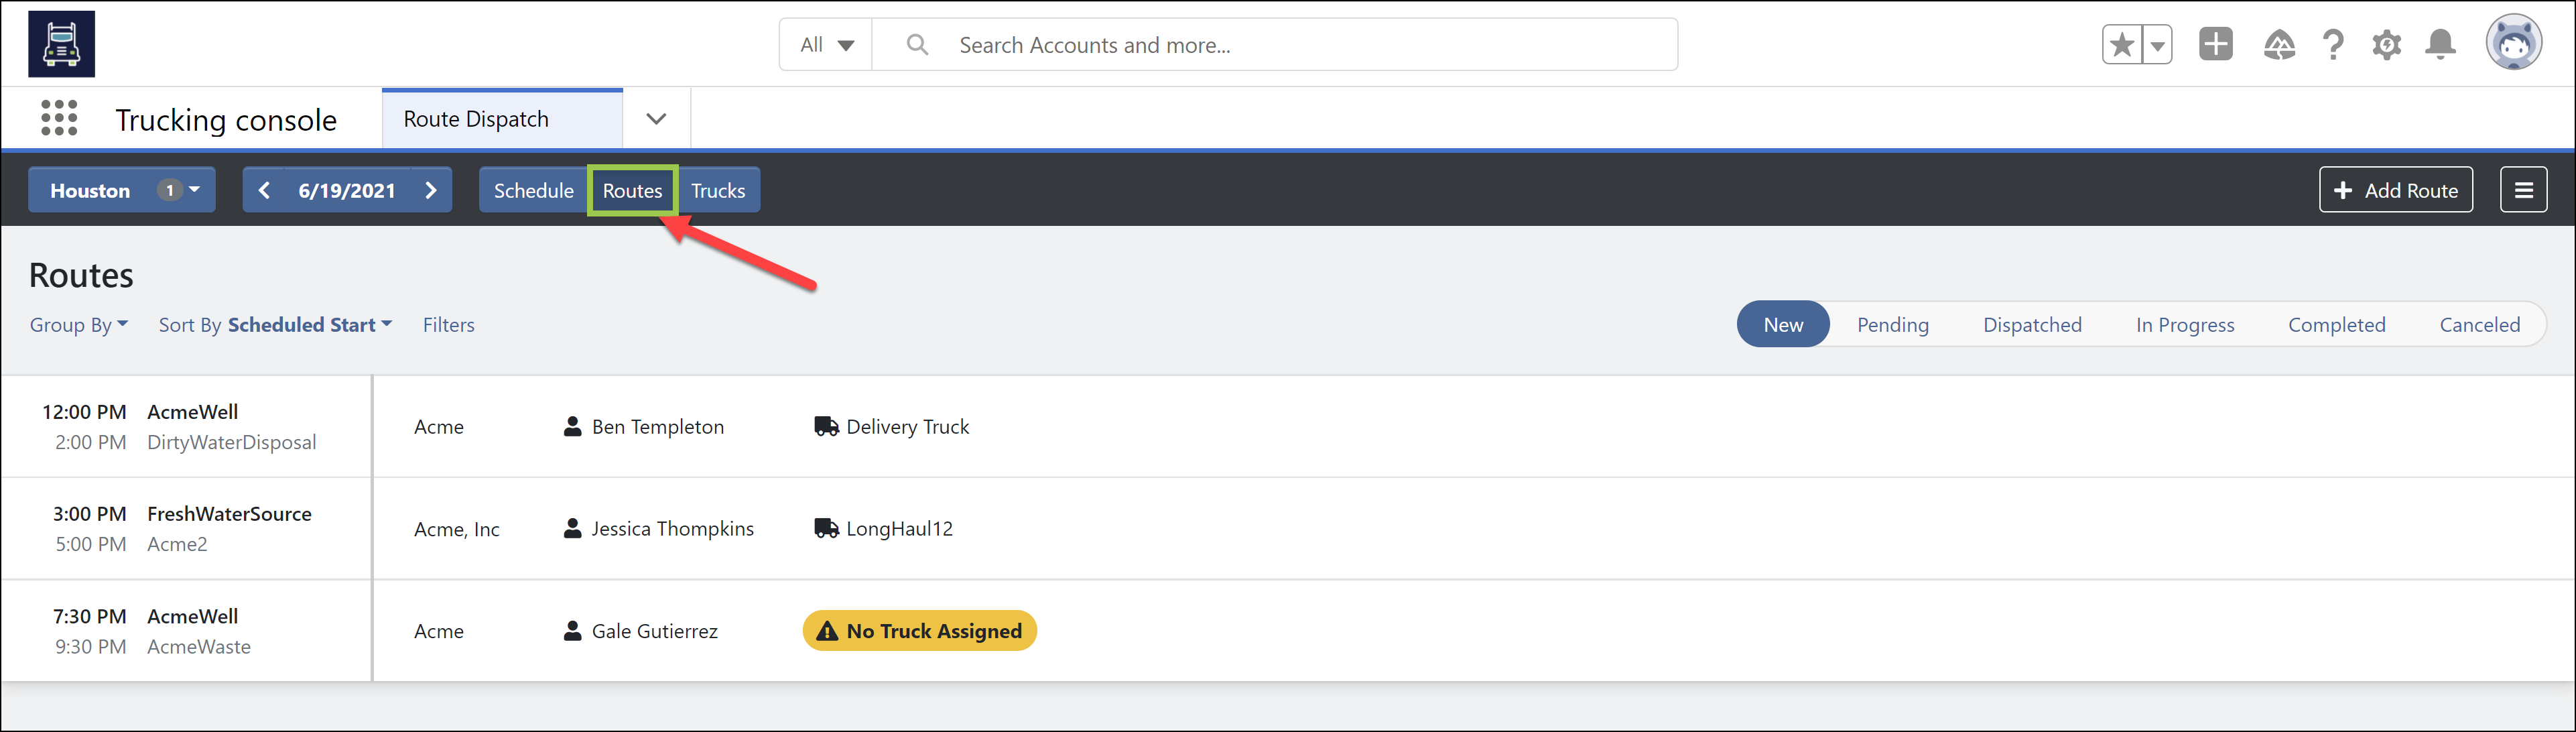
Routes: displays a view-only list all of the scheduled routes grouped by customer, driver, destination, or origin
Unscheduled routes do not show in this view
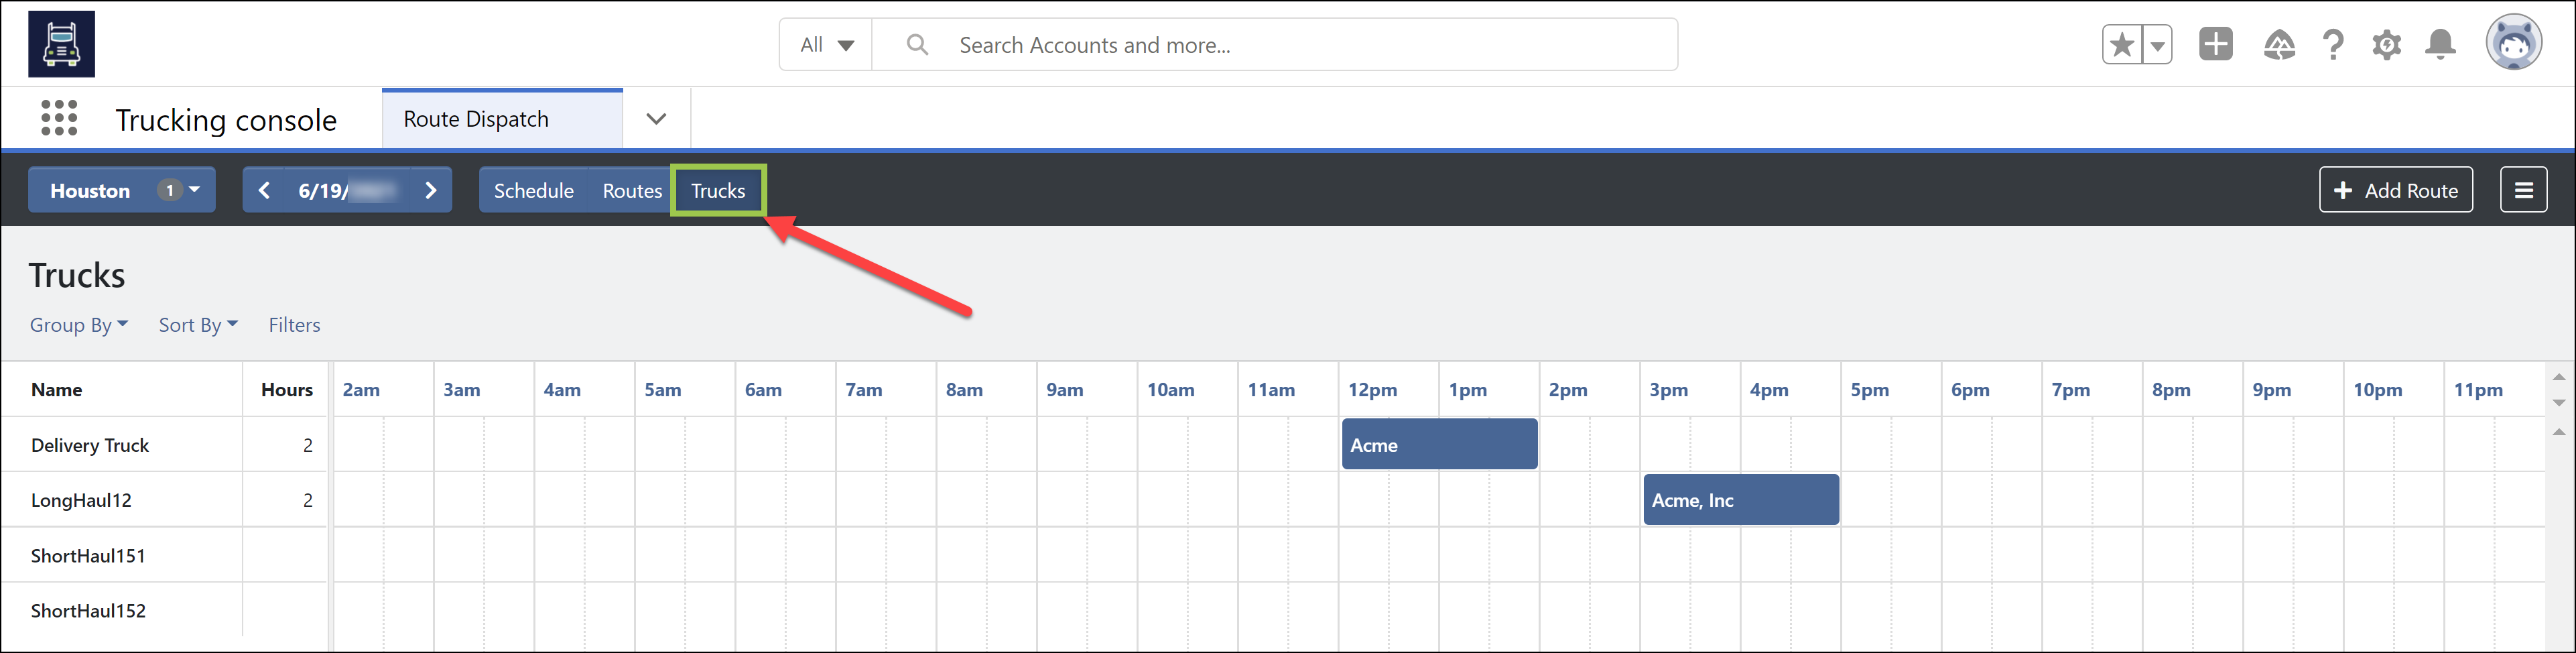
-
Trucks: displays a view-only timeline by trucks for the selected office and with their scheduled routes
-
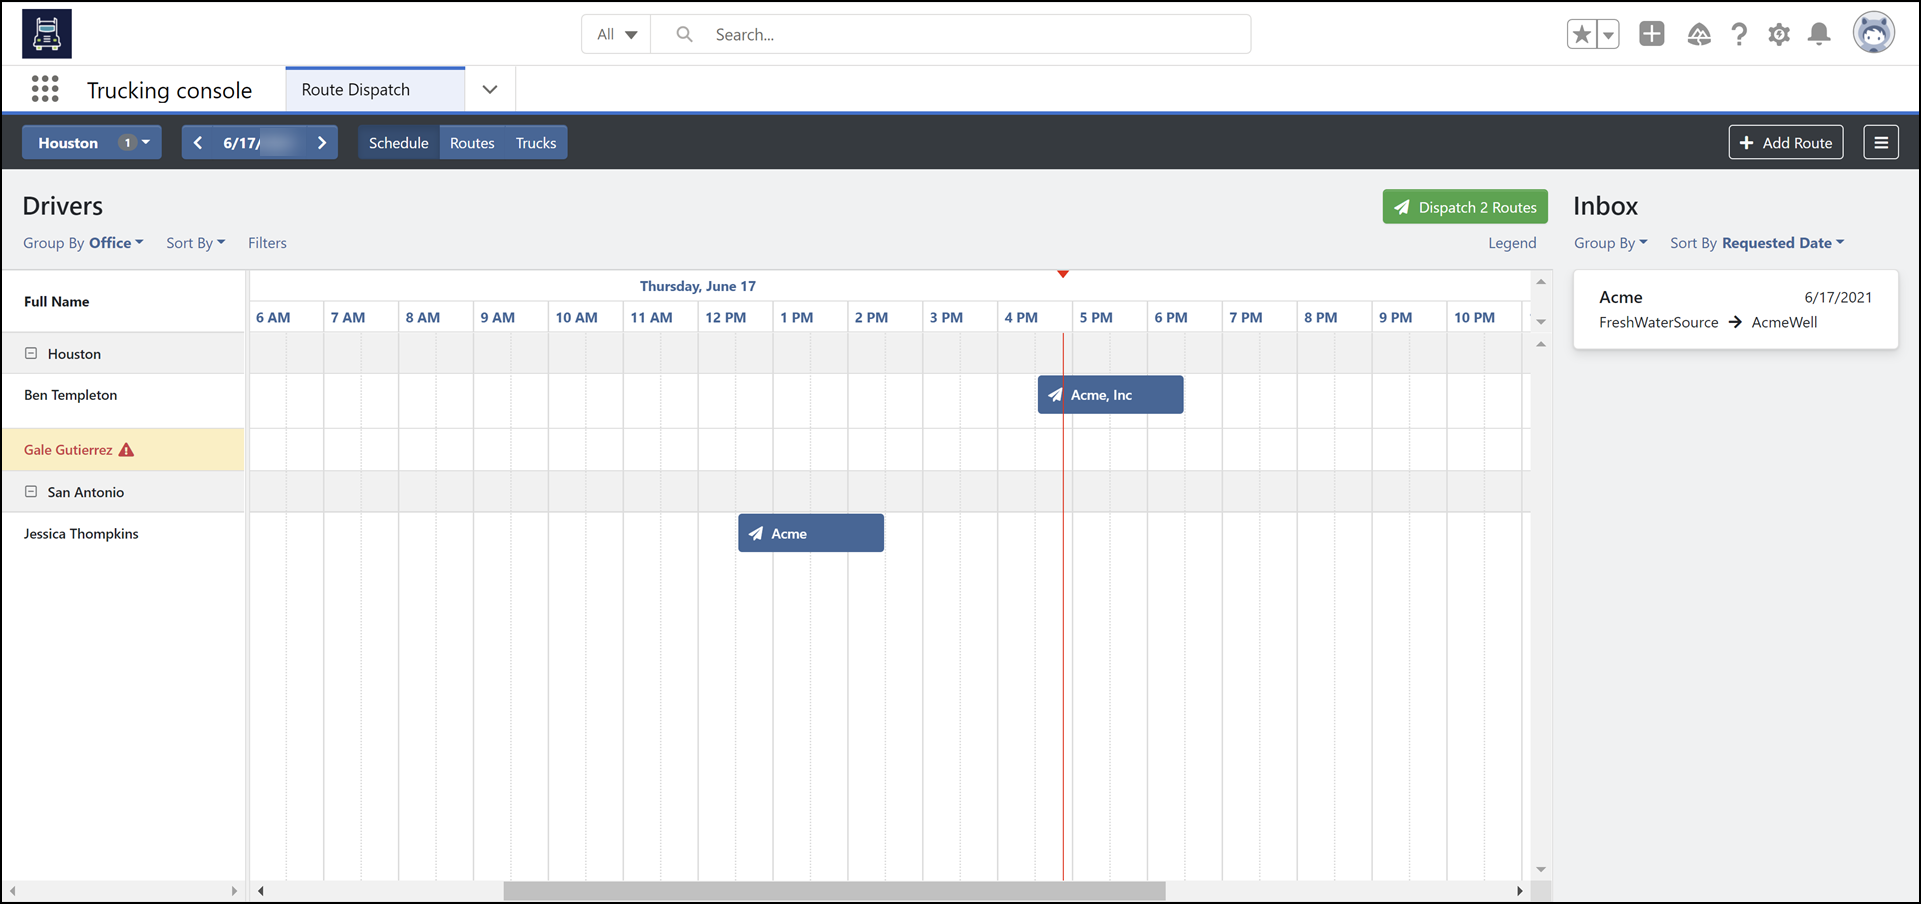
-
The Schedule displays drivers available for the selected Office
Drivers are Contact records assigned to the selected Office (or a child of the Office) with a User defined, the Available for Field Work option selected, and the Is Driver option selected in the Contact record.
Click the Group By and Sort By drop downs to change how the drivers display on the schedule.
A Warning displays for the driver if they do not have a Truck assigned to them.
-
Routes planned for the day show on the Schedule’s Timeline
Planned routes display in different colors depending on the Route’s Status. Click on the Legend link for more an overview of what each color means.
Select a planned route for more options (details below).
-
Once the dispatcher is satisfied with the plans, they can dispatch all planned jobs at once with the Dispatch button
The dispatcher can also choose to dispatch jobs individually from the timeline.
-
Unscheduled jobs with a Requested Date on or before the selected date for the timeline display to the right in the Inbox
Modify the Group By and/or Sort By for the Inbox to change the order in which routes appear.
Click and drag an unscheduled route onto the Timeline to begin scheduling it.
-
The dispatcher can click the + Add Route button to create a new route.
This also creates a ticket (and a job, if necessary) for the route.
-
Select the Menu button to see information or modify the user’s Settings for the Route Dispatch screen
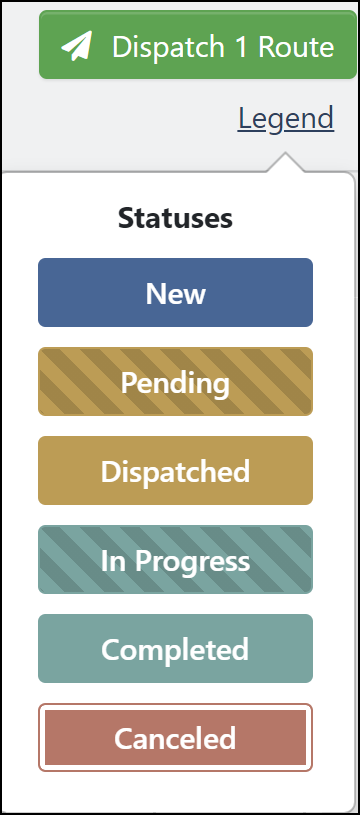
Route Statuses
-
Routes have a set series of Statuses that they progress through
-
Planned routes display in different colors depending on the Route’s Status. Click on the Legend link for more an overview of what each color means.
-
A Route can be in any of the following Statuses:
Status Description New
A ticket exists with a haulable ticket item.
These are the routes that appear in the Inbox or on the Schedule Timeline before they are dispatched.
Pending
Route has been assigned and Dispatched, but the route is not yet on the Driver’s mobile device
Dispatched
Route has downloaded to the FX Trucking app on the driver’s mobile device
In Progress
Driver has begun working the route
Completed
Driver has finished the route
Canceled
A previously dispatched route is not to be completed
Step-by-Step Guides
Access FX Trucking
Route Dispatch can be found on the Trucking or Trucking console apps in FieldFX Back Office.
-
Both apps contain the same functions and tabs.
-
The Trucking - Console app displays the tabs as a drop down List View rather than displaying all of the included tabs across the screen.
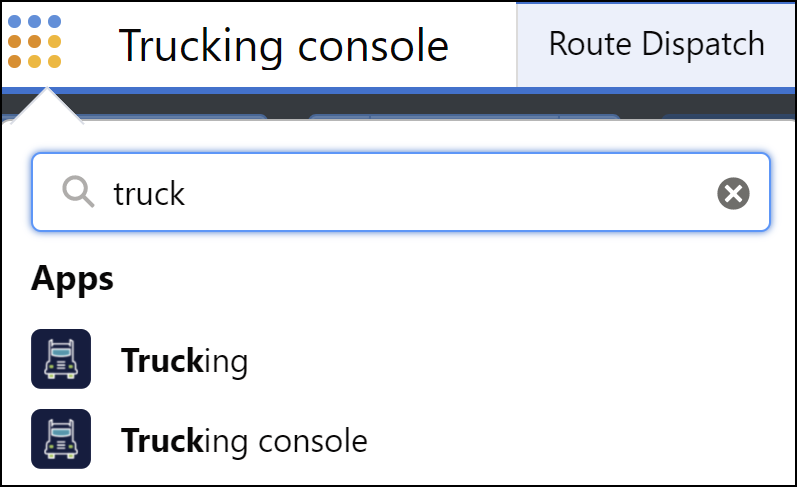
From the Trucking app, select the Route Dispatch tab.
When accessing the Route Dispatch tab for the first time or after clearing browser history, select the Office to display by default when accessing the Route Dispatch tab.
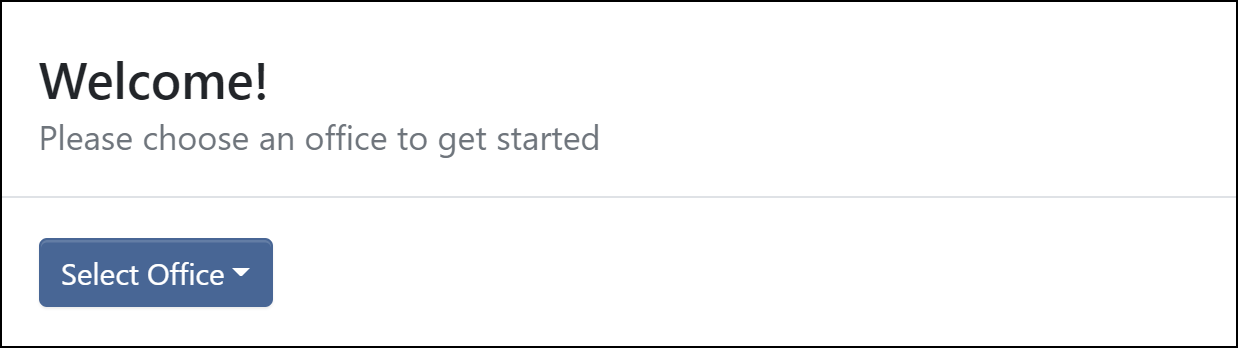
The dispatcher can change the selected office at any time while in the tab.
Customize Settings
Available Settings in the Route Dispatch allow the dispatcher to customize the timeline and billing options.
-
From FieldFX Back Office, select the Route Dispatch tab
-
Select the
 More button in the top right of the Route Dispatch screen
 -
Select Settings
-
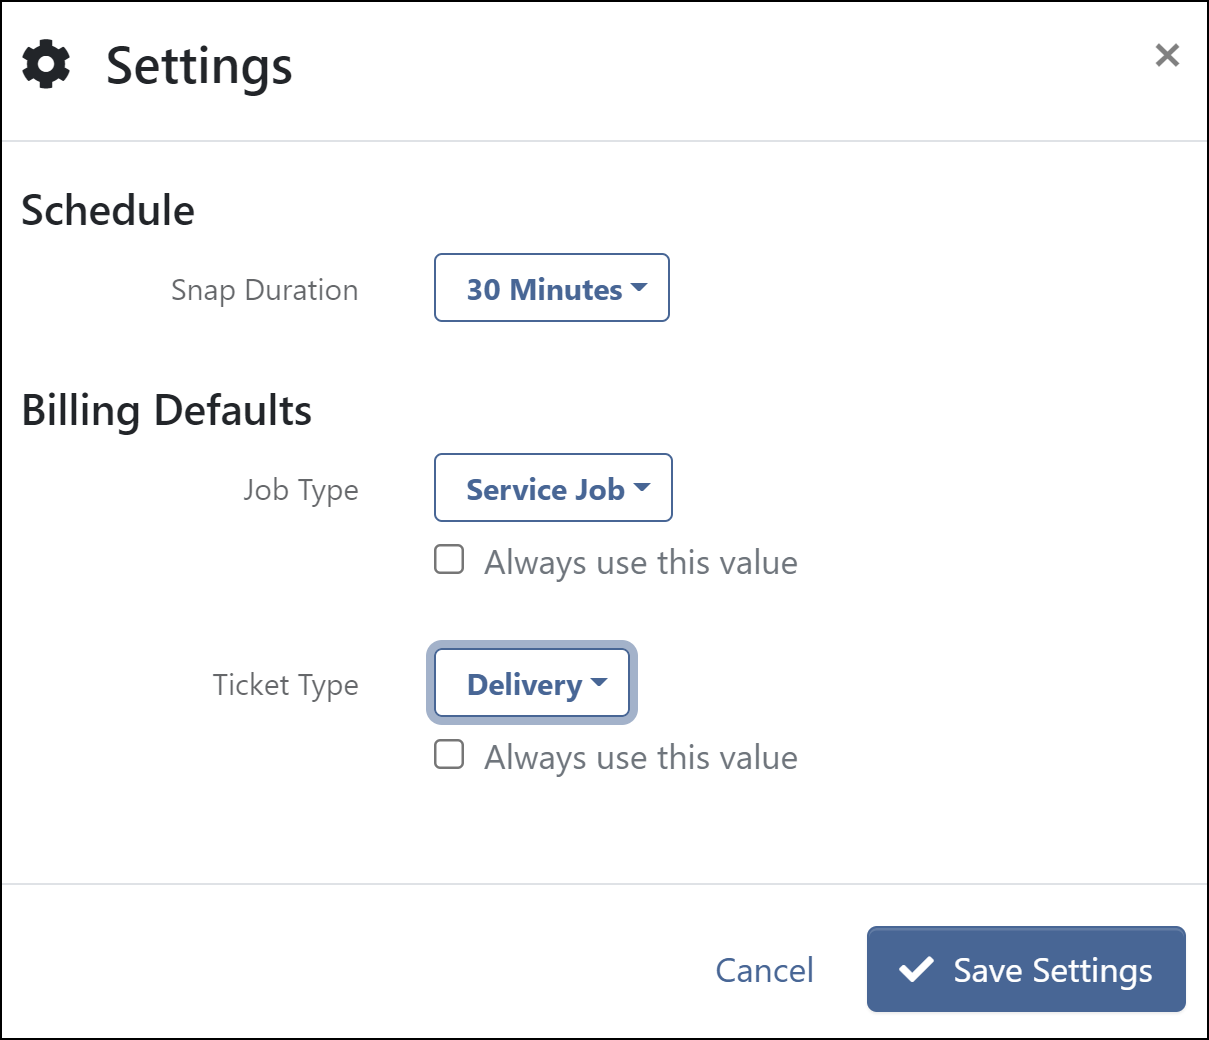
Update any of the following options:
-
Snap Duration: Select the intervals available on the Timeline when dragging Routes for assignment
Options are 15 minutes, 30 minutes, or 1 hour.
The default is 30 minutes.
-
Job Type: Select the record type to use when creating a new Job when adding a new route
-
Job Type: Always use this value: Select to prevent the dispatcher from selecting a different record type for created Jobs
-
Ticket Type: Select the record type to use when creating a new Ticket when adding a new route
-
Ticket Type: Always use this value: Select to prevent the dispatcher from selecting a different record type for created Tickets
-
-
Select Save Settings
Schedule a Route
-
From FieldFX Back Office, select the Route Dispatch tab
-
If prompted, select the Office to schedule
-
The current date defaults to the Timeline view, but can be changed
-
From the Inbox section on the right side of the screen, drag an available route onto the desired spot on the Timeline
You cannot schedule a route in the past.
Use the filters in the Inbox to change how the available routes display. Routes can be Grouped and Sorted to the dispatcher’s desire.
-
The length of the route defaults, drag the edges of the route to the right or left to adjust the length
The route is not finalized until it is Dispatched to the driver.
-
Assign the same route to multiple drivers to let the first available driver take it.
-
Assign a Truck to a Driver or Route
-
Drivers can be assigned a default truck in the Contact record.
-
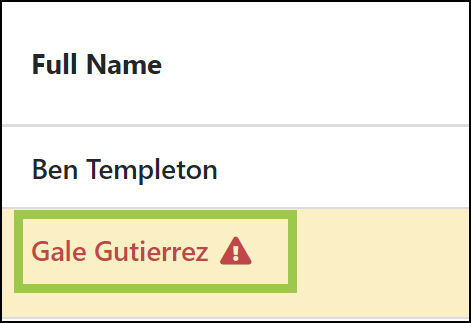
Drivers without an assigned truck display a warning triangle next to their name in the list of Drivers
-
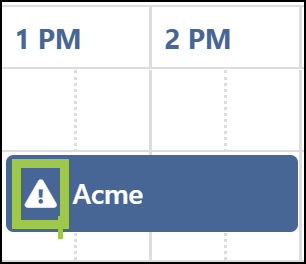
Routes without an assigned truck are highlighted and display in red with a warning triangle next to the Route name
-
Go to the Route Dispatch tab’s Schedule Timeline
-
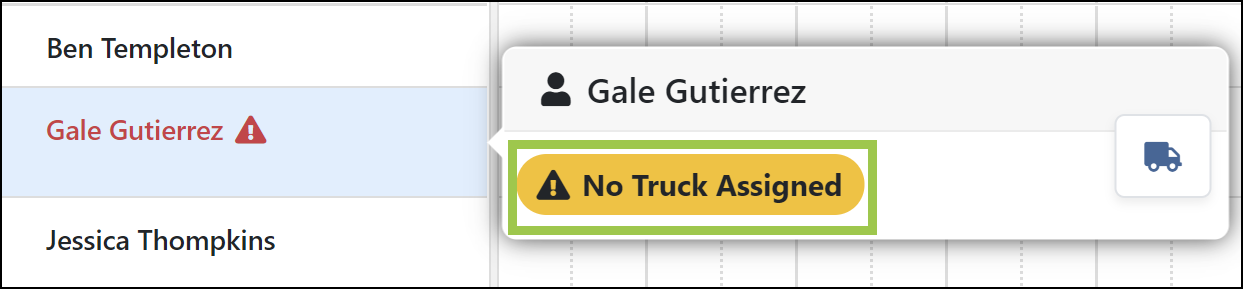
Hover over the warned driver or route, then select No Truck Assigned
-
For a driver, click Select Option, then choose an available Truck from the list
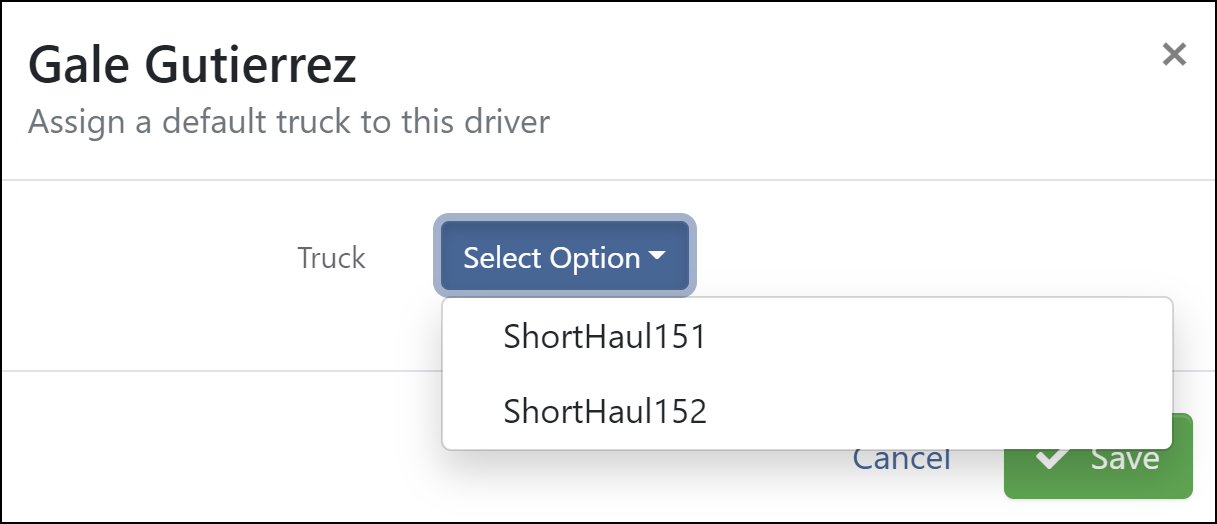
Assigning a truck to the driver assigns the truck to all of the routes for the driver.
For a route, click the Select Option dropdown under Assignment, then choose an available Truck from the list
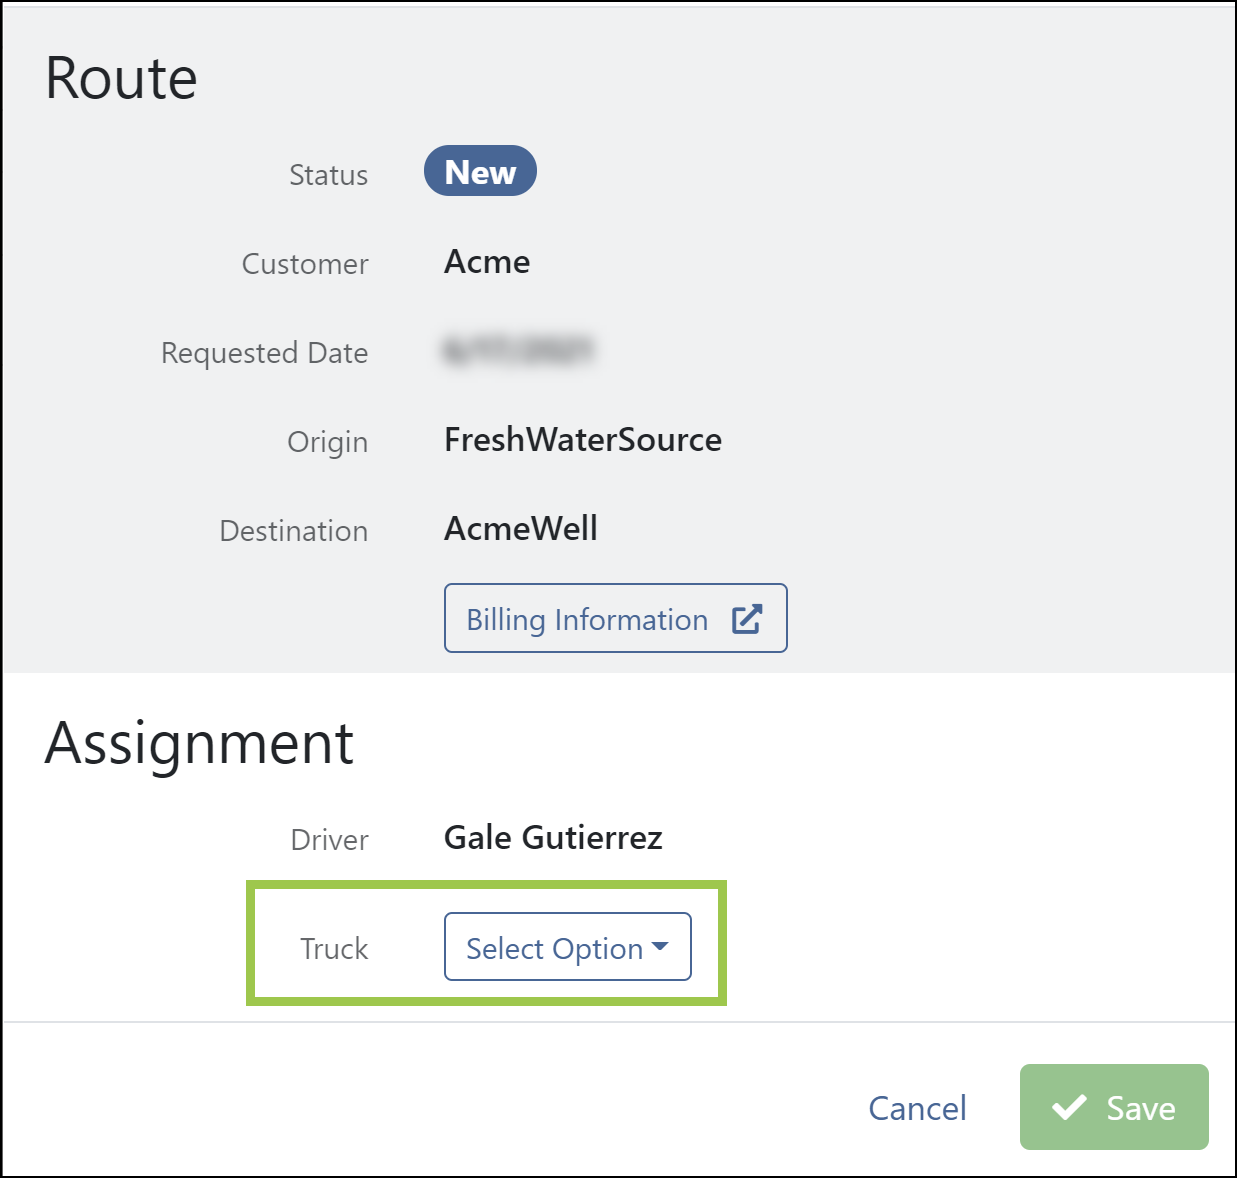
Assign by route if the driver switches trucks between route assignments.
-
Click Save
-
Modify an Assigned Route
-
Assigned routes can be freely moved around the Timeline, including switching to other Drivers
-
Unassigning a Route returns it to the Inbox
For example, to make the route available for assignment on a different date.
-
Go to the Route Dispatch tab’s Schedule Timeline
-
Hover over the route you wish to unassign
-
Click on the left pointing arrow icon to expand the options for the route
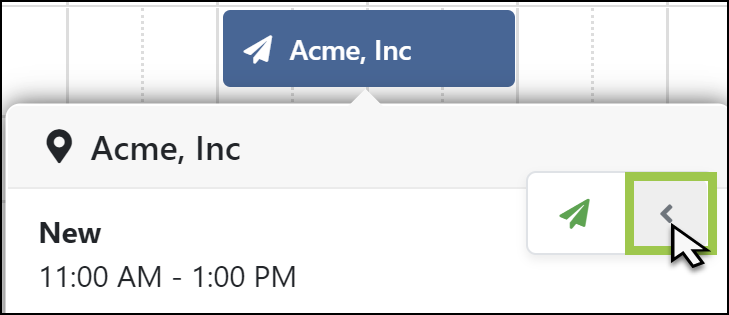
The options change based on the Status of the Route. Once Dispatched, the only option is to copy the route.
-
Make any of the following selections:
-
 Dispatch Route: Send the selected route to the Driver
This updates the Route Status for the Route to Pending and updates the associated Ticket’s Status to the Initial Status Mobile defined in the Ticket Record Type’s Status Workflow.
You cannot dispatch a route that starts in the past.
Routes cannot be modified once dispatched, but they can be unassigned or canceled.
-
 Copy Route: Duplicate the route and add the new route to the Inbox for assignment
 -
 Change Truck: Select a different truck to use for the route, or clear the selection to leave the truck unassigned for the route
 -
 Unassign Route: Remove the route from the Timeline and return it to the Inbox
Only routes in Pending status can be unassigned. -
 Cancel Route: Cancel a dispatched route that is in Pending, Dispatched, or In Progress status
Canceling a route sends a notification to the driver.
-
-
If you selected Change Truck, use the Select Option dropdown to select the truck to assign instead, then click Save
-
Modify an Unassigned Route
-
Go to the Route Dispatch tab’s Schedule Timeline
-
From the Inbox, select the route to modify
-
Make changes to any of the following fields:
-
Requested Date: Adjust the date for the route
Alerts show for routes that are overdue based on the Requested Date.
-
Origin: Change the starting location for the Route
The dropdown displays Locations where Is Pickup is selected.
-
Destination: Change the ending location for the Route
The dropdown displays Locations where Is Dropoff is selected.
-
Comment: Additional detail to display to drivers in the FX Trucking mobile app
-
-
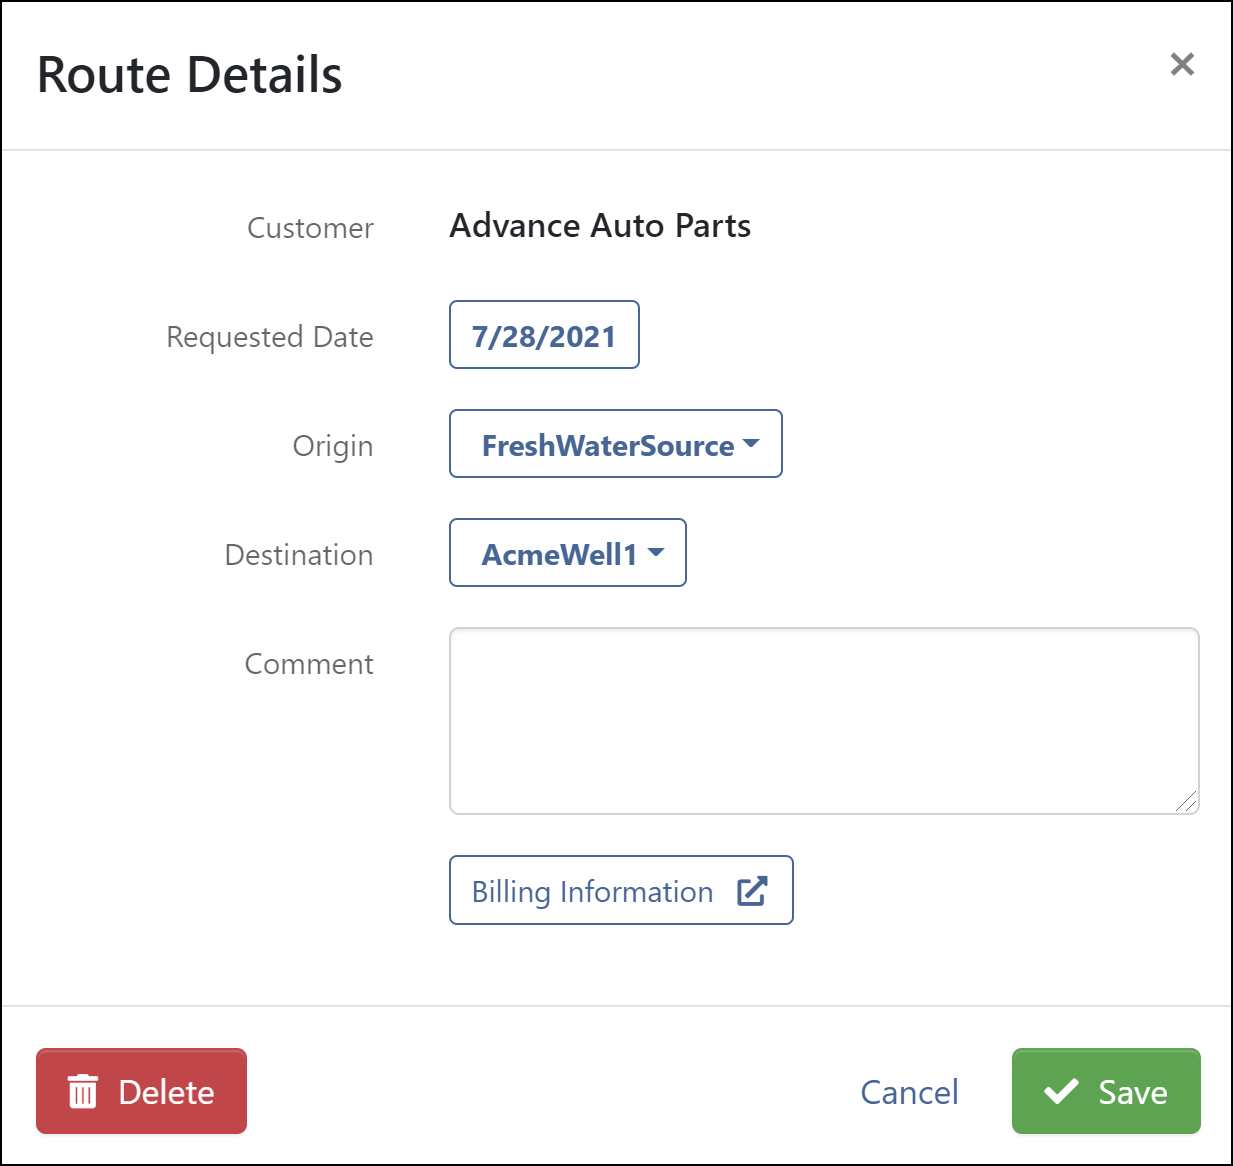
To display the Ticket for the route, select Billing Information
-
Click Cancel to return to the route without making changes to the Ticket
-
Click Save & New to save changes to the Ticket and also create a new Ticket
-
Click Save to save changes to the Ticket and return to the Route
Depending on permissions, the dispatcher may also be able to modify the route’s Ticket.
-
-
Select Save to update the Route and exit the modal
or
Select Cancel to exit the Route without saving changes
Add a Route
-
Adding a route creates a Ticket.
The Ticket is created with the Initial Status Console defined in for the Ticket’s record type’s Status Workflow.
If no Status is defined as the Initial Status Console, then the created Ticket’s Status is
null. -
If a Job is available, the ticket can be added to an existing Job.
-
A new Job can be created while adding the route.
-
Quickly add a new route by copying an existing route
See the Modifying an Assigned Route, above.
-
Go to the Route Dispatch tab’s Schedule Timeline
-
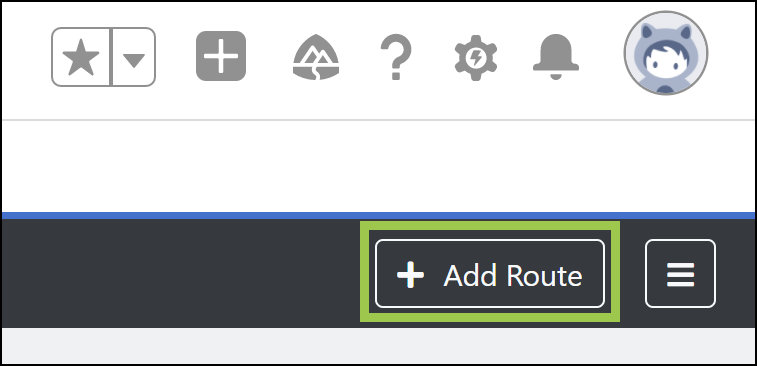
Select + Add Route in the top right of the screen
-
Make the following entries in Route Details:
-
Office: Select the Office’s for the route
-
Customer: Select the Customer for the route
-
Requested Date: Enter the desired date
-
Origin: Select the Location where the truck begins the route by picking up items
Only Locations with Is Pickup selected are available.
-
Destination: Select the Location where the truck ends the route by dropping off items
Only Locations with Is Dropoff selected are available.
-
Comment (Optional): Enter additional details to display to drivers
-
-
Select Billing Information to continue
-
Make the following entries in Billing Information to create the route’s Ticket:
-
Job: Select the Job record type, then select the Job for the delivery
or
Select + Create New Job to add a new Job
-
Ticket: Select the record type for the Ticket to create for the job
-
Load: Defaults if the price book only has one item that has a Hauling Charge Type defined; otherwise, select the price book item to pick up for the route
The UOM (Unit of Measure) that displays is the default for the selected item.
By default, the quantity for the item is 0 on the Ticket. The quantity on the Ticket updates as the driver indicates the loaded amount while working the Route. -
Disposal: Select the price book item that is being disposed of during the route.
-
-
Select Create Route
The created route has a Route Status of New and is available in the Inbox to be assigned in the Timeline.
-
Delete a Route
-
Unassigned routes available in the Inbox can be deleted.
Routes assigned but not yet dispatched can be unassigned and returned to the Inbox. -
Deleting a route also deletes the associated ticket.
-
Select a route to delete from the Inbox in the Route Dispatch screen
-
Select the Delete button
-
Dispatch All Available Routes
-
Dispatching routes updates each Route’s Route Status to Pending and makes them available to drivers in the FX Trucking App on their mobile device.
-
Drivers work the route in the FX Trucking App, and dispatchers can review the progress of the drivers in FX Trucking’s Route Dispatch screens as the routes progress by reviewing the Legend on the Route Dispatch Schedule’s timeline.
-
You cannot dispatch routes that start in the past.
-
Go to the Route Dispatch tab’s Schedule Timeline
-
Select the Dispatch # Routes button
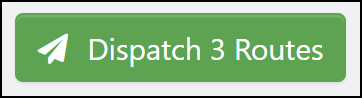
The button reflects the number of routes to be dispatched when selected.
-
The routes dispatch and reflect in Pending status on the Timeline.
Dispatched routes cannot be modified, but can be unassigned or canceled.
Work on the route continues in the FX Trucking App on the drivers' mobile devices.
-
Filter Views
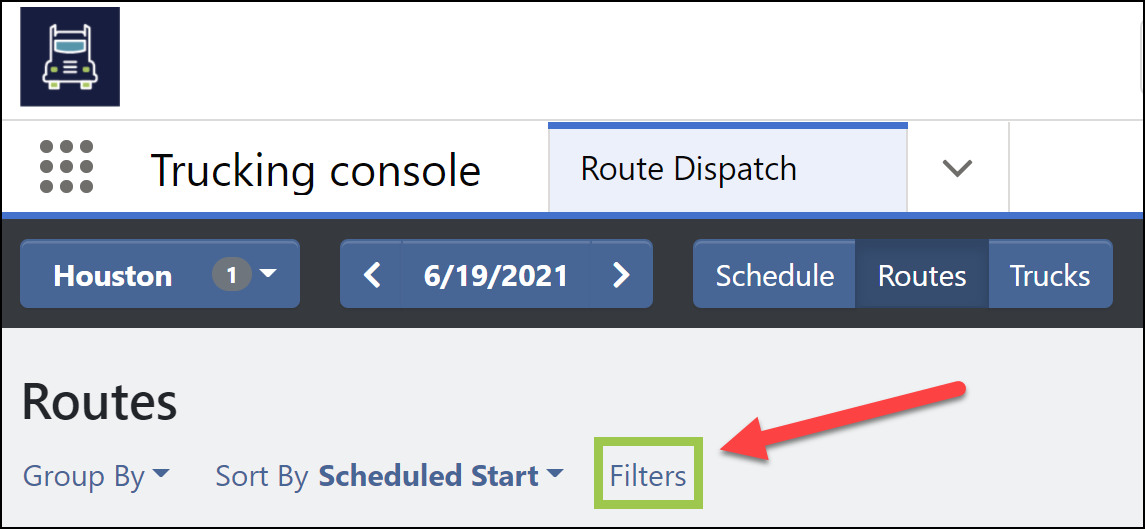
Many views allow the Dispatcher to filter the displayed routes
-
Select the Filters link on the screen
-
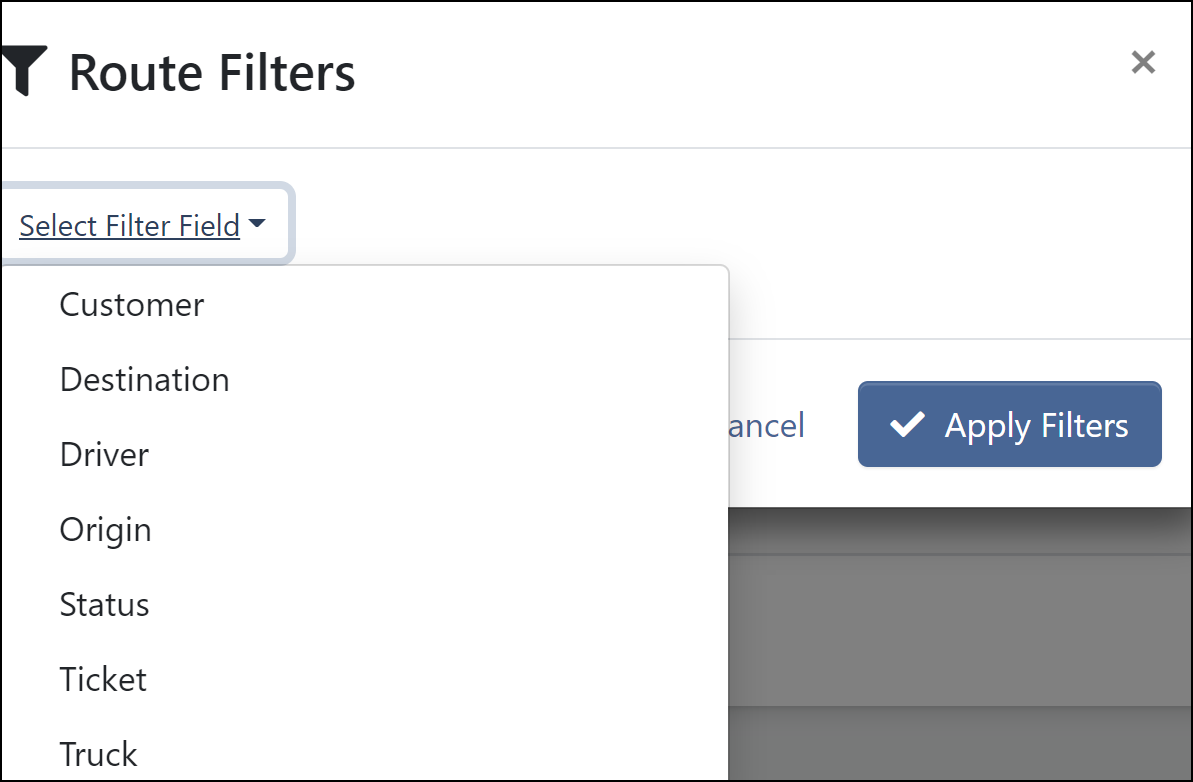
Select the kind of filter to use
Options are Customer, Destination, Driver, Origin, Status, Ticket, or Truck
-
Specify the Filter value to display
-
Select + Add Filter to add the criteria to the list of filters to apply
-
(Optional) Add additional filters to further limit the list
-
Select Apply Filters
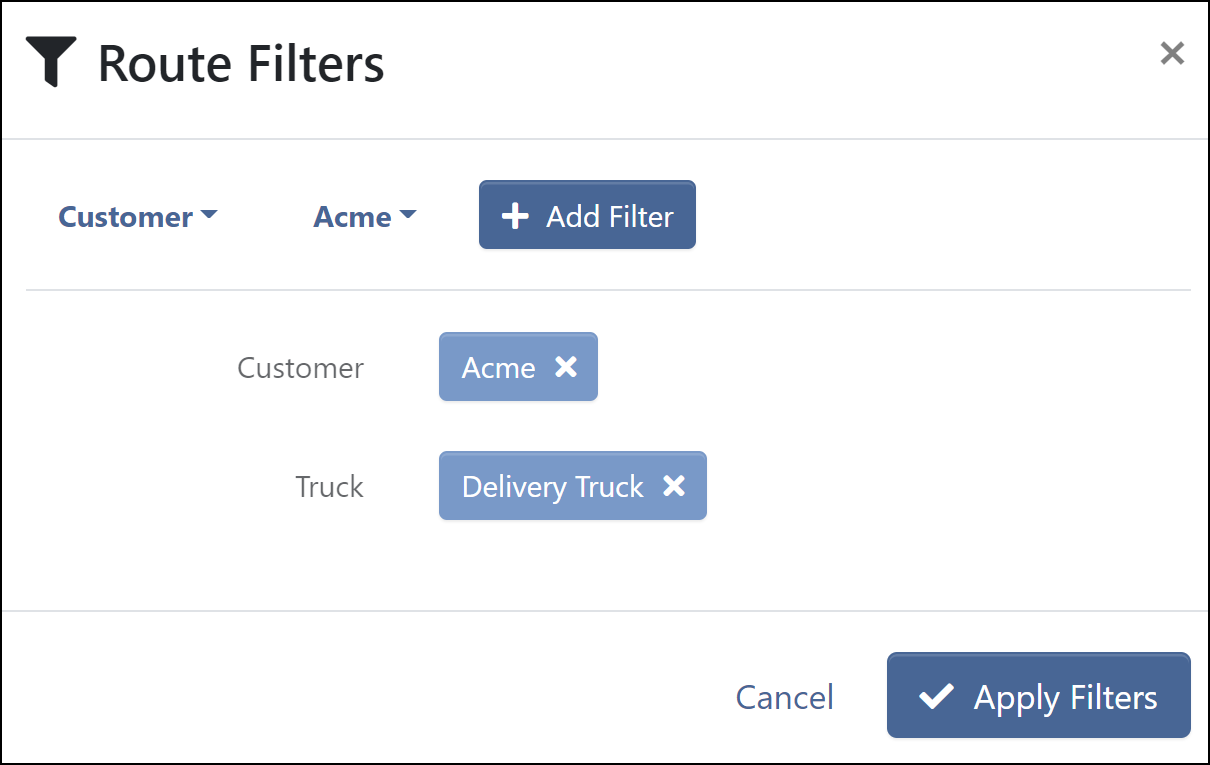
| To remove a filter, click the Filters Applied link to return to the Route Filters screen, select the filter button(s) to remove, then click Apply Filters. |
Review Notifications
-
A bell icon displays on routes on the timeline to indicate a message or alert the dispatcher should review.

-
Hover over the route to review the message(s) in the route’s tooltip
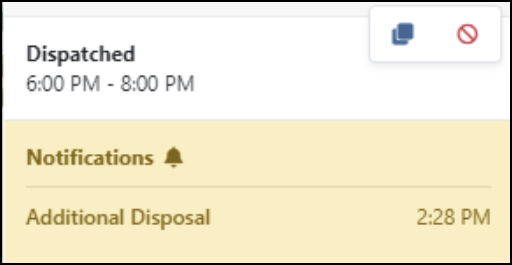
Disposal Changes
-
A driver may select an alternate disposal location while working a route
-
A driver may add an additional disposal location while working a route
-
Dispatchers receive a Salesforce notification when a driver makes changes to the disposal location
-
The route tooltip in the Route Dispatch screen displays a notification
Route Delays
-
A driver may send a delay notification while working a route
-
Dispatchers receive a Salesforce notification
-
The route tooltip in the Route Dispatch screen displays a notification for each entered delay
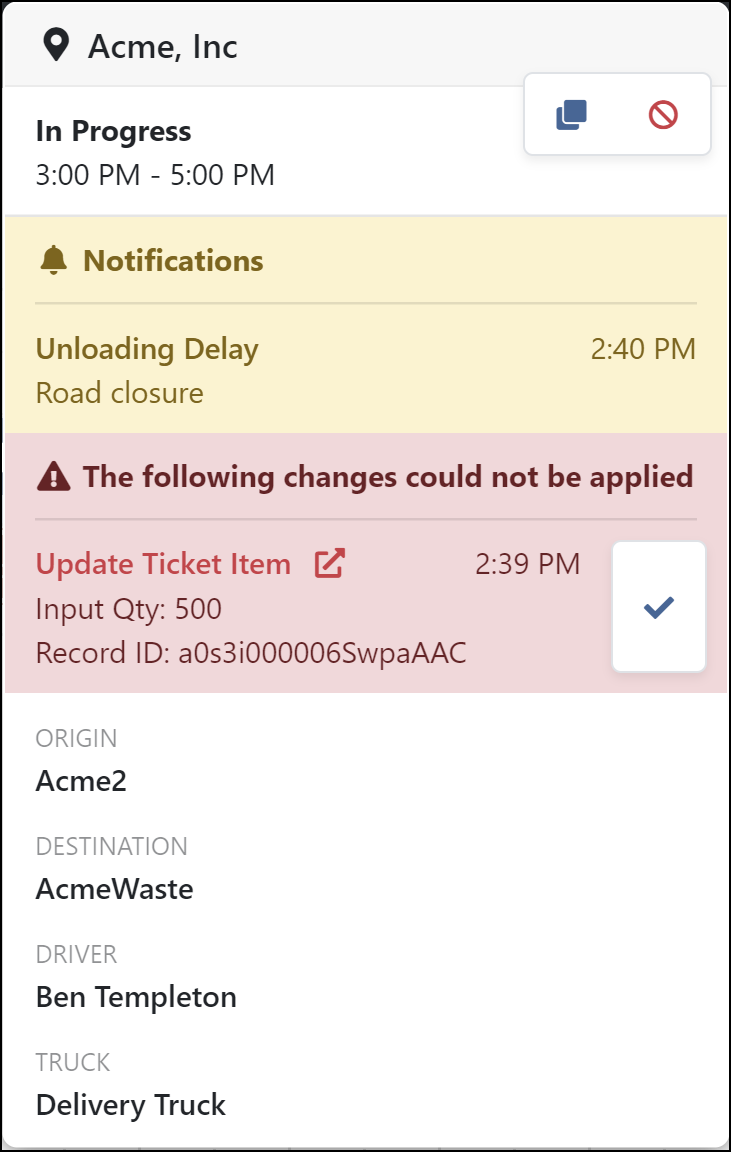
Unapplied Route Changes
-
A driver may enter details while working a route that fail ticket validation rules
-
Such changes remain unapplied to the ticket, and a notification displays to the dispatcher including details of the data entered by the driver
-
A dispatcher can do either:
-
Resolve unapplied changes:
Select the Update Ticket Item link to go to the ticket and manually apply changes
-
Remove the unapplied changes notification:
Select the checkmark next to the unapplied changes message to make no changes to the ticket but clear the notification
-
View Routes
-
The Routes screen in the Route Dispatch shows a list of routes by Status
-
Select the Route Status to review, then group, sort, or filter the list of routes as desired
-
Change the Office or the Date to display a different set of Routes
-
Use Filters to limit displayed routes to a particular
-
Select a No Truck Assigned button to assign a truck to a route